

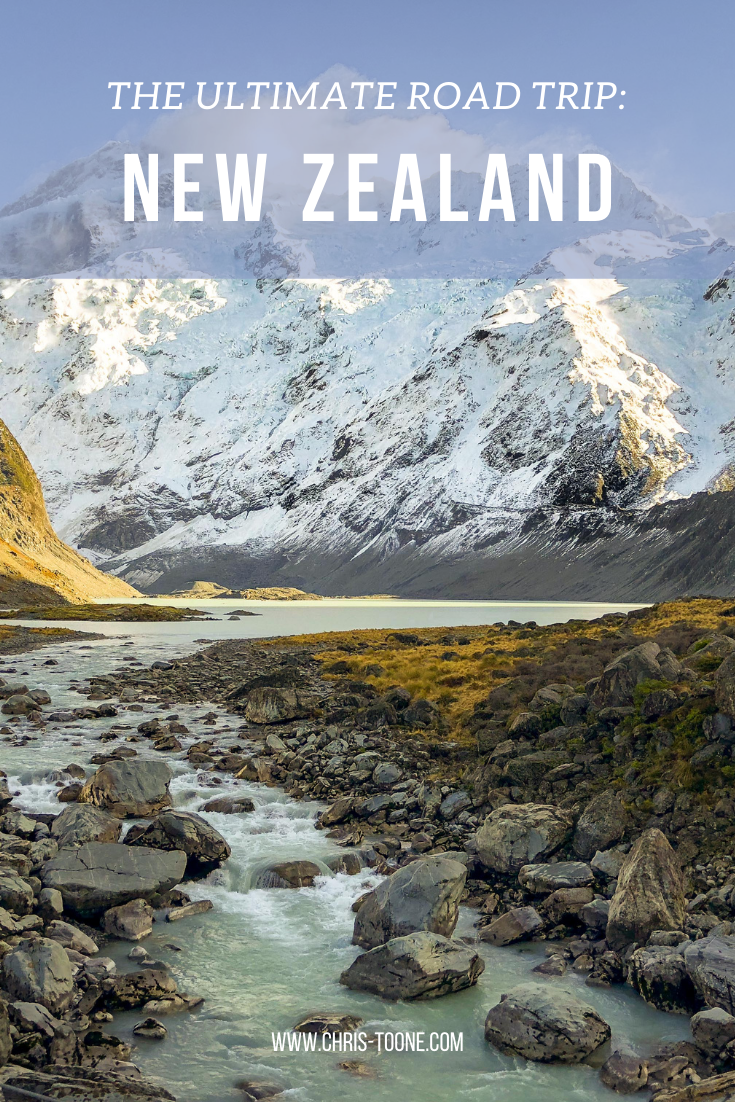
The Ultimate New Zealand Road Trip: An 8 day campervan adventure around the south island
Planning a trip to New Zealand? Be sure to check out this guide about traveling around the south island and discover some of the most beautiful landscapes on the planet. From choosing your route to where to stay and what to do, this post has everything you need to say “let’s go” and book that next adventure!
Please note: All info below is up to date as of May 2023
If I could handpick one destination for you to experience, it’d be New Zealand. An outdoor adventurer’s paradise, the two islands combine for a population of under 5 million inhabitants and come complete with sprawling scenery that begs to be explored. With nearly 33% of the country protected under the national parks system, it’s not hard to stumble upon pure and untouched nature!
It was just over a year ago that Heather and I crammed our backpacks full of winter jackets, caught a flight from LAX, and traveled south for our first campervan experience - driving around New Zealand’s south island.
With only eight days to spare, we knew it’d be long hours on the road and a lot of activities to cram into a short period, but we were committed to making it happen.
Whatever you choose to do and wherever you go in New Zealand, you won't regret booking a plane ticket!
One quick note about campervans in New Zealand: It’s vital to know the classification of the vehicle you’re renting and how that relates to your camping options. Many free sites around the country are for self-contained vehicles only, meaning that the van must be equipped with a toilet and grey water tank. After crunching some numbers, we calculated that springing for the slightly more expensive Jucy Chaser would save us money on accommodations because of it’s “self-contained” status.
BEGIN IN QUEENSTOWN
One of my favorite parts about visiting New Zealand is simply arriving. The flight path into Queenstown yields mind-blowing landscapes. It’s a pretty special feeling as you step onto the tarmac, look up and see The Remarkables in all their glory.
Pro Tip: Snag a window seat on the left side of the plane for the best views.
From here, we picked up our campervan and drove straight to Lake Pukaki for our first overnight.
Total Drive Time: 2hr 45min
Overnight Stay: Lake Pukaki Overnight Campervan Parking. Onsite toilets are available, but there are no powered sites. Non-self contained vehicles are allowed.
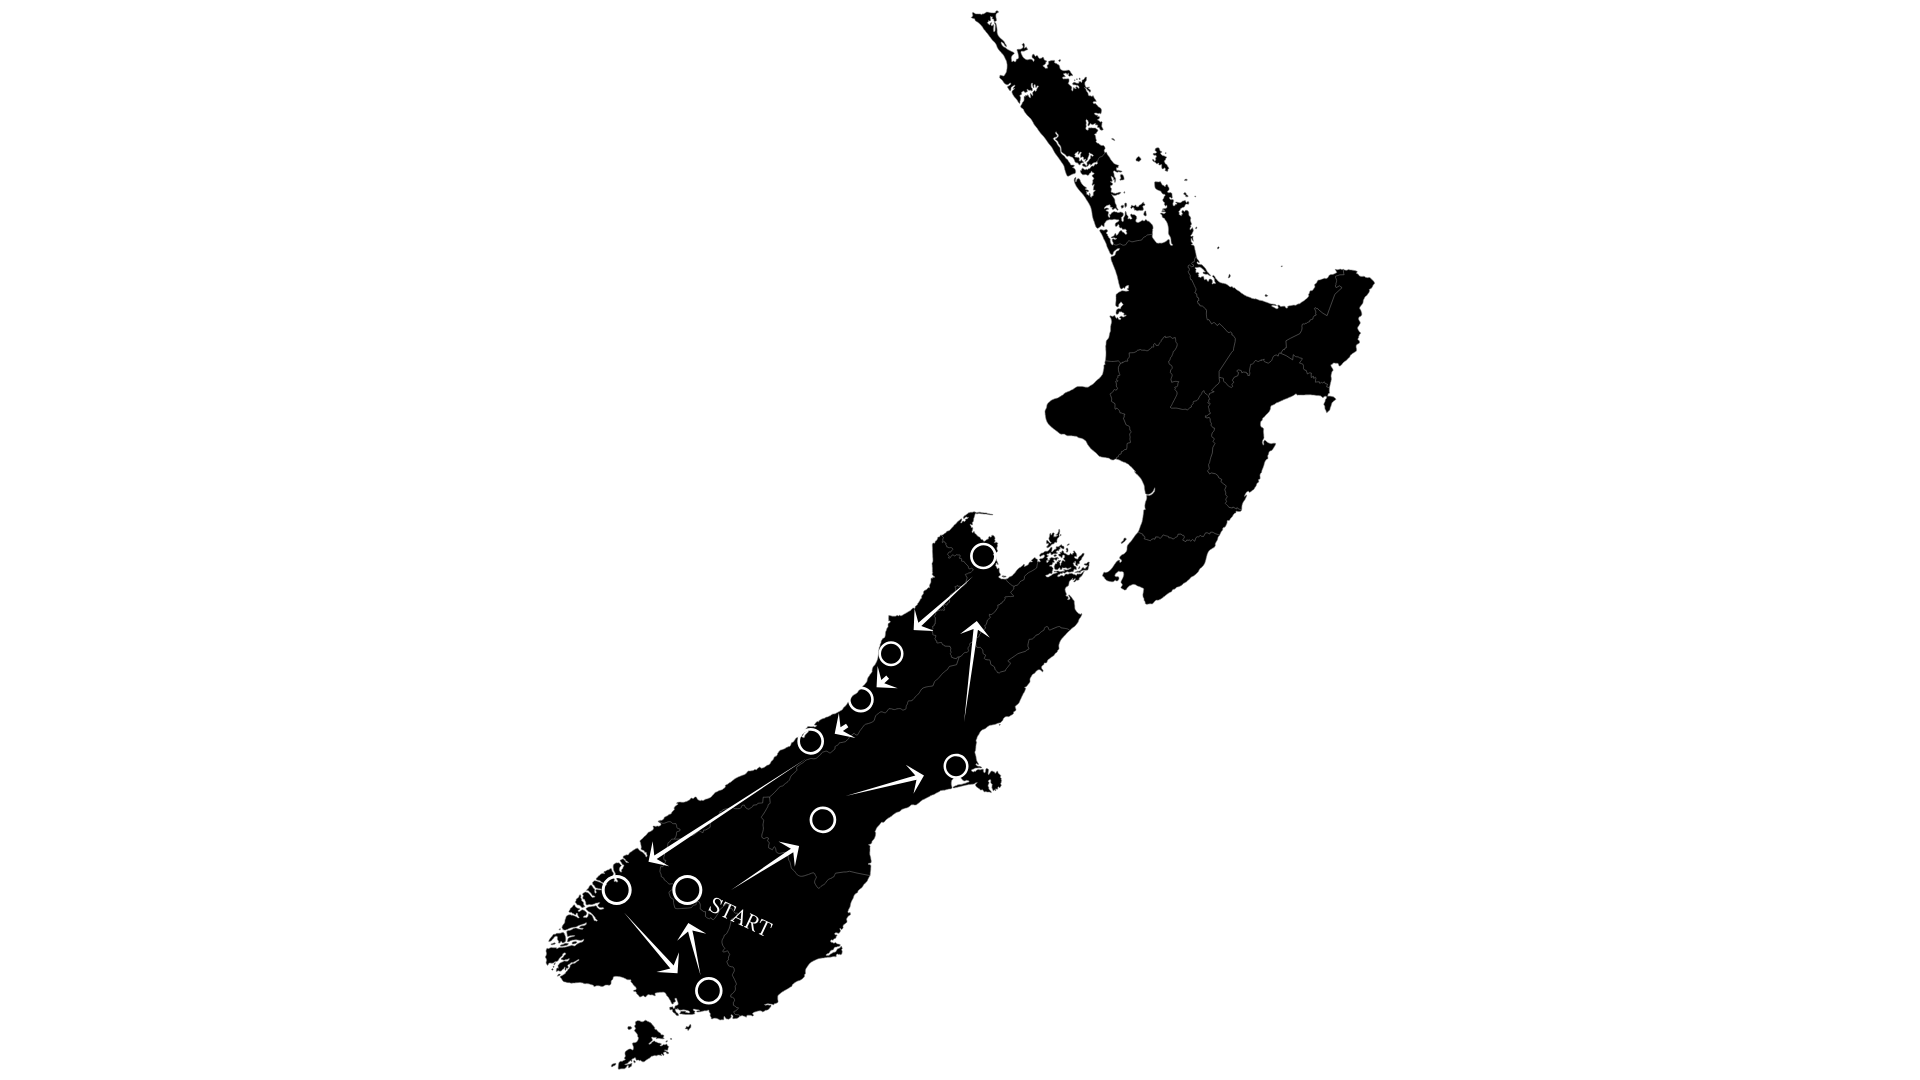
Road trip map of New Zealand
DAY 1: LAKE PUKAKI AND MT. COOK NATIONAL PARK
Why you should go: Lake Pukaki is the sole access point to Mt. Cook National Park, home to New Zealand’s tallest mountain (3,765m). It’s also the country’s deadliest peak, accounting for nearly 80 reported casualities since the early part of the 20th century.
With tons of hiking to choose from, you can be sure that there’s something for all ages and fitness levels. Looking for a view of Mt. Cook? Try the Hooker Valley Track. Although it’s one of the most popular hikes, the 10.5km round trip path takes adventurers over swinging bridges and through the valley before reaching Hooker Lake, all at only 100m of elevation gain - talk about bang for your buck! Whichever hike you choose, I guarantee you will encounter some of the most breathtaking scenery in all the world. For a comprehensive list of hikes within Mt. Cook National Park, click here.
Lake Pukaki is also an optimal basecamp for exploring nearby Lake Tekapo or hopping on a scenic flight to soak up the spectacular aerial views. My personal recommendation would be Air Safaris; great service and a variety of options to fit any budget!
Must Do: Hooker Valley Trek and Air Safari Tour
Total Drive Time: 4 hrs. (Tekapo to Amberley Beach). Make sure to enjoy the views as you drive over Burke’s Pass along Highway 8!
Overnight Stay: Amberley Beach Reserve. Any vehicle is welcome to camp here, with both powered and non-powered sites available. The campground also offers toilets and bucket shower stalls and costs between $5-25 NZD per night, depending on your chosen site and vehicle.
Planning to stay longer in Lake Tekapo? Here’s a list of things to do and see:
Hike to the Mt. John Observatory for sweeping views over Lake Tekapo
Test your hand at astrophotography (Tekapo is a designated International Dark Sky Reserve)
Take flight high above Mt. Cook with Air Safaris as your guide to truly grasp the magnificence of the area
Relax in the Tekapo Hot Springs

Hooker Valley Trek at Mt. Cook National Park
DAY 2: KAIKOURA
Why you should go: The beauty of New Zealand is that you don’t need to be either a water person or a mountain person; you can be both! The sleepy seaside town of Kaikoura can attest. Located at the base of the aptly named Kaikoura mountain range, it is widely known for its resident sperm whale population, making it THE perfect place to hop on a boat and experience the wildlife from the water. Not a fan of the open sea? No problem. Stroll along the Kaikoura Peninsula Walkway to the rock platforms and prepare to “ooh” and “ahh” when you stumble upon a colony of fur seals!
Must Do: Whale watching in the South Pacific Ocean. We used Whale Watch Kaikoura and had an incredible time. Make sure to book in advance as spots fill up fast, even in the winter months!
Total Drive Time: 6 hrs. (2 hrs. from Amberley to Kaikoura and 4 hrs. from Kaikoura to Motueka)
Overnight Stay: Motueka Beach Reserve. This is a free camping area that only allows self-contained vehicles. It comes complete with toilets, showers, designated fire and cooking areas, and is located adjacent to the Motueka Salt Baths, just in case you feel the urge to take a quick dip in the Tasman Bay.

Kaikoura, New Zealand
DAY 3: ABEL TASMAN NATIONAL PARK
Why you should go: What do you get when you add rainforests to waterfalls and and sprinkle golden sand beaches on top? Paradise. Spread along the south island's northern coast, this national park is most well known for the Abel Tasman Coast Track as it winds its way 60km along the pristine water. This particular hike takes a bit of advanced planning, but it is still possible to experience the region by trekking to nearby to Wainui Falls. This 3.4km out and back trail maneuvers it's way through the lush rainforest and over suspension bridges before arriving at the stunning waterfall. Be sure to take a quick dip in the frigid waters and make sure to have a towel at the ready!
Must Do: Wainui Falls was an incredible hike, but our favorite part of the day was simply driving and exploring the area, especially Highway 60 up and over Takaka Hill.
Total Drive Time: 4.5 hrs. ( 1.5 hrs. from Motueka to Abel Tasman National Park and 3 hrs. from Abel Tasman to Murchison)
Overnight Stay: Riverside Holiday Park (Murchison). From 3 bedroom cabins to non-powered tent sites, this accommodation has something for everyone. The facility comes complete with a community kitchen, flushing toilets, and warm showers… this holiday park certainly spoiled us! We opted to rent a powered site for just $35 NZD ($22 USD) in order to hook up the heater in our van to keep us warm during a rainy night.
Want to learn more about this island nation? Check out these essential posts:
Day 4: PUNAKAIKI AND HOKITIKA
Why you should go: Stunning coastline and glow worms galore! The western part of the south island is like nothing I had ever seen before. Lush rainforests stretch from high above in the Southern Alps to the Tasman Sea below.
Driving aimlessly along Highway 6 and spontaneously stopping as you go is worth it in its own right, however this part of the island is where you can find two popular destinations: Punakaiki and Hokitika.
Punakaiki is home to the curious limestone formations known as Pancake Rocks, the perfect place to take a short 1.1km walk around these geological oddities and stretch your legs.
Pro Tip: Try to time your visit around high tide. This is when the surge pools and blowholes will be most active, leading to a truly spectacular show of forece from the ocean.
Feeling adventurous? Bring a headlamp and take a quick detour to the Punakaiki Cavern, located just north of the Pancake Rocks along Highway 6. Don’t forget to look up to spot the glow worms and stalacites as you descend into the darkness!
If you have trouble spotting the glow worms in Punakaiki, don’t worry, so did we! Keep driving south to Hokitika and you’ll find the Hokitika Glow Worm Dell. Located directly off of Highway 6, this leafy canyon is a protected home to these intriguing creatures.
Make sure to go at night as they illuminate the path. It’s free and only a 2 minute walk from the roadside, making it the perfect alternative if you don't have time or budget for an organized tour.
Did you know that the light emitted from these worms isn’t just mesmerizing to the human eye? It’s used to attract their food, luring insects and trapping them in their sticky threads!
Must Do: Hokitika Glow Worm Dell
Total Drive Time: 3 hrs, with PLENTY of roadside stops along the way
Overnight Stay: Hokitika Holiday Park. Powered sites start at $20 NZD per person and access to the community kitchen, lounge area, showers, playground, and free wifi!

Views from Highway 6
DAY 5: FOX JOSEF AND FRANZ GLACIERS
Why you should go: Where else can you hike through the rainforest en route to a glacier? The answer is nowhere!
Franz Josef and Fox Glaciers are the only two that exist in the world. Both offer a unique experience, trekking through the lush forest and up ice-carved valleys to their terminal faces.
The Franz Josef Walk is a 5.4km path up to the 7,000 year old sheet of ice, while the Fox Glacier Valley Walk is a 6km trail that follows the south bank of the Fox River through the ancient podocarp rainforest. A professional guide is needed to access the glacier if you're looking to get more up close and personal.
Check out Franz Josef Glacier Tours and choose your adventure: ice climbing, heli-hiking, and more!
Must Do: The Franz Josef Glacier Walk
Total Drive Time: 4 hrs. to Haast, with stops at both the Franz Josef and Fox Glaciers
Overnight Stay: Haast River Holiday Park. This powered site is slightly more expensive at $48 NZD per night, but provided access to the kitchen, showers, and wifi. Onsite motel rooms are also available.

Franz Josef Glacier from above
DAY 6: WANAKA (TRANSIT TO MILFORD SONUD)
Why you should go: Located on the southern shore of Lake Wanaka, this town is the perfect stopover en route to the Milford Sound. Snap a picture of That Wanaka Tree or simply enjoy a flat white as you peruse the stores along the waterfront.
Have a bit more time to spare? Take a jaunt up Roy’s Peak, a steep 16km trek that ends in sweeping views over the surrounding landscape.
Must Do: Stroll along Lake Wanaka
Total Drive Time: 5.5 hrs. from Haast to Cascade Creek Campground (brief stops in Wanaka and Te’Anu)
Overnight Stay: Cascade Creek Campground. This is the closest campground to the Milford Sound without making reservations in advance and costs just $15 NZD per person. Toilets are available, however powered sites are not. It’s the perfect place to spend the night if you have an early morning cruise of the sound scheduled for the following day!
Pro Tip: Fill up your gas tank in Te’Anu… it’s the last stop you’ll find before reaching the Milford Sound.
DAY 7: FIORDLAND NATIONAL PARK AND MILFORD SOUND
Why you should go: With cascading waterfalls that plummet over the fjords and into the serene waters below, this cherished corner of the world is filled with unrivaled beauty.
The best way to experience the sound is from the water, so be sure to hop on a nature discovery cruise. There are plenty of tour operators to choose from so it’s possible to shop around for the right fit for your wallet. Pro Tip: If you rent a vehicle from Jucy, you’ll receive a $30 discount when you book through Jucy Cruise!
Once your mind has been properly blown, spend some time exploring the rest of the 1.2 million hectares of land that makeup Fiordland National Park. For a full list of hikes available, click here.
Must Do: Cruise the Milford Sound
Total Drive Time: 5 hrs (1 hr from Cascade Creek Campground to Milford Sound and 4 hrs from the Milford Sound to Weirs Beach Campground)
Overnight Stay: Weirs Beach Campground. This is a free site that welcomes any type of vehicle! Non-powered sites only, but bathrooms are available.

Milford Sound, New Zealand
DAY 8: THE CATLINS COAST
Why you should go: Peace, serenity, and wildlife. Oh, and inching closer to Antarctica!
Comprised of the southeastern part of the island, The Catlins aren’t frequently visited by most, but are well worth the effort to get there.
Take a short, albeit windy, walk out to Slope Point and you’ll find yourself standing closer to Antarctica than to the equator.
Beyond creeping closer to the ice continent, The Catlins is one of the best spots to find an abundance of yellow-eyed penguins, sea lions, and starry nights.
Visiting in the winter months? Hunt down the southern lights! This forecast will help make sure that you don’t miss out.
Must Do: Slope Point
Total Drive Time: 3.25 hrs. back to Queenstown to complete the trip!
Overnight Stay: Turner Heights Townhouses (Queenstown). Between the aerial views of Queenstown and the easy walk to Lake Wakatipu, this was the perfect accommodation for our final night!

Slope Point, New Zealand
Have you given yourself more than just one night in Queenstown? Here’s a short list of things to see and do:
Play footygolf with The Remarkables as your backdrop at the Frankton Golf Centre
Wake up early and climb to the top of Queenstown Hill for sunrise
Enjoy breakfast along the water at Vudu Cafe
Take the plunge at the world’s first bungy jump (AJ Hackett Bungy)
Trek up the Tiki Trail for picture perfect views above Queenstown with The Remarkables as a backdrop
Meander along the shores of Lake Wakatipu in the evening light
Although we managed to condense a lot into a short amount of time in New Zealand, we certainly didn’t come close to scratching the surface of all that this nature lover’s paradise has to offer. At the end of the day, it’s important to realize that this itinerary is in no way perfect. It’s merely a starting point for you to pull out a map and begin planning an adventure of your own. After all, I find that some of the best memories are made before the trip has even begun!
Have you been to New Zealand before? What was your favorite part? I want to hear from you in the comments below!
Thanks for stopping by and as always, stay safe & happy travels.
Sharing is caring… pin this post for later!


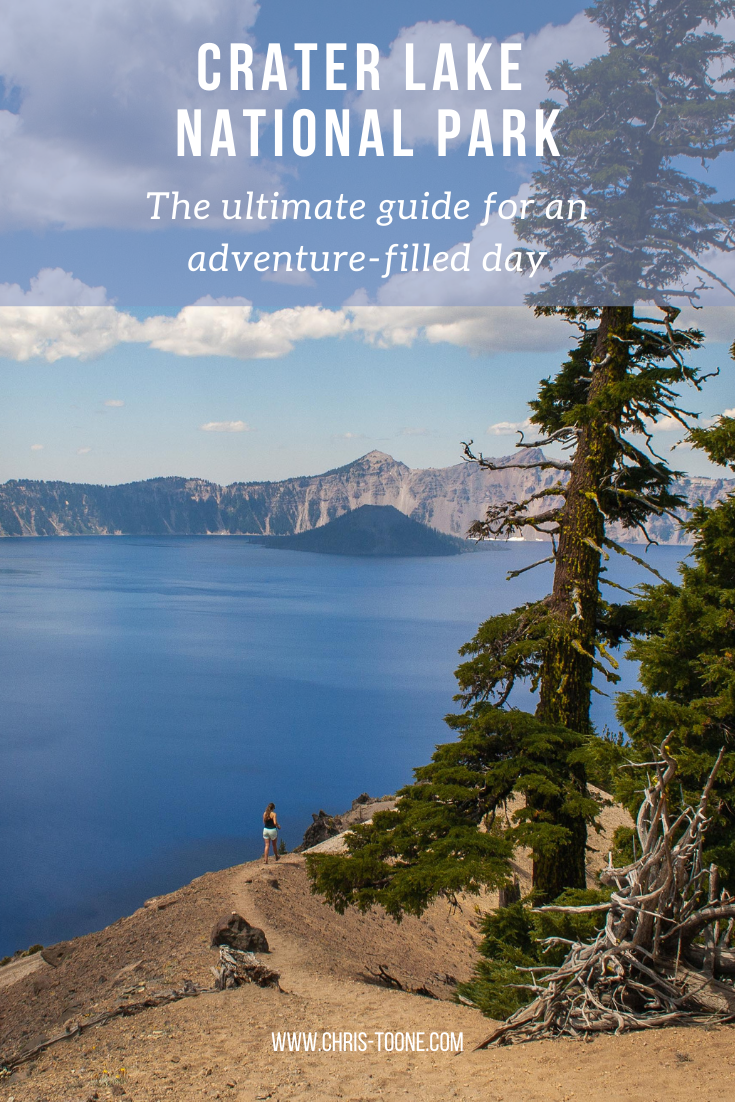
The Ultimate Guide to Crater Lake National Park: Everything you need to know for a day full of adventure
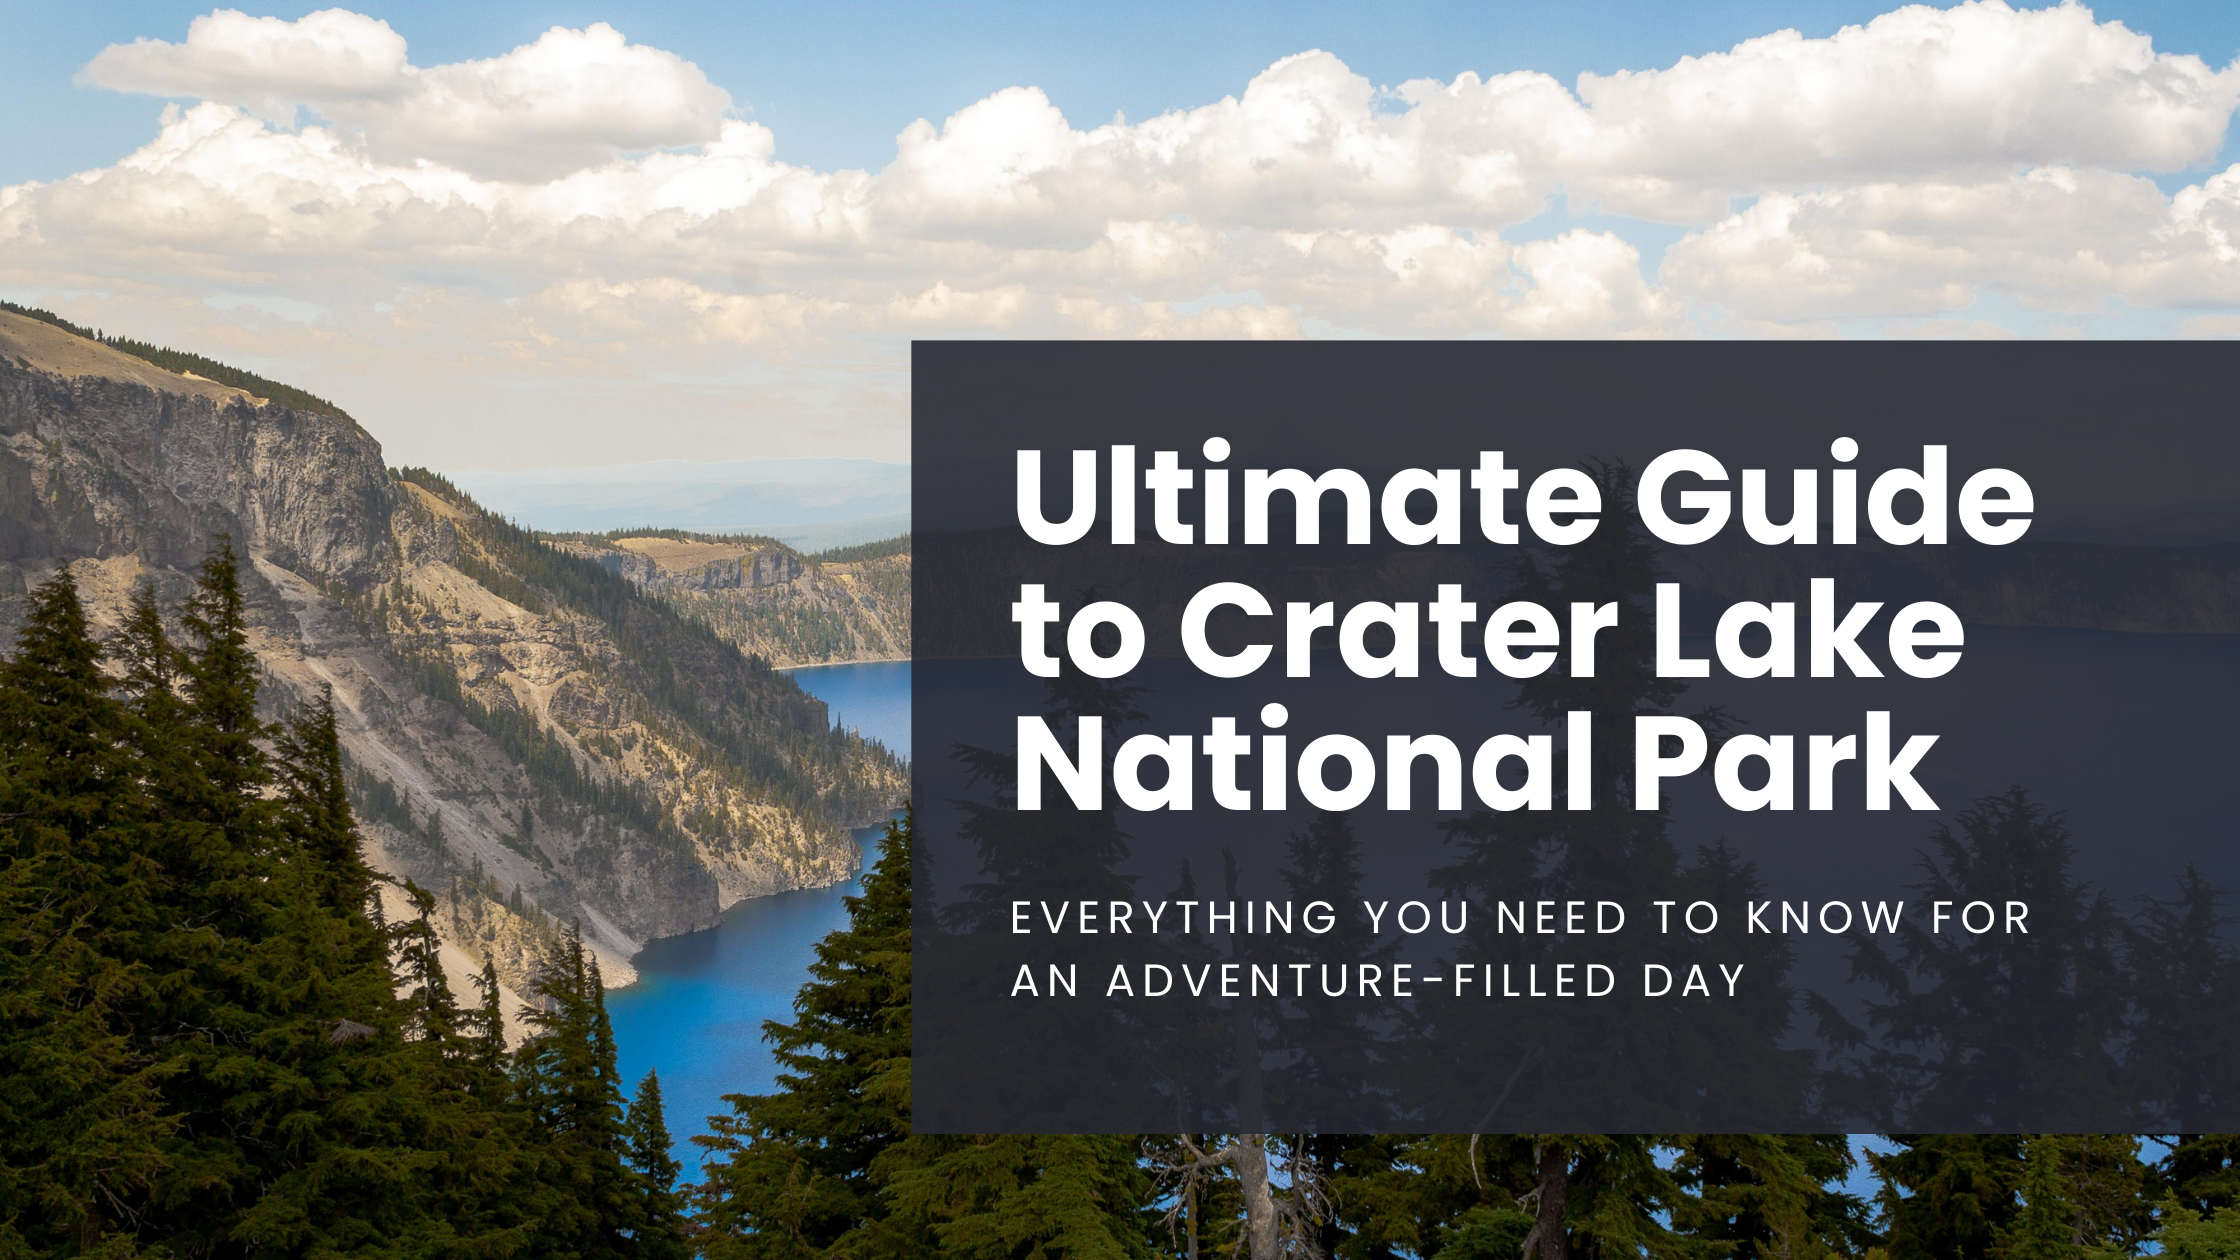
Crater Lake National Park has grown in popularity over the years, but it still wildly underrated amongst the National Parks. Here is your guide to getting the most of your 24 hours exploring the area!
All information below is up to date as of April 2023.
A mere 42,000 years ago, Mt. Mazama rose through the present-day Oregon wilderness to 12,000 feet above sea level. Fast forward 5,000 years, the volcano experienced its largest eruption ever, spewing magma as far as 40 miles while spreading ash as far north as Canada and as far south as Nevada.
The sheer magnitude of this eruption caused Mt. Mazama to lose so much of its structure that it could no longer support the peak of the volcano, forcing it to cave in on itself and thus creating the caldera that now holds what is known as Crater Lake. Gradually over the years, snowmelt and rain began to fill the new hole in the ground, forming the deepest lake in the United States of America (1,943 ft/595 m).
Here’s how to make the most of your time at Crater Lake National Park and some tips and tricks to avoiding crowds!
WHEN TO VISIT
Crater Lake sits at an elevation of 6,178ft. and gets an average snowfall of 48ft., meaning that the park is buried from October through June. The southern entrance is the only way to access the park during this time and the rim road turns into skiing trails.
This makes July through September the prime months to visit, with high temps of around 67 degrees during the day and as low as 40 degrees at night.
It’s important to note that the number of visitors to Crater Lake National Park has skyrocketed in recent years. The National Park Service reported that annual totals jumped as much as 23% between 2015-2016, so if there’s a need for overnight accommodation in your itinerary, be sure to research and book in advance.

Wizard Island from above
GETTING THERE
Crater Lake National Park is located in southwestern Oregon. Medford is the closest major town (to the south).
From Eugene:
2.25 hours drive time
The fastest route is to take OR 58 through Oakridge, then route 97 to 138
Alternatively, you can also use I-5 to Wilbur before picking up 138 east
Enter at the northern gate
From Medford:
1.25 hours drive time
Follow OR 62-E the entire way
Enter at the southern gate
WHAT TO PACK
With the high elevation, exercise caution on sunny days. Bring a good amount of sunscreen along with a hat and sunglasses, especially if you plan on spending your afternoon exploring by foot.
Pack a picnic lunch and enjoy the views at one of the several overlooks along the rim road.
There are plenty of places to re-fill water bottles along the way, but be sure pack enough to get by. It’s easy to get dehydrated between the altitude and sunshine.
If you plan on hiking, bring bug spray. We didn’t have any problems, but always better to be safe than sorry!
Don’t forget your camera… just remember: adventure first, pictures second.
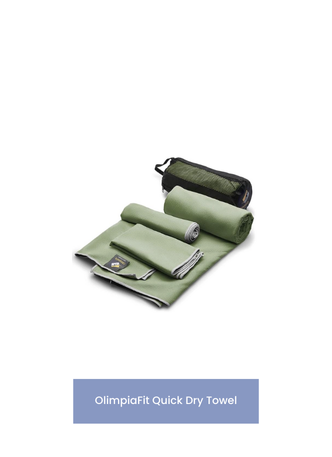
Here’s what we brought with us:




ENTRANCE FEES
The current rates are as follows (as of February 2023):
$20 per vehicle (November 1 to mid-May) or $30 per vehicle (mid-May to October)
$25 per motorcycle (May 22 - October 31) or $15 per motorcycle (November 1 to mid-May)
Annual Park Pass accepted ($55)
Consider purchasing your pass ahead of time online which can be a big asset if visiting during peak hours, saving you from having to wait in line at the entrance booths.
HOW TO EXPLORE THE PARK
Right off the bat, my number one piece of advice would be to get there early. This will provide a few moments of solitude to appreciate the surrounding beauty. We left our home in Corvallis at 5:30 am, determined to get at least one hike completed before the crowds descended upon the park and it ended up paying dividends.
The best, and easiest, way to explore is to plan to drive around the rim. This 32.93-mile road circumnavigates the entire lake, offering the chance to pull off as you please and enjoy the views. We entered at the northern gate and decided to drive counterclockwise. Our well-rounded plan included several shorter hikes, covering an overlook, a waterfall, and swimming in the lake. Here’s how it went:
The Watchman Peak Trail
A brief word to the wise: this trail is popular. It was the first thing we did after arriving and we enjoyed the views at the top with two or three other groups. When we passed the trailhead on our way out of the park, it looked like a small army of ants climbing to the top.
The trailhead is located at 3.7 mi. north and west from the Rim Village. The path starts from the southern end of a paved parking lot, sharing it with the Watchman Overlook Viewpoint.
The trail itself is a 1.6mi. roundtrip trail with 387ft. of elevation gain and is a steady incline the entire way. Small children and grandparents were able to get up and down without hiking poles, but the extra equipment certainly wouldn’t hurt.
From the top, you’ll be treated to vast 360-degree views from the western end of the lake. Directly below you’ll see Wizard Island, the vantage point providing the perfect view of the volcanic cone.
For more information on reaching and hiking the island, visit this comprehensive guide from Just Go Travel Studios.
Looking to the north, you’ll be able to spot other volcanos within the High Cascade range, including Mt. Bailey, Diamond Peak, and Mt. Thielsen.
Back at the bottom, we continued driving southeast along the rim road towards the Rim Village. Bathrooms are accessible around most of the park, but they are not available at every trailhead. If you need to go, make sure to use the ones in the parking lot before leaving.
Along this route, you will run into Vidae Falls on your left. From the pull-out, you’ll be able to see the 100ft. cascading waterfall, but there’s not much more to do here other than get out and take a quick peek before continuing.
Plaikni Falls Hike
To reach the start of the trail for Plaikni Falls, turn right onto Pinnacle Road just before reaching the Phantom Ship Overlook. After driving another 1.2mi., you will see the parking area on your left. Note: There are no bathrooms available at this trailhead.
The path is an easy walk for all ages, winding 2.2mi. (round trip) through the old-growth forest before reaching Sand Creek where rushing water, wildflowers, and butterflies are waiting to greet visitors. We didn’t have any problems with mosquitoes, but reports have stated otherwise, so make sure you have the bug spray ready and available for this one.
There isn’t much space to hang out by the waterfall, especially if there is a lot of traffic on the trail, but it’s worth it to have a look.
Due to its short length and popularity, the trail can become quite congested during peak hours. As is the case with most hikes, the earlier you can arrive, the better.

View of Plaikni Falls
Lunch at Victor View
An unmarked overlook, Victor View provided the perfect spot for a quick lunch away from the crowds. Despite the heavy traffic, we only saw three other cars pull over here. It is the second pull-off (on your left) after the Phantom Ship.
There’s a short trail that has been carved out that will take you through the trees and provide you with unobstructed views across Crater Lake and towards Wizard Island, as well as Cloudcap Bay to the right. Exercise caution as the ground quickly turns from packed dirt to sand and loose stone.
This viewpoint placed us in a perfect location to take a post-lunch drive up to the Cloudcap Overlook, which can be reached by taking the highest paved road in Oregon.

Looking towards Cloudcap Bay
Cloudcap Overlook
One of the most popular overlooks in all of Crater Lake National Park, you’ll be treated to expansive westward views across the caldera once at the top. Be aware that you may have to fight a busload or two of tourists to catch a glimpse of the scenery.
You won’t be disappointed with the views if you’re able to find a spot, but the entire park is stunning so we felt comfortable skipping it this time around.
Shortly after departing Cloudcap Overlook and reuniting with the rim road, we passed the trailhead for Mt. Scott. This is the highest point of Crater Lake. Although only a 4.2-mile round trip hike, it wasn’t on our itinerary for the day due to limited time. Instead, we continued to Cleetwood Cove — it was time to get wet!
Cleetwood Cove Trail
It’s important to note that Cleetwood Cove Trail DESCENDS to the lake, meaning the way back up will be the grueling part. We passed quite a few unhappy faces on their way to the parking lot.
At only 2.2mi. round trip, the way down is quite easy via the switchback trail, with Crater Lake peeking out from between the trees. Eventually, the boat docks will appear. Continue following the trail and you will soon see where everyone is swimming.
I was surprised by how crowded it was, but I guess it makes sense. After all, who would pass up the chance to swim in a lake with a collapsed volcano beneath the surface? Not us!
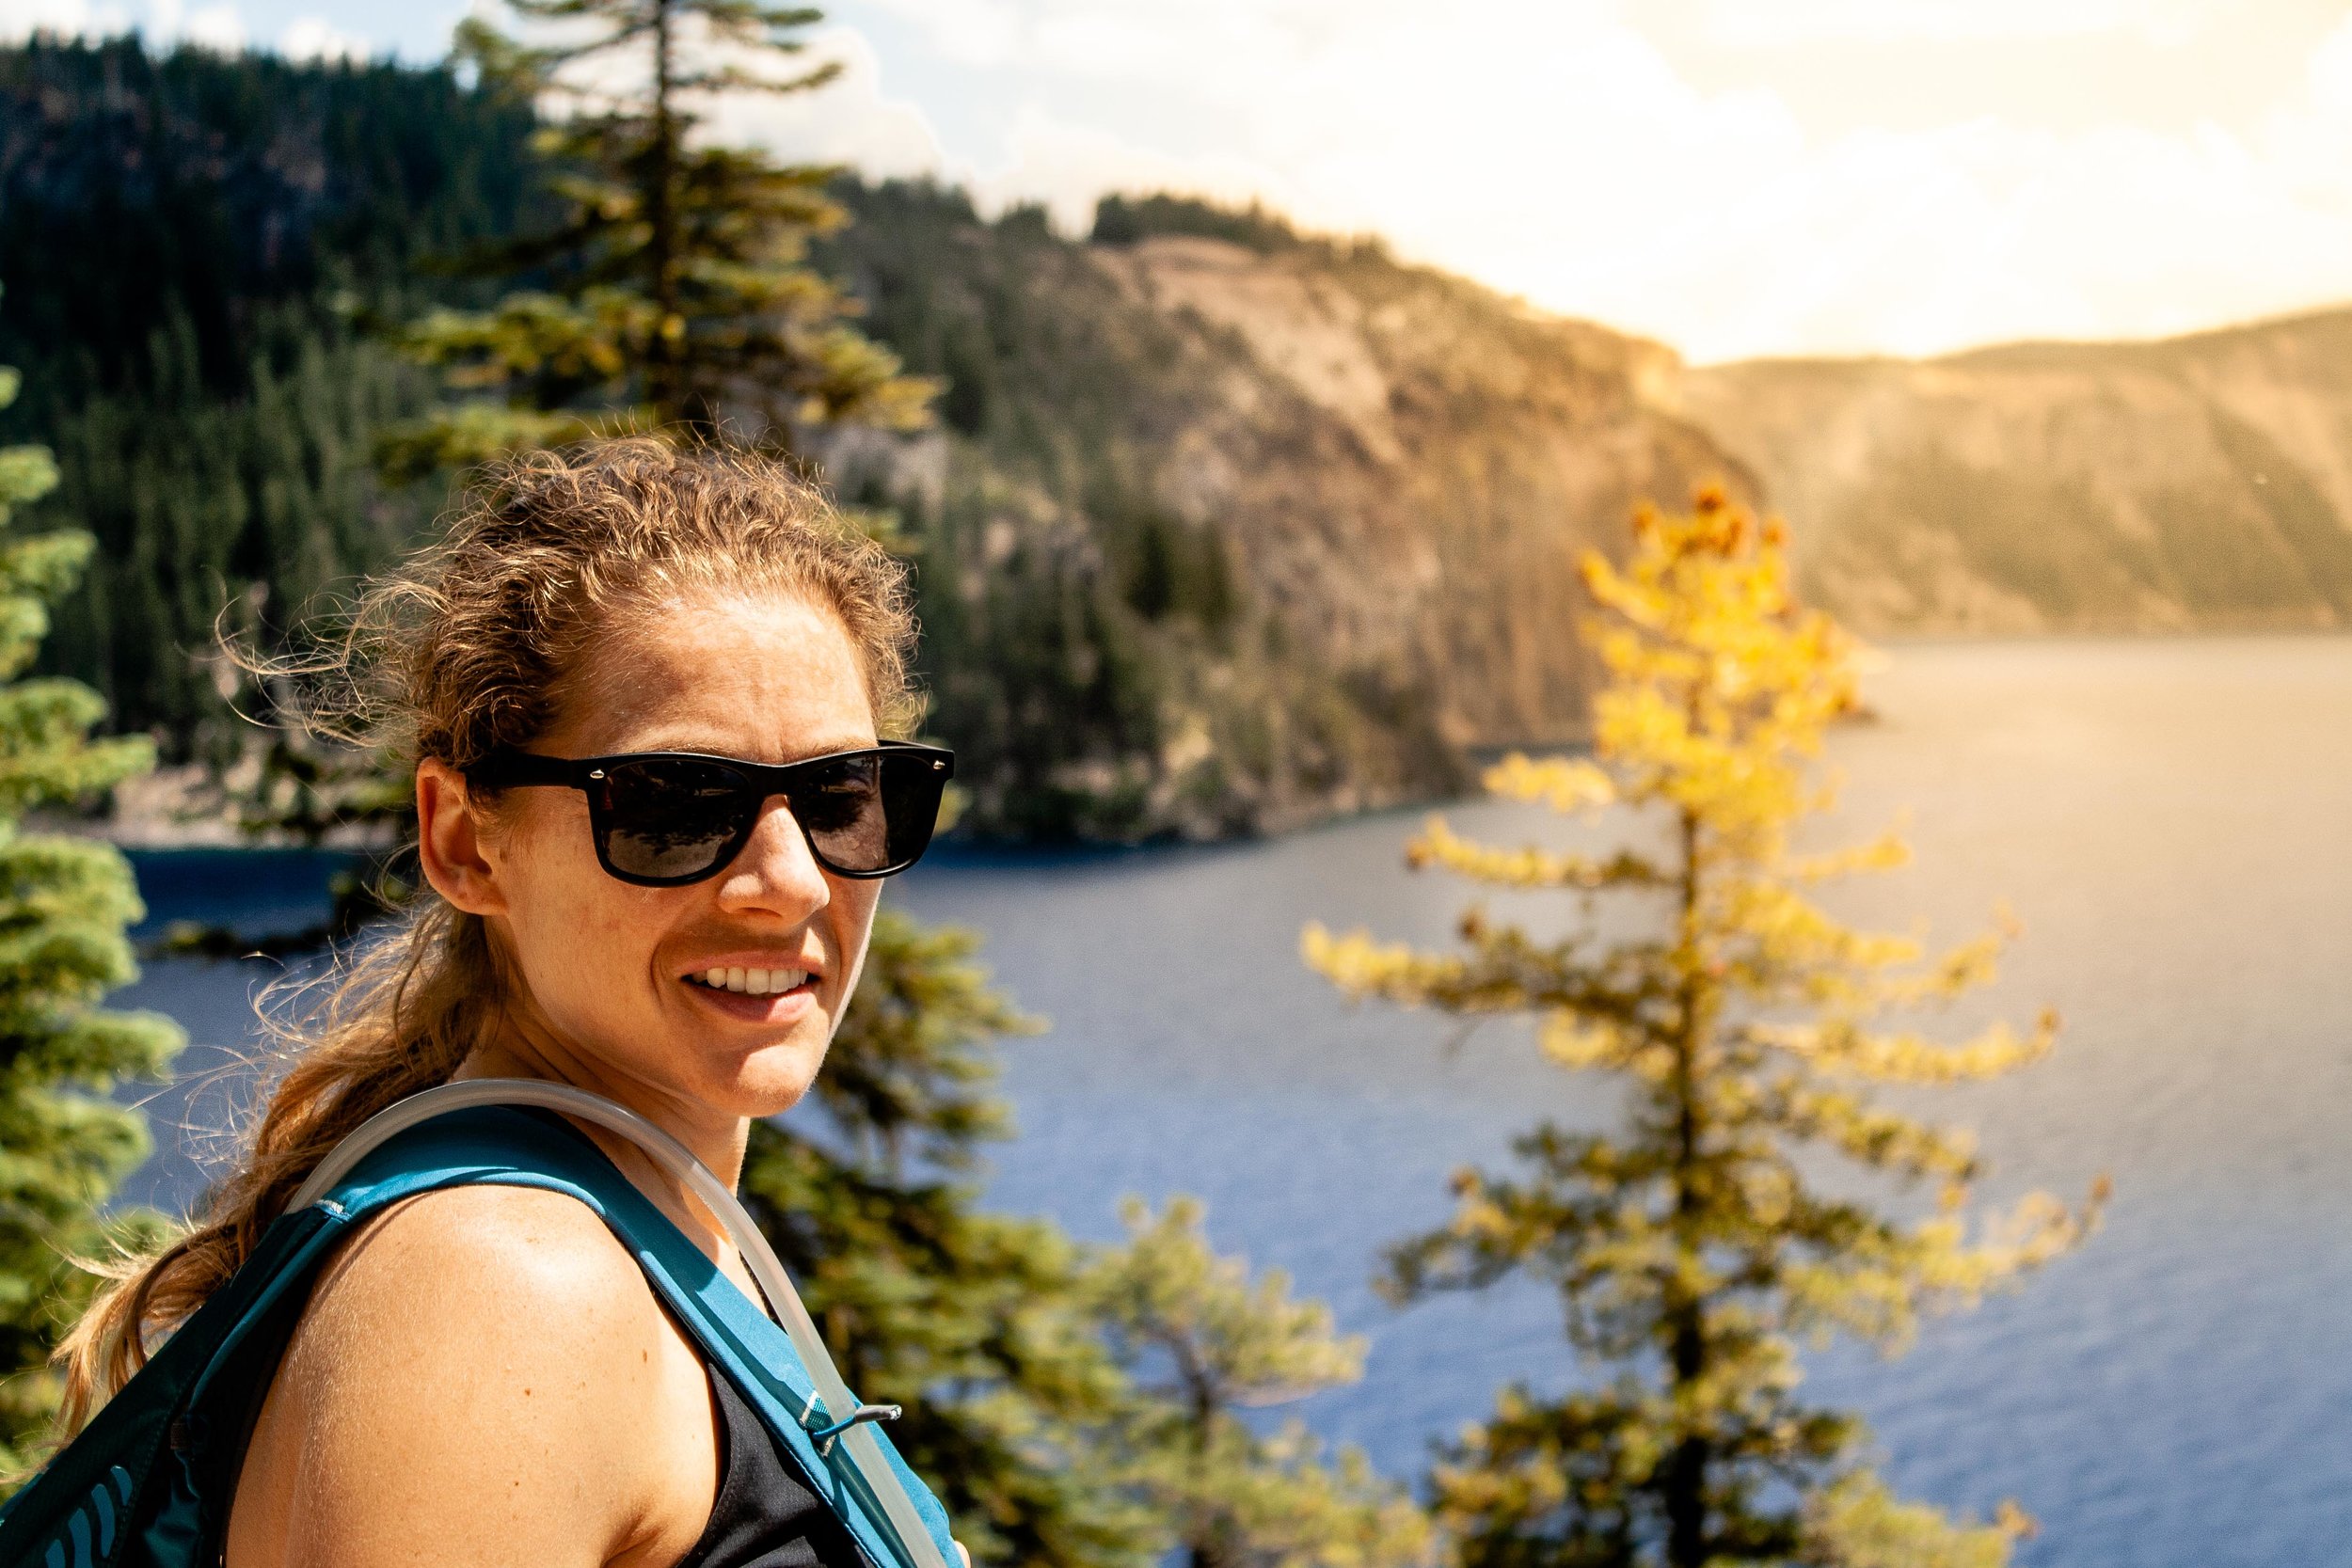
After taking a dip and enjoying the water-level views, tie your laces tight to start climbing the 700ft. back to the trailhead. Pro Tip: Bring closed-toed shoes. Many parts of the trail are soft, making it difficult to navigate in sandals. Several cut-outs along the path provide an oasis-like seating area to rest and catch your breath. If you go in the afternoon, make sure to bring water and stay hydrated!
Hiking Cleetwood Cove Trail
Cleetwood Cove was our final stop of the day before leaving the park and driving home. When it was all said and done, we had spent nearly 7 hours exploring the area and cumulatively hiking 6 miles; a full day of adventure that left our legs tired, our clothes dirty, and our faces beaming with delight!
Although visitor numbers are on the rise, the park didn’t even crack the top 10 most visited in 2018, presenting the unique opportunity to enjoy Crater Lake National Park without the large crowds that other places such as Yellowstone and Zion regularly experience. We highly recommend it!
More information can be found by visiting the National Park Service website.
Have you had experiences of your own? Be sure to leave them in the comments below!
As always, stay safe & happy travels!
A friendly reminder to comply with all rules and regulations regarding National Parks. It’s up to us to protect and preserve the Earth, so stick to established trails and leave only your footprints behind! Crater Lake also attracts cyclists from around the world, so be sure to share the road and use caution when driving around the rim.
Pin this post for later!







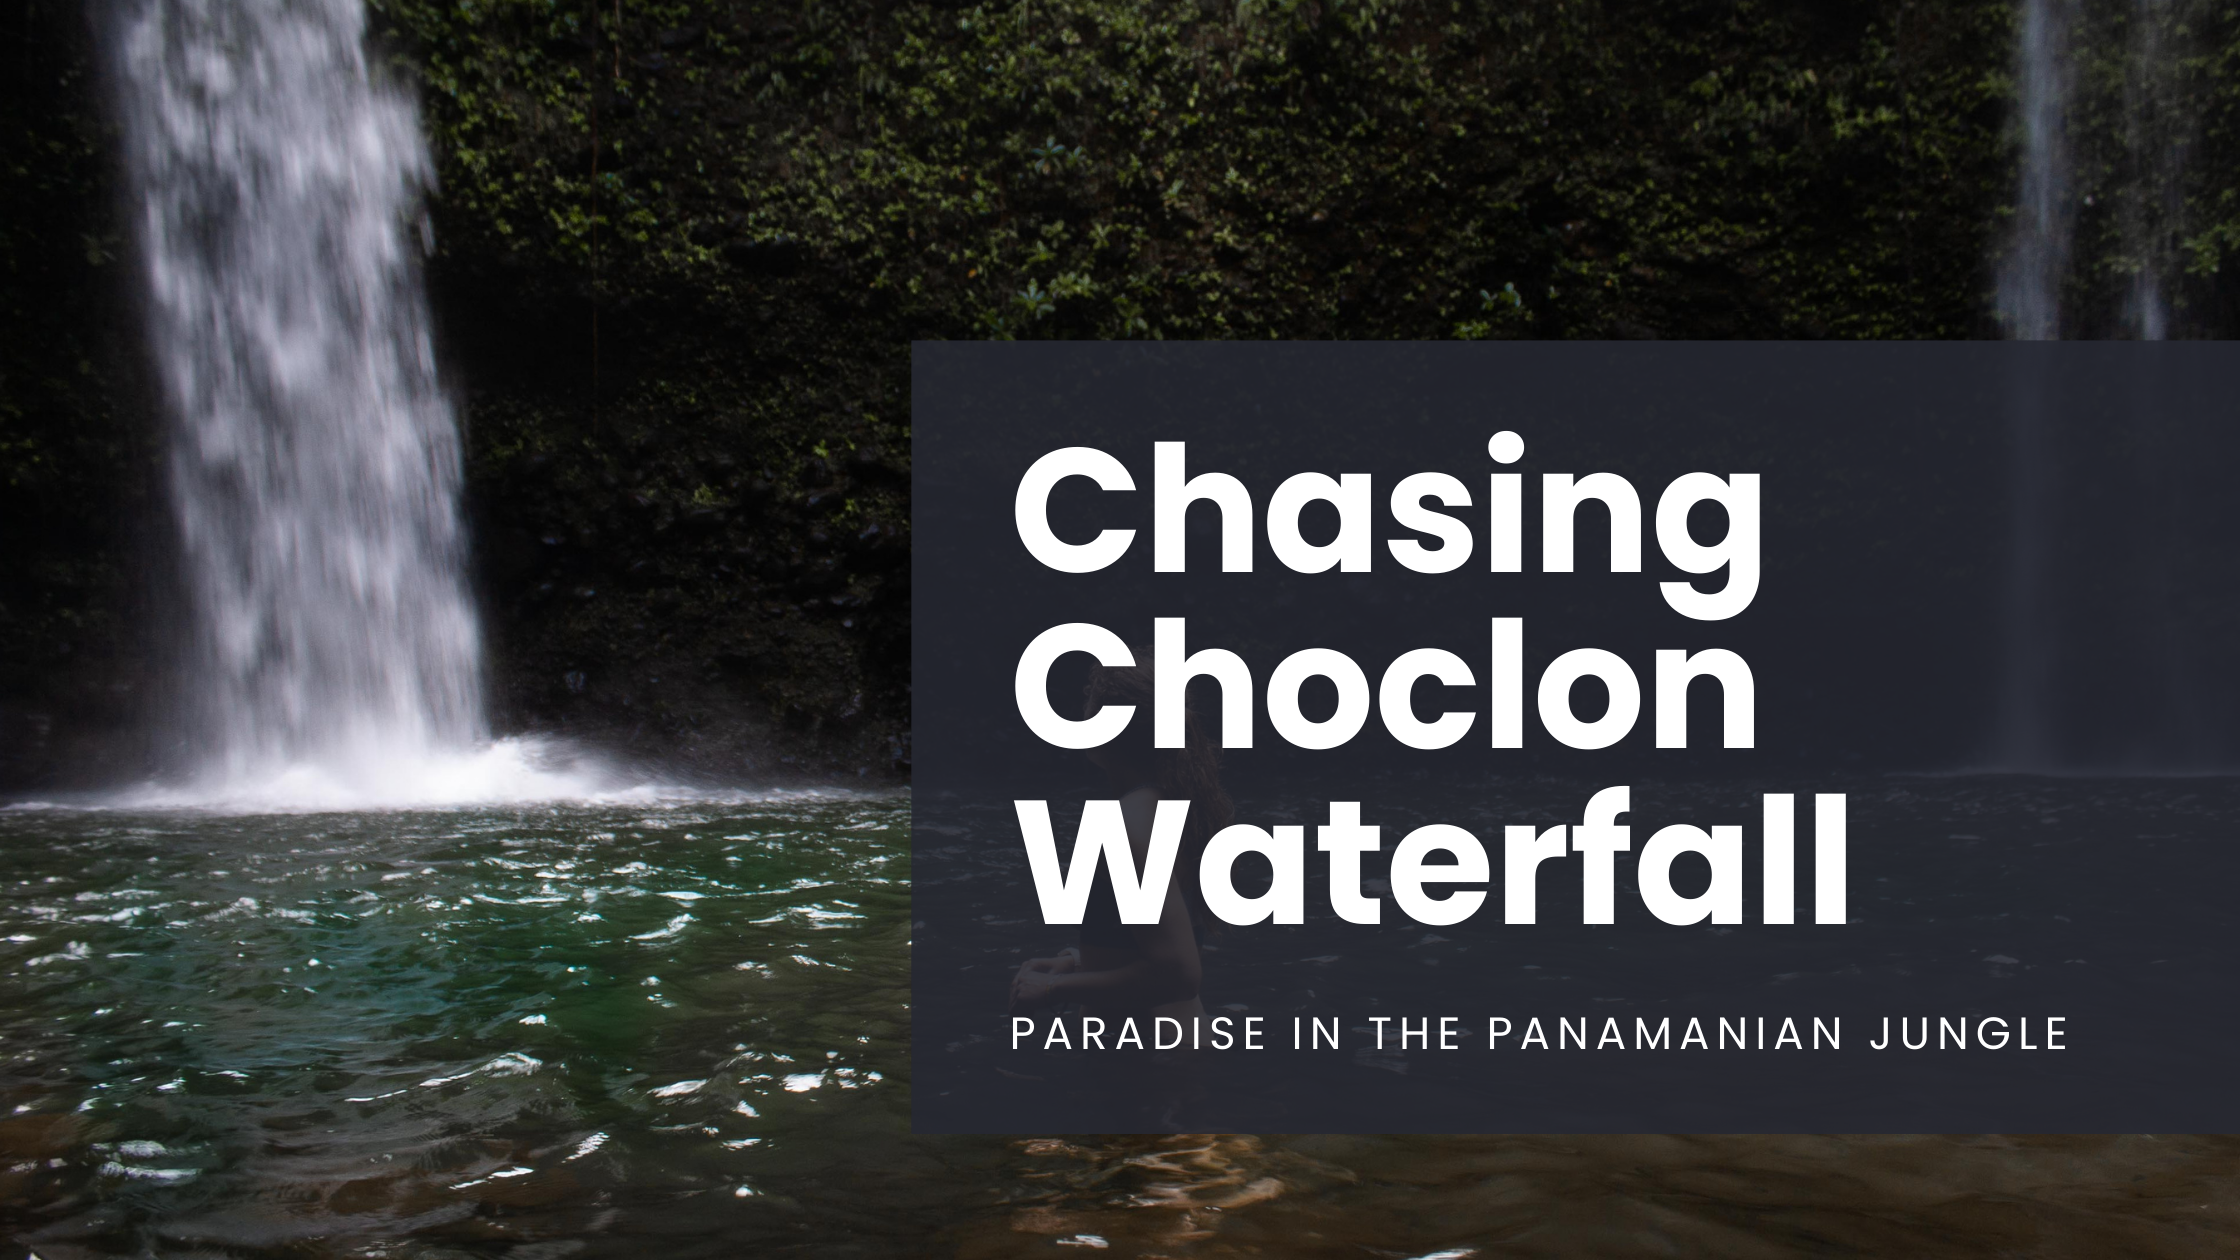
Chasing Choclon Waterfall: Discovering paradise in the Panamanian jungle
As I combed through the research prior to our trip to Panama, I came across a picture of a swimming hole that blew me away. The moment I saw it, I knew we needed to experience it. There was only one problem: nothing I read would tell us where it was located…
Let me clarify one thing right from the beginning: we weren’t actually in the middle of nowhere. That’s simply how it felt, and to be honest, that’s just the way we like it!
As I combed through the research before our trip to Panama, I came across a picture of a swimming hole that blew me away. The moment I saw it, I knew we needed to experience it (click here to see the original post I found).
There was only one problem: nothing I read would tell us the location, let alone how to navigate the hike.
I stumbled deep into the black hole of the internet, searching for any clues that might point us in the right direction. The only objective I accomplished that day was leaving a solid imprint of my butt on the couch cushion. Disappointing, to say the least.
That might be enough to call it quits for some, but it only fueled the fire within. The longer I went without finding what I was looking for, the more determined I became. We were going to find a way to Cascada Choclón. There was no doubt in my mind.
All of the sudden a beam of sunlight shot into the living room. No, it wasn’t actually that dramatic, but shortly after opening the window blinds I came across our first solid lead.
It’s possible that “solid” is a gross overstatement. The website merely provided the GPS coordinates for the trailhead. It wasn’t much to go on, but that was enough to get the ball rolling!
Discover more of Panama. Don’t miss these posts:
I continued scouring every piece of information that I could find. When I took a closer look at satellite imaging, there was a portion where the jungle appeared to part along the river, providing a much-needed hint to where the falls may be.
Now that I had a starting point and a general direction, it seemed like this may pan out. Fast forward to arriving in Panama: it was time for the adventure!
As soon as we turned off the main road in Boquete, we quickly became grateful that we opted for the SUV rental. The pavement disappeared, our cell service wasn’t far behind.
The farther we drove, the slower we went, carefully maneuvering over every bump, boulder, and hole in the road. As the minutes ticked by, so did our confidence even though neither of us would ever vocalize it.
After what felt like hours, we had reached the starting point.
The car came to a halt and a cloud of dust from our tires quickly engulfed our field of vision. Once it cleared, we realized how “off the beaten track” we were. The sounds of the jungle beckoned beyond the open field that lay ahead. One last look at our maps and we were off.
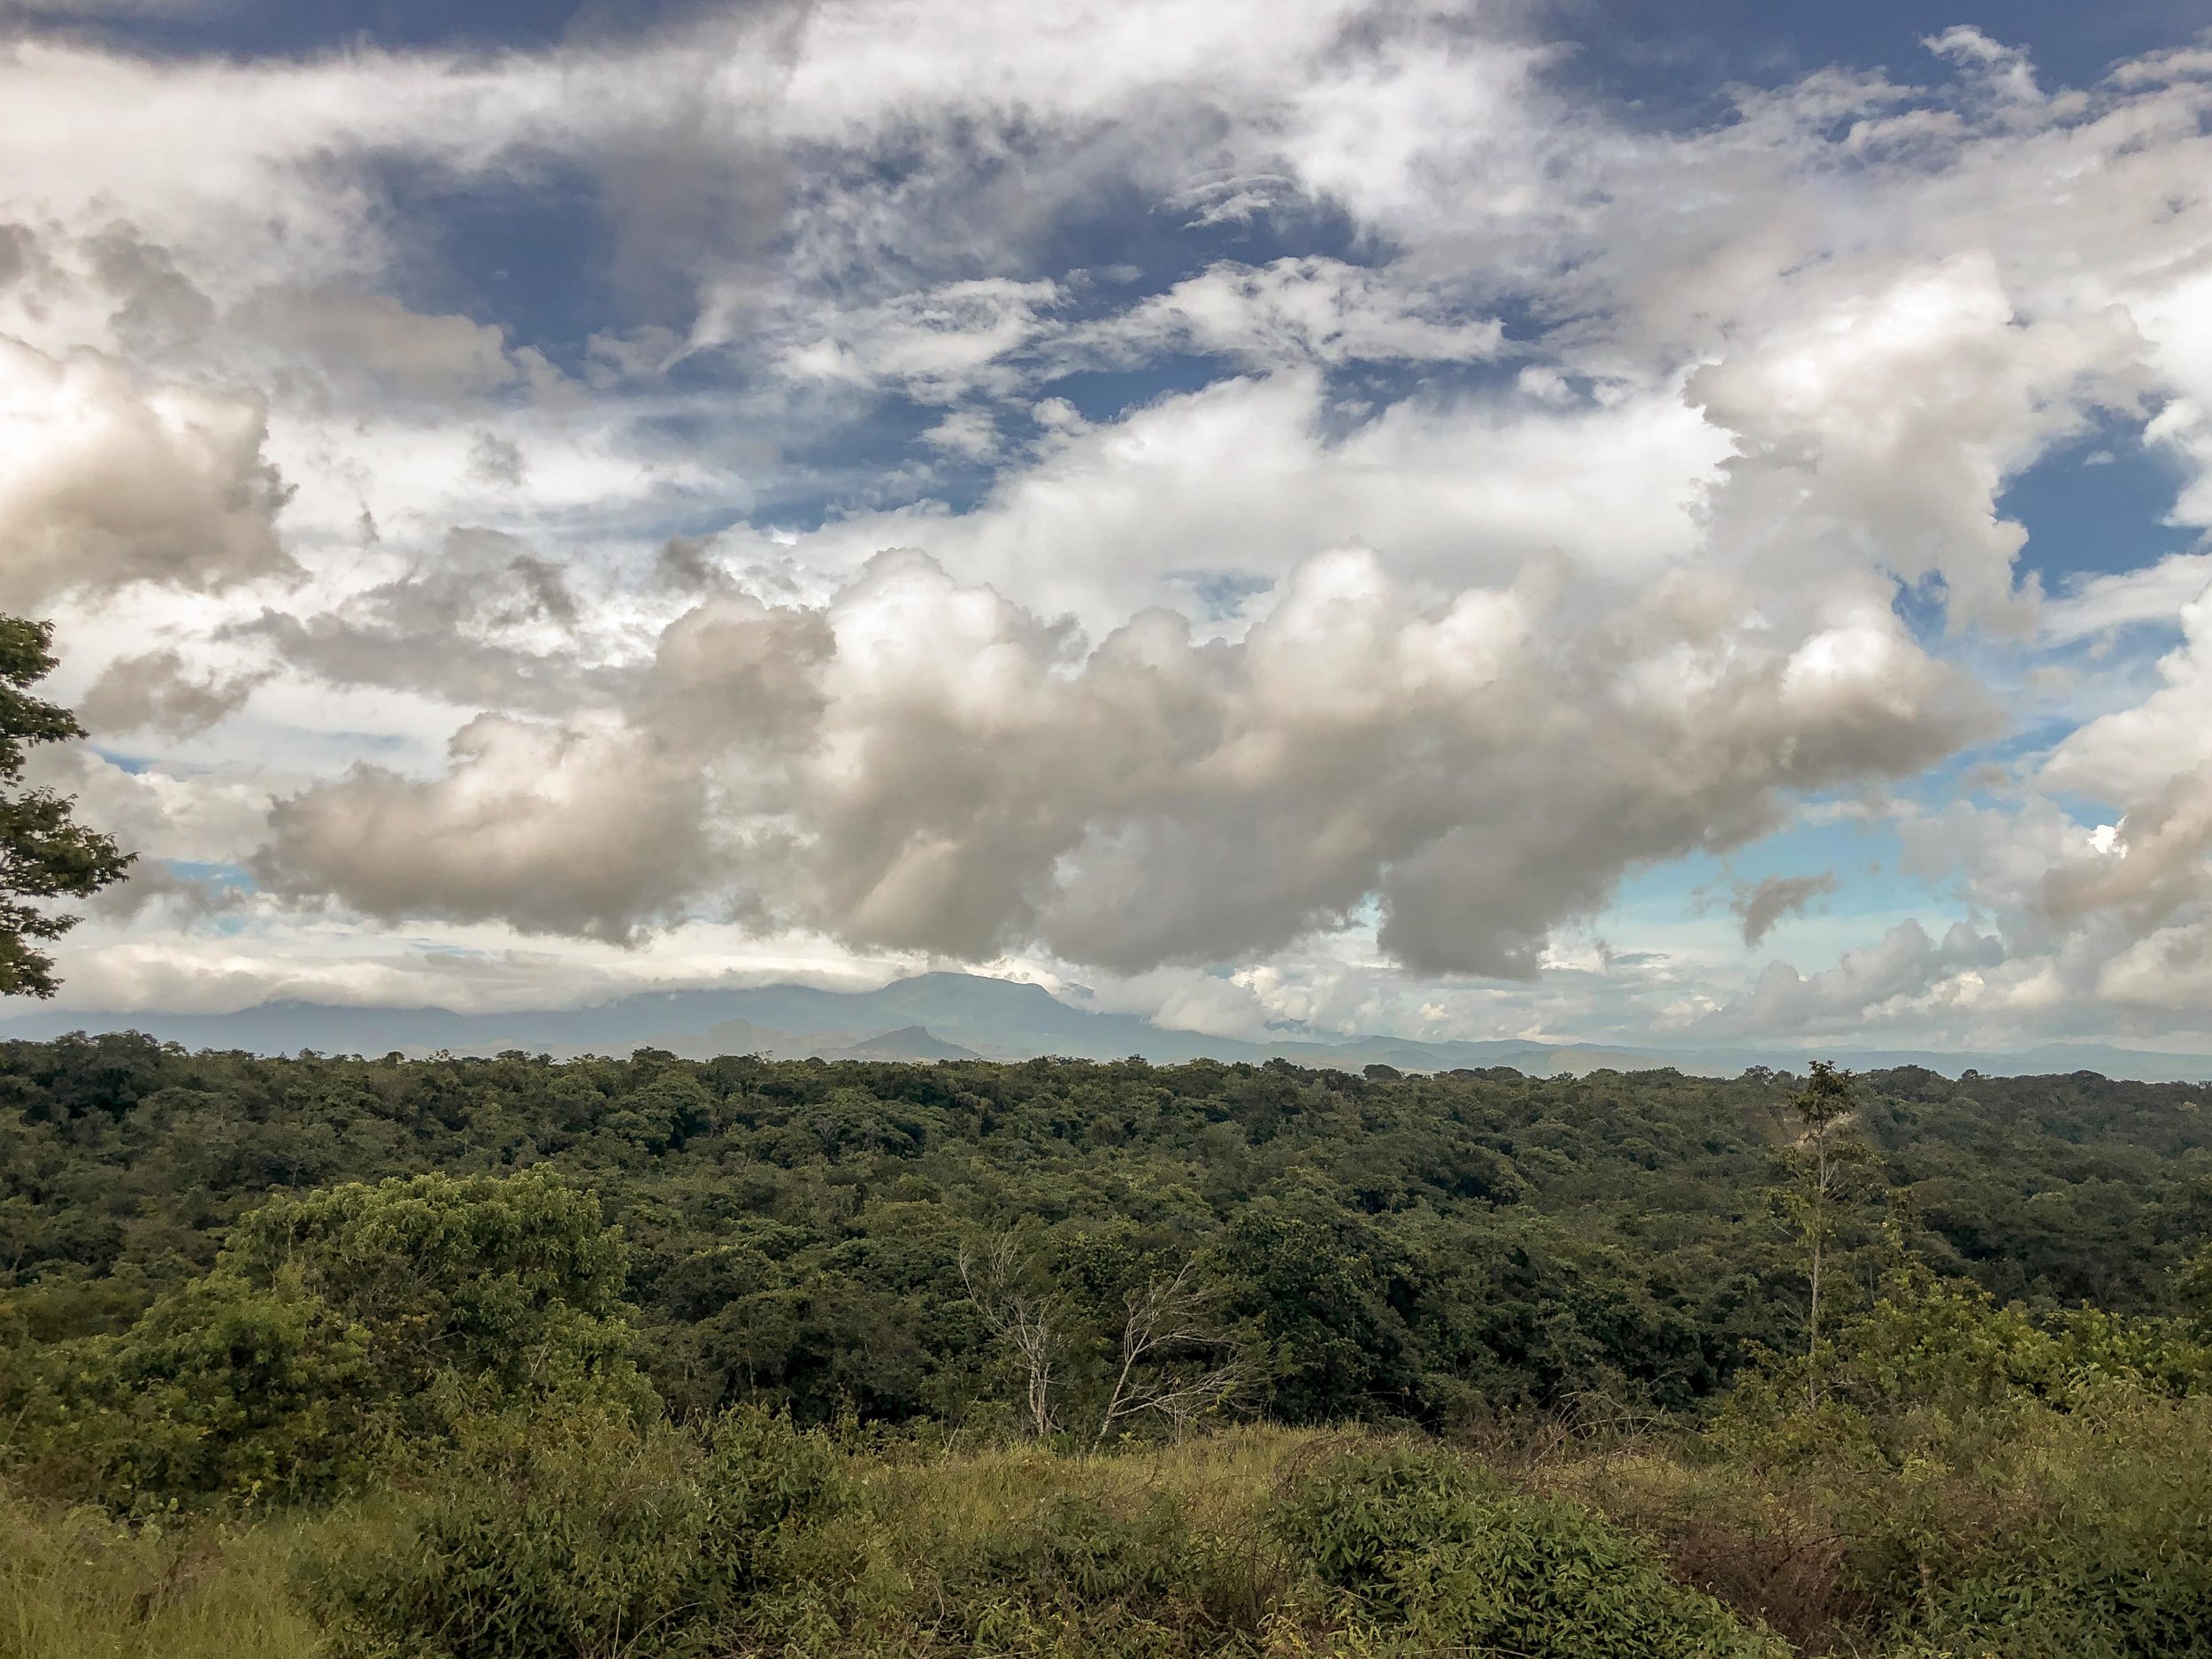
The hike started by traversing through an open meadow as the sun beat down our backs, the humidity making it impossible for any relief. Upon reaching the first junction, we referred to our makeshift maps and descended to the forest floor, following the sounds of the river below.
As we trekked deeper into the brush, the canopy quickly began to rise straight towards the sky, providing a much-needed relief from the heat. Our compass instructed us to go left around a closed gate, but our ears directed us to the right, towards the sound of the rushing water. We stood there confused, unsure of what to do.
At this point the sun forced us to perspire off our umpteen layers of sunscreen and bug spray, leaving us susceptible to the mosquitoes that began swarming around. We were in no position to have a lengthy debate. Lacking confidence in either direction, we climbed back out to the trailhead.
Maybe we had incorrectly interpreted our map. Maybe if we walked another direction we would discover a different, easier way to reach the river.
It seemed like a good idea at the time but, as it turned out, we were wrong. Very wrong.
As we continued down the gravel road the intensity of the sun drained all of our energy. I could feel my body temperature rising, but I was too exhausted to do anything about it. Each step we took was met with an unsuccessful prayer for cloud cover.
Ten minutes and a new sunburn later, we had reached another dead end.
This was the point that every ounce of my being was telling me to pack up and call it a day. Our motivation was waning, the heat was relentless, and we were out of ideas as we slowly retreated back to the car. I remember Heather cracking jokes along the way, trying to make light of the situation and keep my morale in tact.
A second look at the scattered research revealed a small access path farther down the dirt road. Maybe that was what we were looking for, so we decided to keep driving north.
No luck.
I could tell that Heather wasn’t too sure about continuing and, to be honest, even after regrouping in the air-conditioned car, I wasn’t either. As a rainstorm moved through, we took the time to reevaluate what we were doing.
We felt assured and frustrated at the same time. Confident that we were in the general vicinity. Annoyed that no matter how we approached it, we couldn’t find what we were searching for.
The road back to the original trailhead provided some much-needed perspective as we passed run-down homes with missing walls and children playing in the rain. I couldn’t help but think of the number of tourists that travel through Panama each year and yet had no idea that this part of the country existed. Although we concluded that we would give our adventure one more try, I decided that after the experience we had up to that point, I would be content no matter what. After all, it was Dan Eldon that once said, “The journey is the destination.”
Once we descended back into the jungle, reached the gate, and shuffled our way around it, we were back on track and heading in the right direction.
We quickly descended farther into the forest floor, hugging a makeshift PVC pipe railing along a ridge and using the vines as support as we worked our way down into the canyon. The path was completely overgrown with thick brush rising far above our heads. Thrusting the branches aside, we did our best to stick to the trail quickly narrowed with each step.
The ecosystem of any jungle is the most diverse in the world, often-times leading to regular discoveries of new plants and animals. Panama alone is home to over 1,500 kinds of trees and five species of cats, including jaguars, ocelots, and pumas. It feels eerie yet humbling to be amongst it; a place where the silence is deafening and only broken by an occasional howler monkey crying out in the distance or a bird rummaging amongst the fallen leaves for food.
We silently trekked along the forest floor, remaining vigilant of our surroundings.
The moment we began to feel comfortable, a loud crash echoed through the forest and left us frozen in our tracks. We exchanged nervous glances, trying to control our breathing and telepathically communicate what to do next.
Tip-toeing forward as quietly as possible, we did our best to avoid the branches that covered our path. Needless to say it was a humbling reminder that regardless of how isolated we felt, we weren’t alone.
Finally, the thick brush parted and the bank of the river appeared, reinvigorating the idea that we could find these waterfalls.

We searched up and down the river for a way to cross, but it quickly became clear that it wouldn’t be as simple as jumping between rocks. We would have to carefully select the path of least resistance.
Although our faces may have expressed doubt, we were so close that we could feel it. There was no turning back.
The path continued to disappear before our eyes, winding its way through the overgrown brush before depositing us back onto the rocks and leaving us with newly acquired scrapes up and down our legs.
We continued moving northwest, systematically evaluating every step we took as our feet slipped off the rocks. The energy in the forest changed from nervousness to excitement as we inched closer. We were nearly there.
Just beyond the final bend of the river, the waterfalls were waiting to greet us. It was even more majestic than I had seen in the pictures.
We were left speechless as we peered towards an amphitheater of hanging vines and cascading waterfalls.
The beautiful blue waters of the pool were irresistible. We couldn’t help but jump in and soak up the moment. A rush of emotions engulfed us, leaving nothing but a sense of relief, gratefulness, peace. We had uncovered paradise in the Panamanian jungle. More importantly, we never gave up.

The forest floor quickly grew dark as the sun began to drop below the horizon, signaling that it was time to pack up and move out.
Back on the trail we went, accompanied by the beautiful silence, this time with no unexpected noises.
We made it to the car unscathed, feeling sunburnt and dehydrated yet eternally grateful for all that had happened that day. After all, we had found our own slice of Panama that, at that moment, felt truly untouched.
As I reflect on the adventure we had, I can’t help but think of one of my favorite quotes from the late Anthony Bourdain: “The journey is part of the experience - an expression of the seriousness of one’s intent. One doesn’t take the A train to Mecca.”
What have been some of your greatest journeys? Feel free to share in the comments below.
Thanks for reading and as always, stay safe & happy travels.
Enjoy what you read? Pin this post!



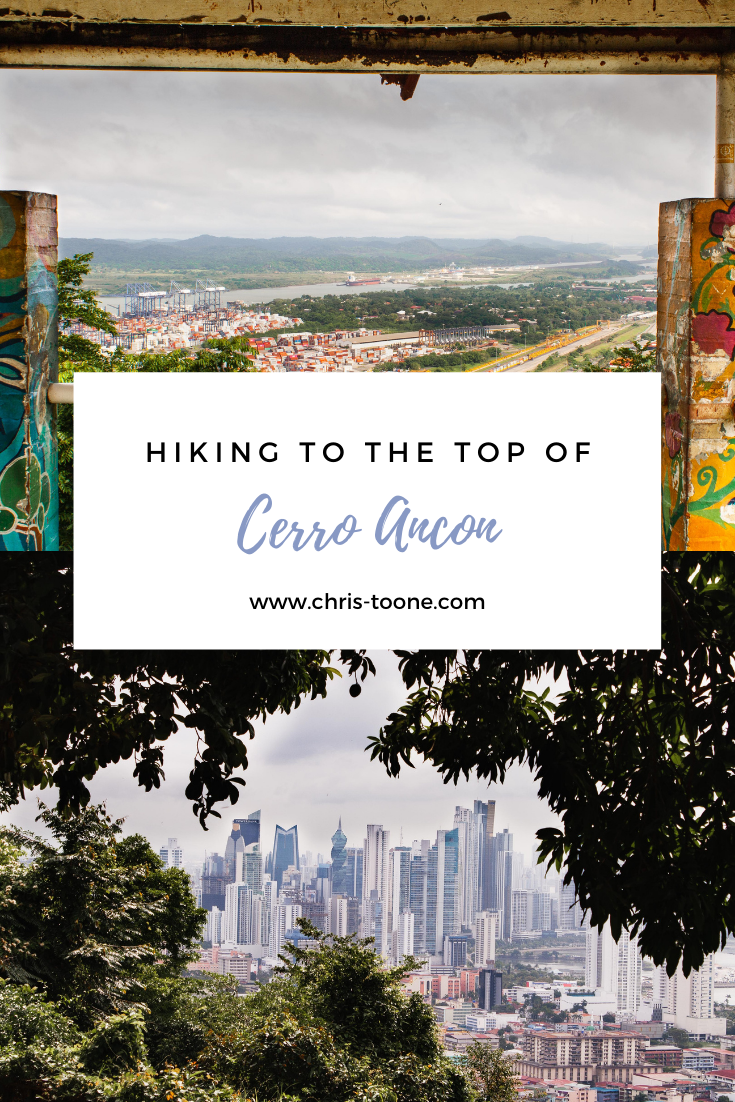
Hiking Cerro Ancon: Chasing views in Panama City, Panama
The very first thing I did the morning after arriving in Panama City was catch an Uber and climb this hill. I think there’s a lot of value in learning about a new place by looking at it from a different perspective. It’s like watching a city pump blood through its veins and Cerro Ancon is the best vantage point you’ll find in this sprawling metropolis.
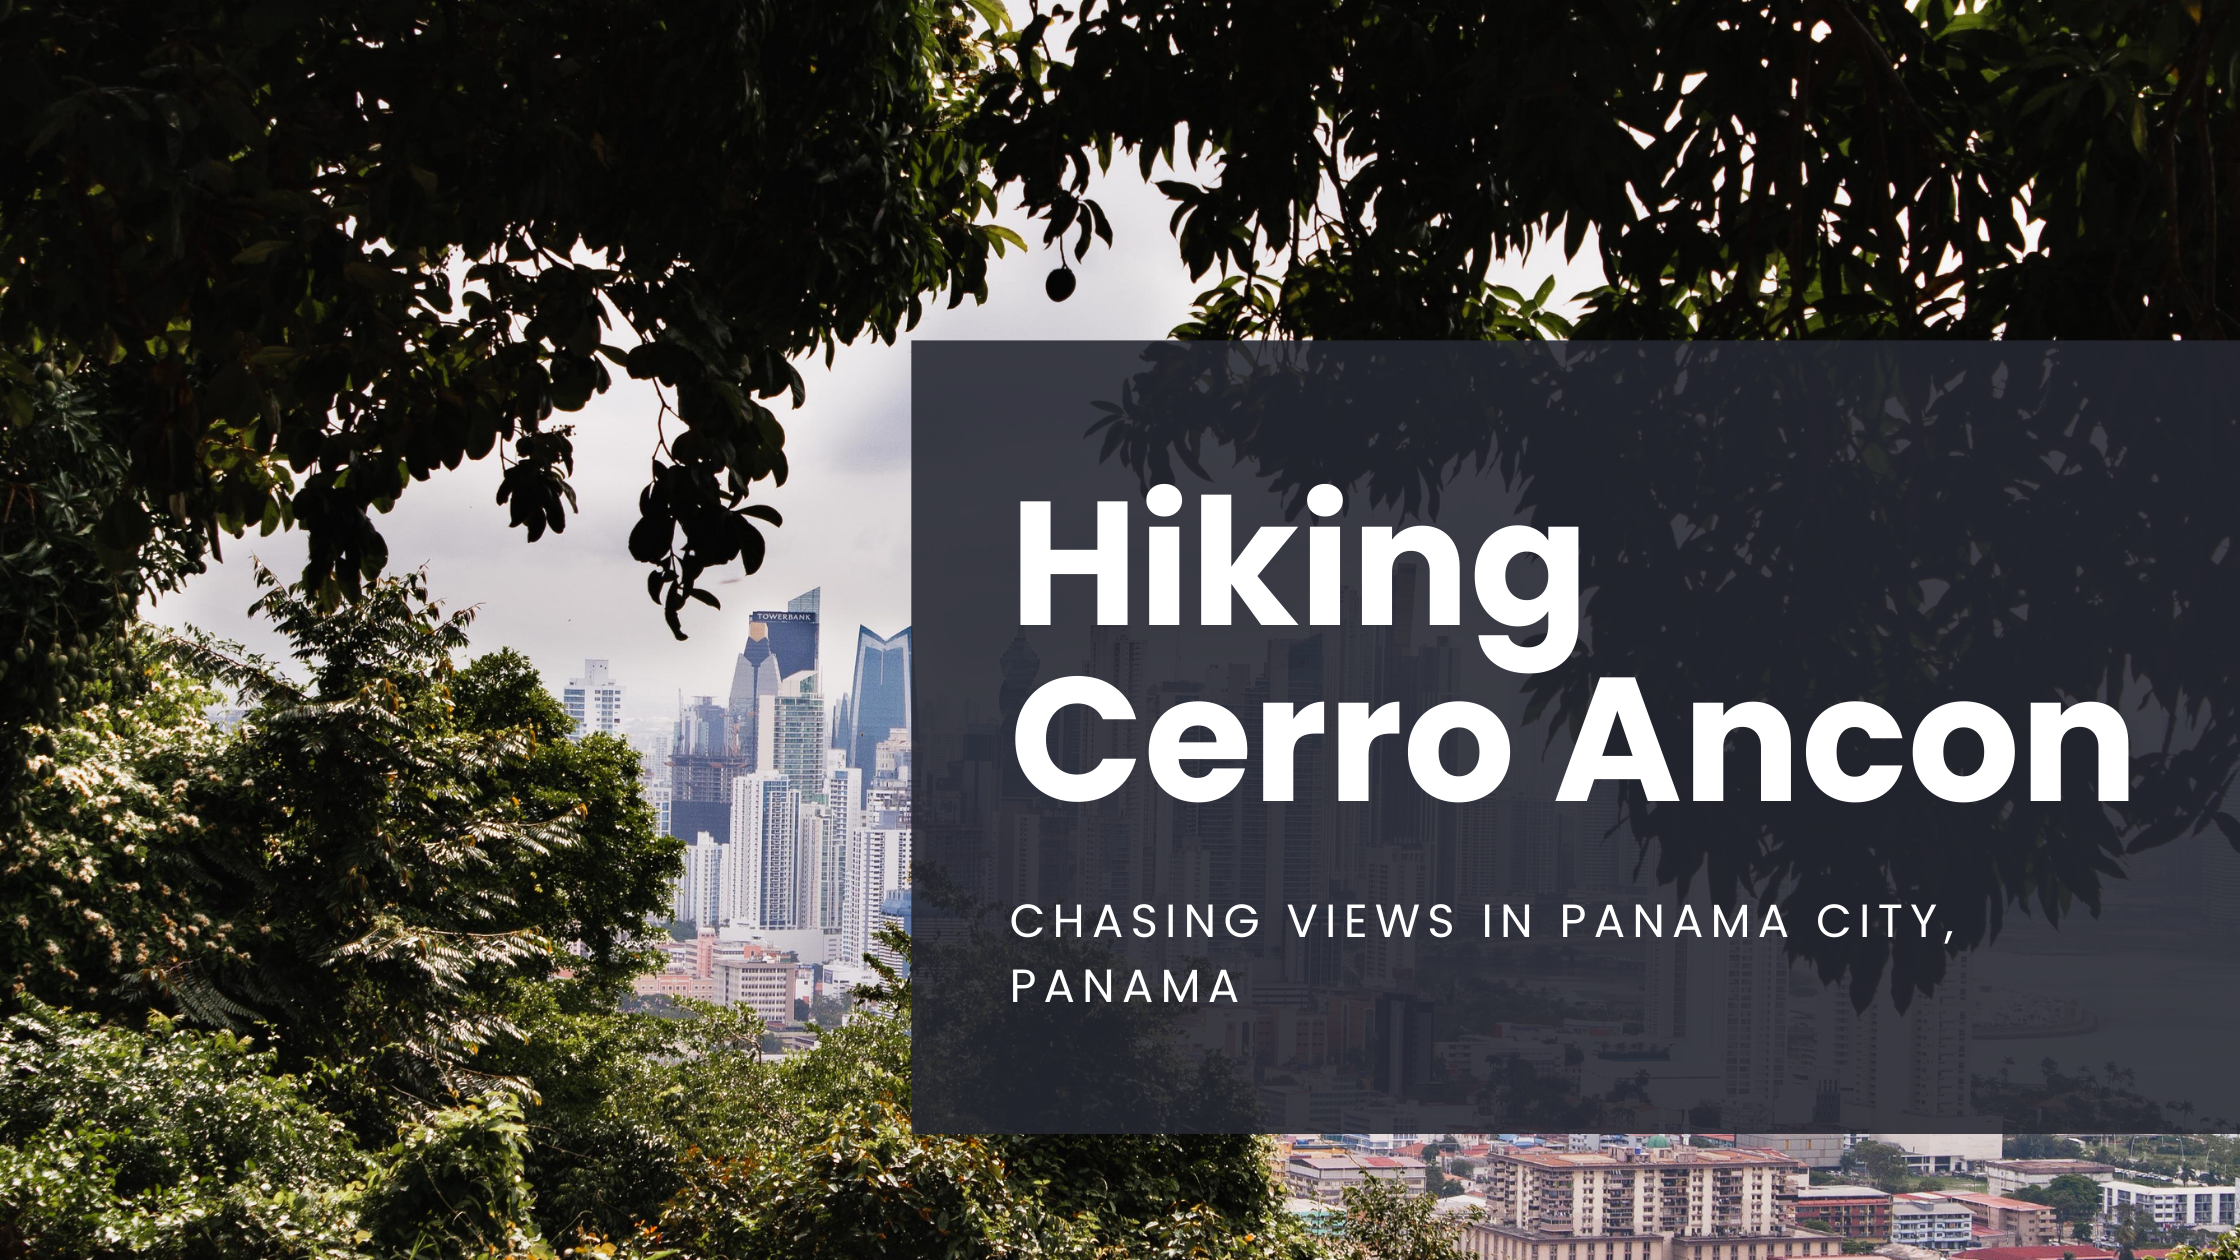
There’s a lot of value in learning about a new place by looking at it from a different perspective, so the very first thing I did the morning after arriving in Panama City was catch an Uber and climb to the top of Cerro Ancon.
Standing atop this popular hill was the perfect place to get a better understanding of all that goes into making Panama City what it is today. It felt as though I was watching a city pump blood through its veins. What ran through the streets below is what gives this place life. What defines it. What keeps it functioning at such a high level.
Here’s what you can expect to find as you start the climb.
HOW TO GET TO CERRO ANCON
Cerro Ancon is about a 10-minute drive from Casco Viejo. It’s easy to hail a taxi or hop in an Uber ($2.50, depending on the starting point).
Mi Pueblito is a recognizable drop-off point for the trailhead. A small conglomerate of replica buildings from the Colonial era, it offers visitors the chance to explore exhibits throughout Panama’s history.
From there it’s a short walk up the road to the set of stairs on the right that will lead to the starting point.
Looking for more great Panama ideas? Check out these essential posts:
HIKING CERRO ANCON
The hike itself is also known as Ancon Hill and is a 654-foot high climb that overlooks all of Panama City. It was once used as an administration location for the Panama Canal and was even under U.S. control at one point, but was returned to Panamanian authorities in 1977.
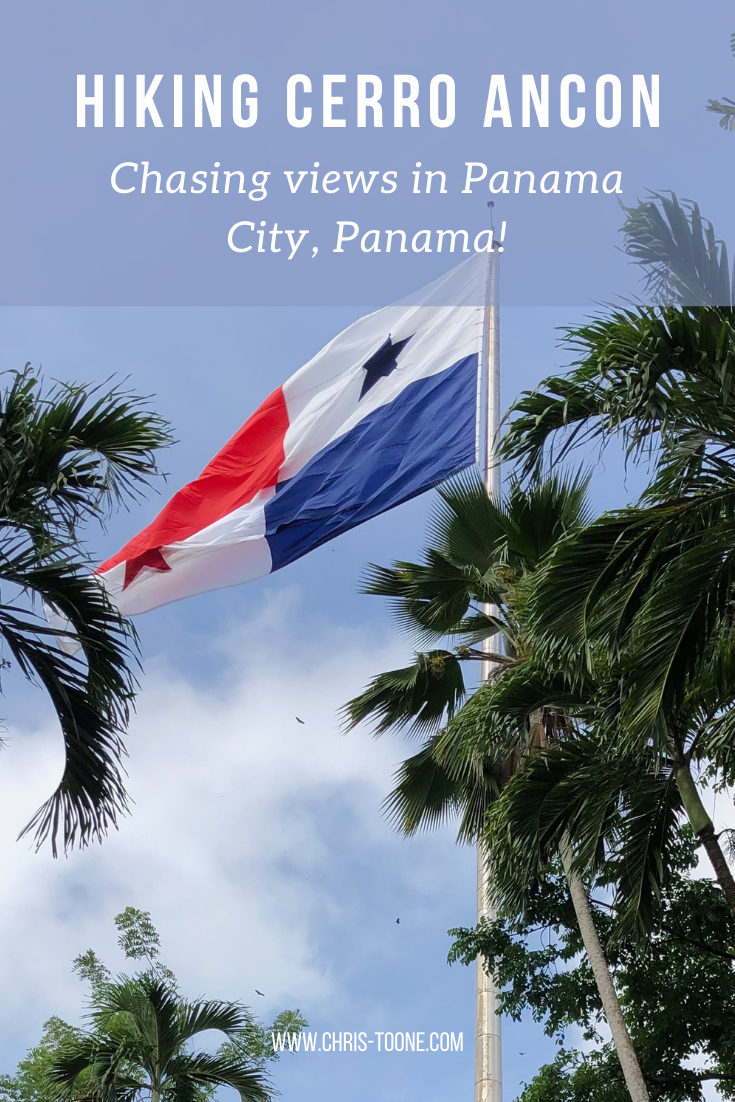
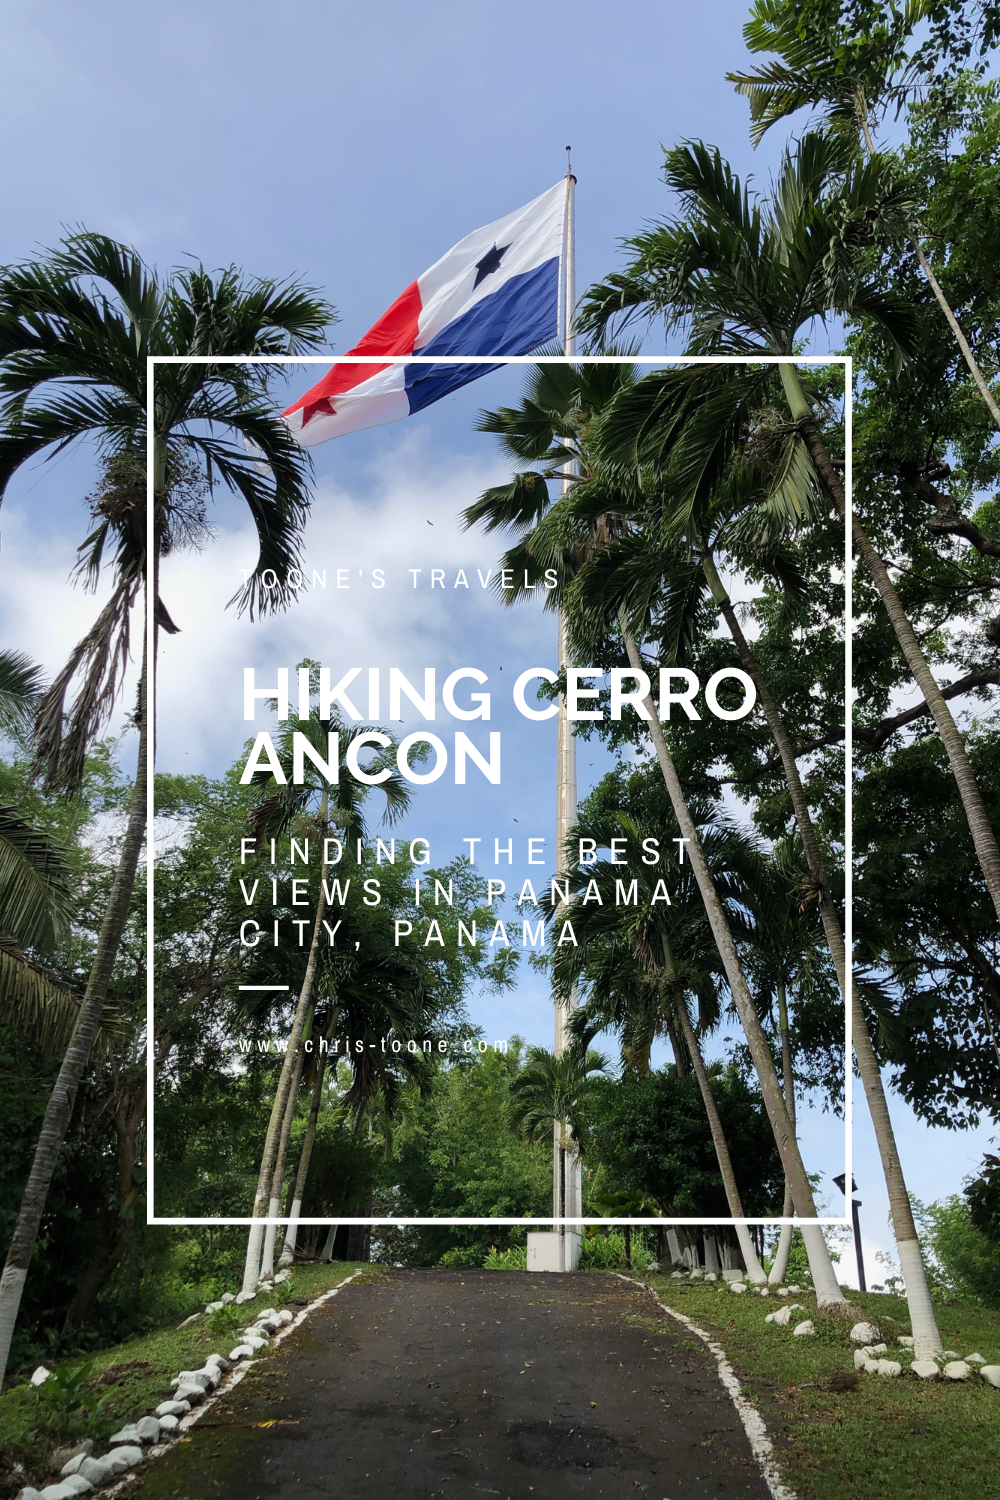
Fun fact: Once the land was handed over, one of the first things the Panamanians did was fly the large flag so that it cast its glory over the entire city!
The hike takes around 30 minutes and is free for anyone to enjoy. Although there is a relatively steep incline, it’s gradual which makes this walk suitable for everyone. The hardest part was braving the humidity!
Don't be alarmed if you have to walk around a fence and past a guard hut... that's normal! You don’t need to stop and talk to anyone that may be in the hut, you can simply keep going. The gate was open when I was there, but I’ve read other accounts where it has been closed. It’s legal to walk through it and carry on your way.

Starting point for hiking Cerro Ancon
From there, start the trek into the lush vegetation, a stark difference from the slabs of concrete and high-rise buildings downtown. Cerro Ancon itself is a 106 acre jungle that is surrounded by a city of 1.2 million people. As you continue winding up the paved path, hanging vines cascade down from the trees and with views of the hustle and bustle of the city below every so often.
This goes without saying, but don’t forget to bring water, even if it’s early in the morning. The humidity and incline are no joke!

En route to the top of Cerro Ancon
CERRO ANCON VIEWPOINTS: WHAT TO EXPECT AT THE TOP
Upon reaching the the top, visitors will encounter a set of stairs on the left side of the road that leads to the first two view points. There are two viewpoints worth checking out here. The first looks down above Casco Viejo (the path to the left) while the second shares the expanse of the Panama Canal, Miraflores Locks, and the Bridge of the Americas (to the right).

The Bridge of the Americas as seen from the top of Cerro Ancon

Looking out across the Panama Canal and Miraflores Locks from the top of Cerro Ancon
Once finished soaking up the scenery, keep heading towards the large flag of Panama. The hike is complete once you reach the locked gate. Have a seat on the park benches and enjoy the breathtaking views of Panama City and the Pacific Ocean.
In the shopping mood? More times than not there will be someone selling souvenirs. You’ve got to admire their dedication if they’re willing to walk all of their goods up there!
Pro Tip: Bathrooms conveniently located at the first two viewpoints.

Downtown Panama City as seen from the top of Cerro Ancon
Cerro Ancon was the perfect way to start the trip and is fun for all ages! Although visiting the Miraflores Locks was very educational, being able to watch the whole canal’s operation from above was something special. I’d encourage you to check it out for yourself!
Have you hiked Cerro Ancon before? Did I leave something out? Let me know in the comments below!
Stay safe & happy travels!
Pin this post for later!
From Queenstown to the Milford Sound, New Zealand has plenty of natural beauty to offer, but what should you make time for during your trip? Here’s your guide to discovering 15 of the best road trip stops around the south island… you won’t be disappointed!