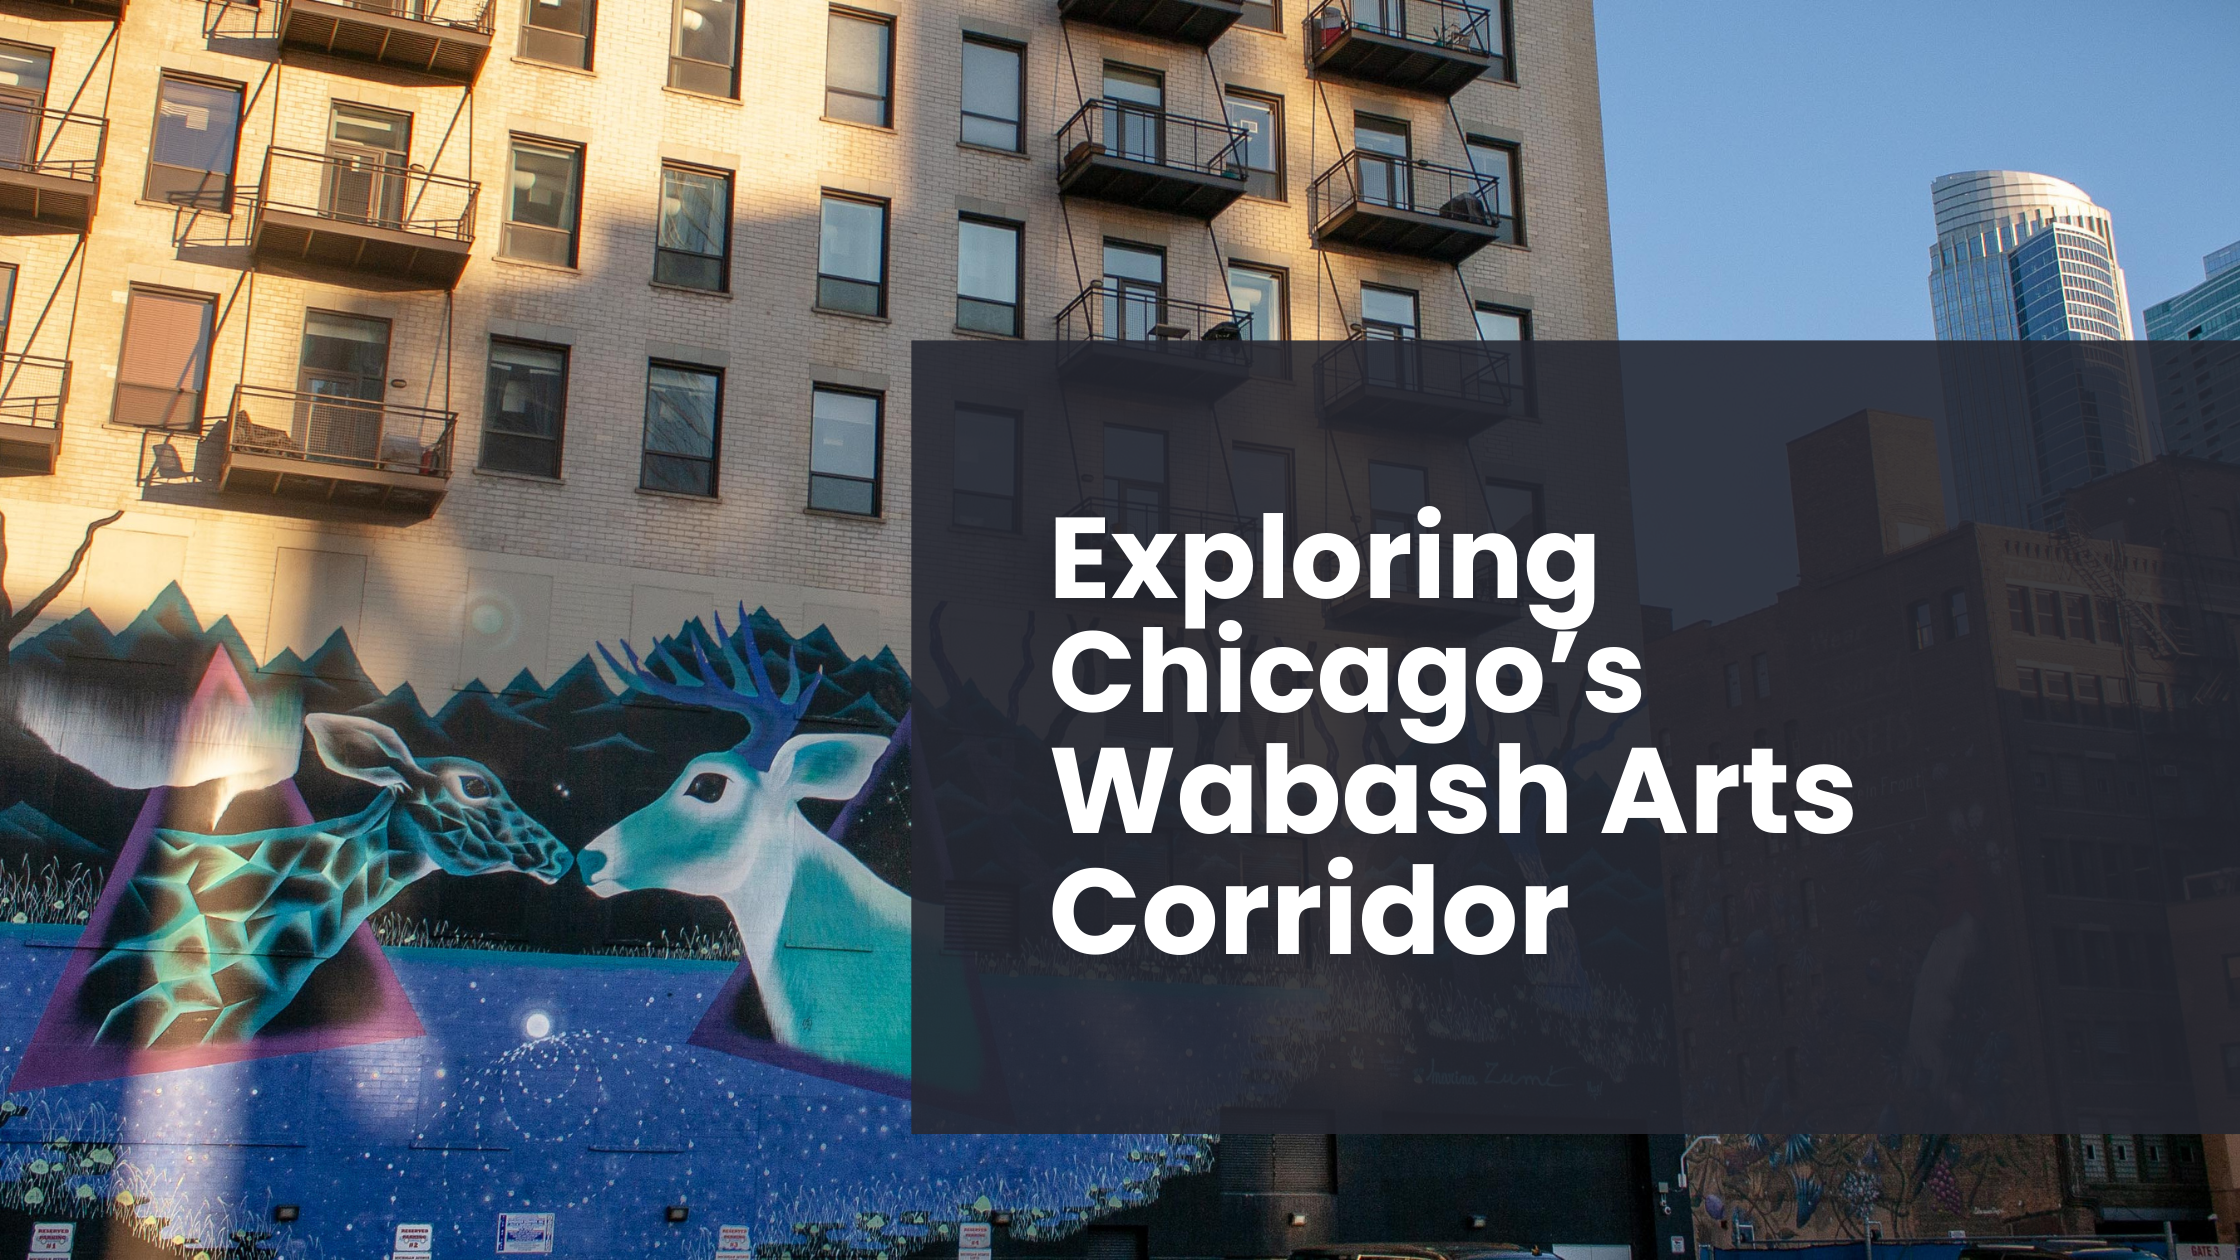
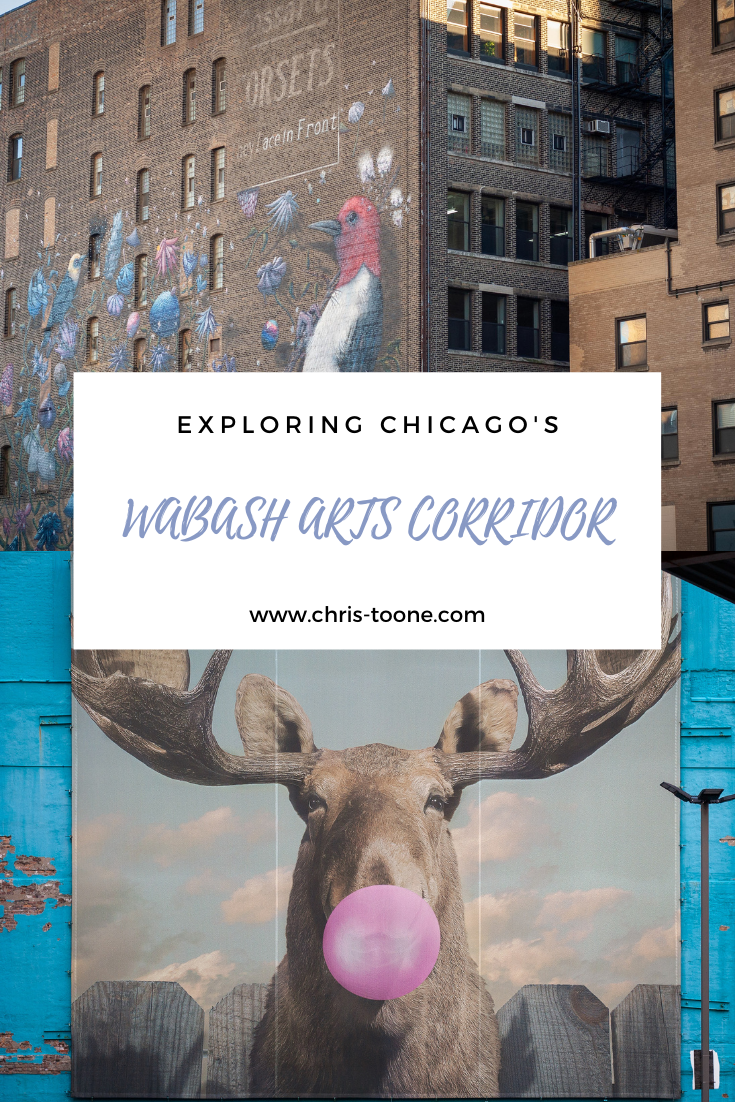
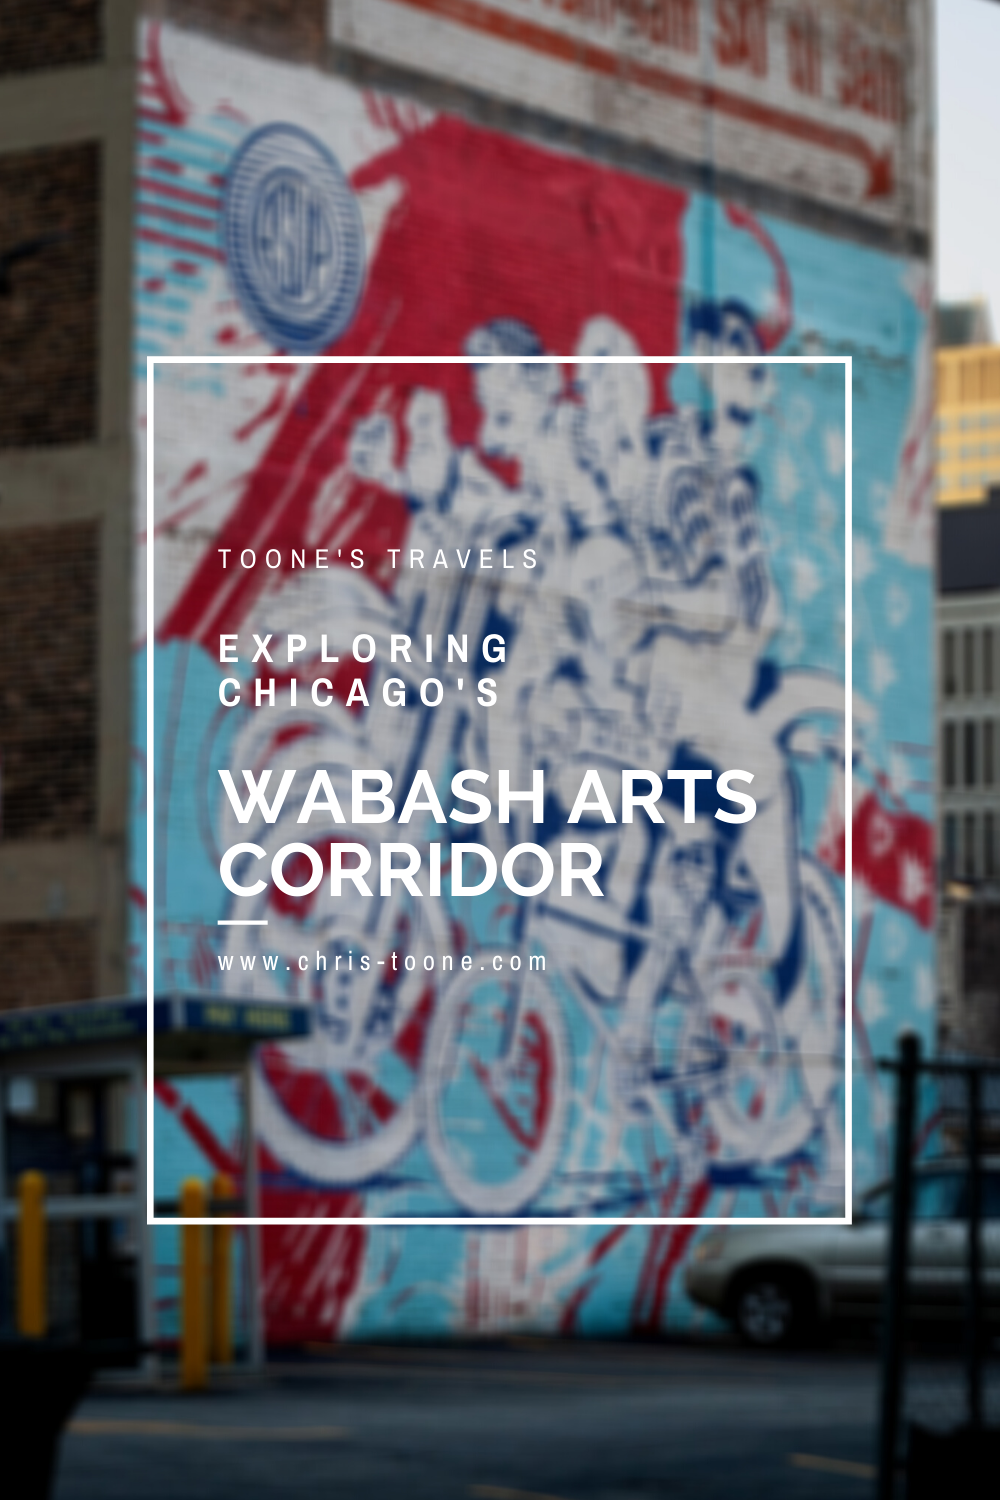
Exploring Chicago's Wabash Arts Corridor
Commonly known as a “living urban canvas” because it’s constantly being added to, Chicago’s Wabash Arts Corridor feels like an open-air museum full of reclaimed public space. It’s collection of street art is one of the most diverse and expansive in the world, making it the perfect way to experience the Windy City’s South Loop neighborhood!
It was just my luck that a week after I moved to Chicago last year, the world seemingly stopped, shutting everything down in the process.
I’d be lying if I said I wasn’t frustrated at first. It’s my second nature to instantly get out and explore a new place, but that didn’t seem possible here.
Here’s what I didn’t realize: Chicago is actually a mecca for street art in the Midwest. Each neighborhood seemingly has its own collection of masterpieces, making it feel as though you’ll discover something new at each turn. With the bright colors, thought-provoking illustrations, and sheer volume of images, the city is basically one large open-air museum.
One of the most expansive, diverse, and well-known street art destinations in the city is the Wabash Arts Corridor (WAC) in the South Loop neighborhood.
Here’s what you need to know.
For Chicago’s top photography spots, don’t miss this post:
KNOW BEFORE YOU GO
The Wabash Arts Corridor was founded in 2013 by Chicago’s Columbia College. Since then, it has grown to be one of the most “expansive, diverse, and accessible public art programs in the country” according to the WAC website.
Beginning in 2016, the corridor shifted its focus to promoting diversity, equity, and inclusion and, in that time, has amassed one of the largest collections of street art created by people of color and women artists.
Pretty sweet, huh?
Many people refer to the Wabash Arts Corridor as a “living urban canvas” due to the fact that new murals are constantly being added and, as a result, public space is reclaimed and transformed into an immersive experience.
Most of the art can be viewed from the sidewalk, making it the perfect sunny day activity that’s free of charge.
The southern border of the corridor is Roosevelt and runs as far north as VanBuren. Within that space, the artwork is scattered within two city blocks running east to west, Michigan Ave to State St.
To get there, take the ‘L’ train to Roosevelt Station (red, orange, green lines) and make your way north along Wabash Ave.
Don’t forget to walk “off the path” and into the alleys. You never know what’s waiting around the next corner!
Before you go, be sure to print off the downloadable map online. This will greatly help along the way. If solo exploring isn’t for you, then it’s easy to sign up for a guided tour ($18/$12/free, adults/students K-12 & seniors/children under 5)!
WHERE TO STAY NEAR THE WABASH ARTS CORRIDOR
Located in the heart of ‘The Loop’ in downtown Chicago, there are plenty of high quality places to stay to suit any budget. From some of the top boutique hotels to something more in the budget, there are plenty of options to chose from. A few to consider are:
THE ARTWORK
The Wabash Arts Corridor map lists 30+ pieces of artwork, so this list by no means encompasses each one.
After all, you don’t want me to spoil everything for you, right?
Without further ado, here are some of my favorite murals found thus far:
IMPOSSIBLE MEETING
Artist: Marina Zumi | Location: 901 S. Michigan
Artist Marina Zumi traveled from her home in Sao Paulo, Brazil in 2016 to complete this fantasy-depicting mural. The pastel colors expose an otherworldly scene that are signature to her pieces around the globe, including in Berlin, London, Buenos Aires, and more.

I AM YOU, YOU ARE ME
Artist: Ricky Lee Gordon | Location: 634 S. Wabash
Ricky Lee Gordon is a South African artist whose work tends to depict interconnectedness. It’s fitting as the word Ubuntu originates from the southern part of the continent and is translated as I am, because you are. This mural is easy to miss, so keep a close eye out.

STARS & STYLES
Artist: DMNOLOGY | Location: 618 S. Wabash
DMNOLOGY is known as a graffiti sorcerer of sorts. A homegrown artist, he labels his style as “Wild Onion,” paying homage to the indigenous meaning of Chicago from the Algonquin language.

FROM BOOM TO DOOM
Artist: Collin van der Slujis | Location: 1006 S. Michigan
Collin’s mural features a yellow-headed blackbird that was once common to the area but has since disappeared due to a loss of habitat from invasive species and poor land management. This piece of work stands as a reminder to protect the environment around us.

MAKE YOUR OWN LUCK
Artist: ASVP | Location: 1 E. Balbo
Part of the Vertical Wall Gallery’s “Power of Paint” series, Brooklyn duo ASVP created this piece to express using art to help others. A portion of each sale was donated to the charity of their choice.

STOP TELLING WOMEN TO SMILE
Artist: Tatyana Fazlalizadeh | Location: 801 S. Wabash
Is the title a little uncomfortable for you? Good. Brooklyn artist Tatyana Fazlalizadeh set out to depict the pervasiveness of street harassment by highlighting the faces of 25 young women that have been catcalled while going about their daily life.
She nailed it.

UNTITLED
Artist: Lady Lucx & Sarah Stewart | Location: 525 S. Wabash
Lady Lucx utilized the location as inspiration for this piece, noting that the view from the parking garage includes the orange line of the ‘L’ train as it transitions from the south side of Chicago into the bustling loop.

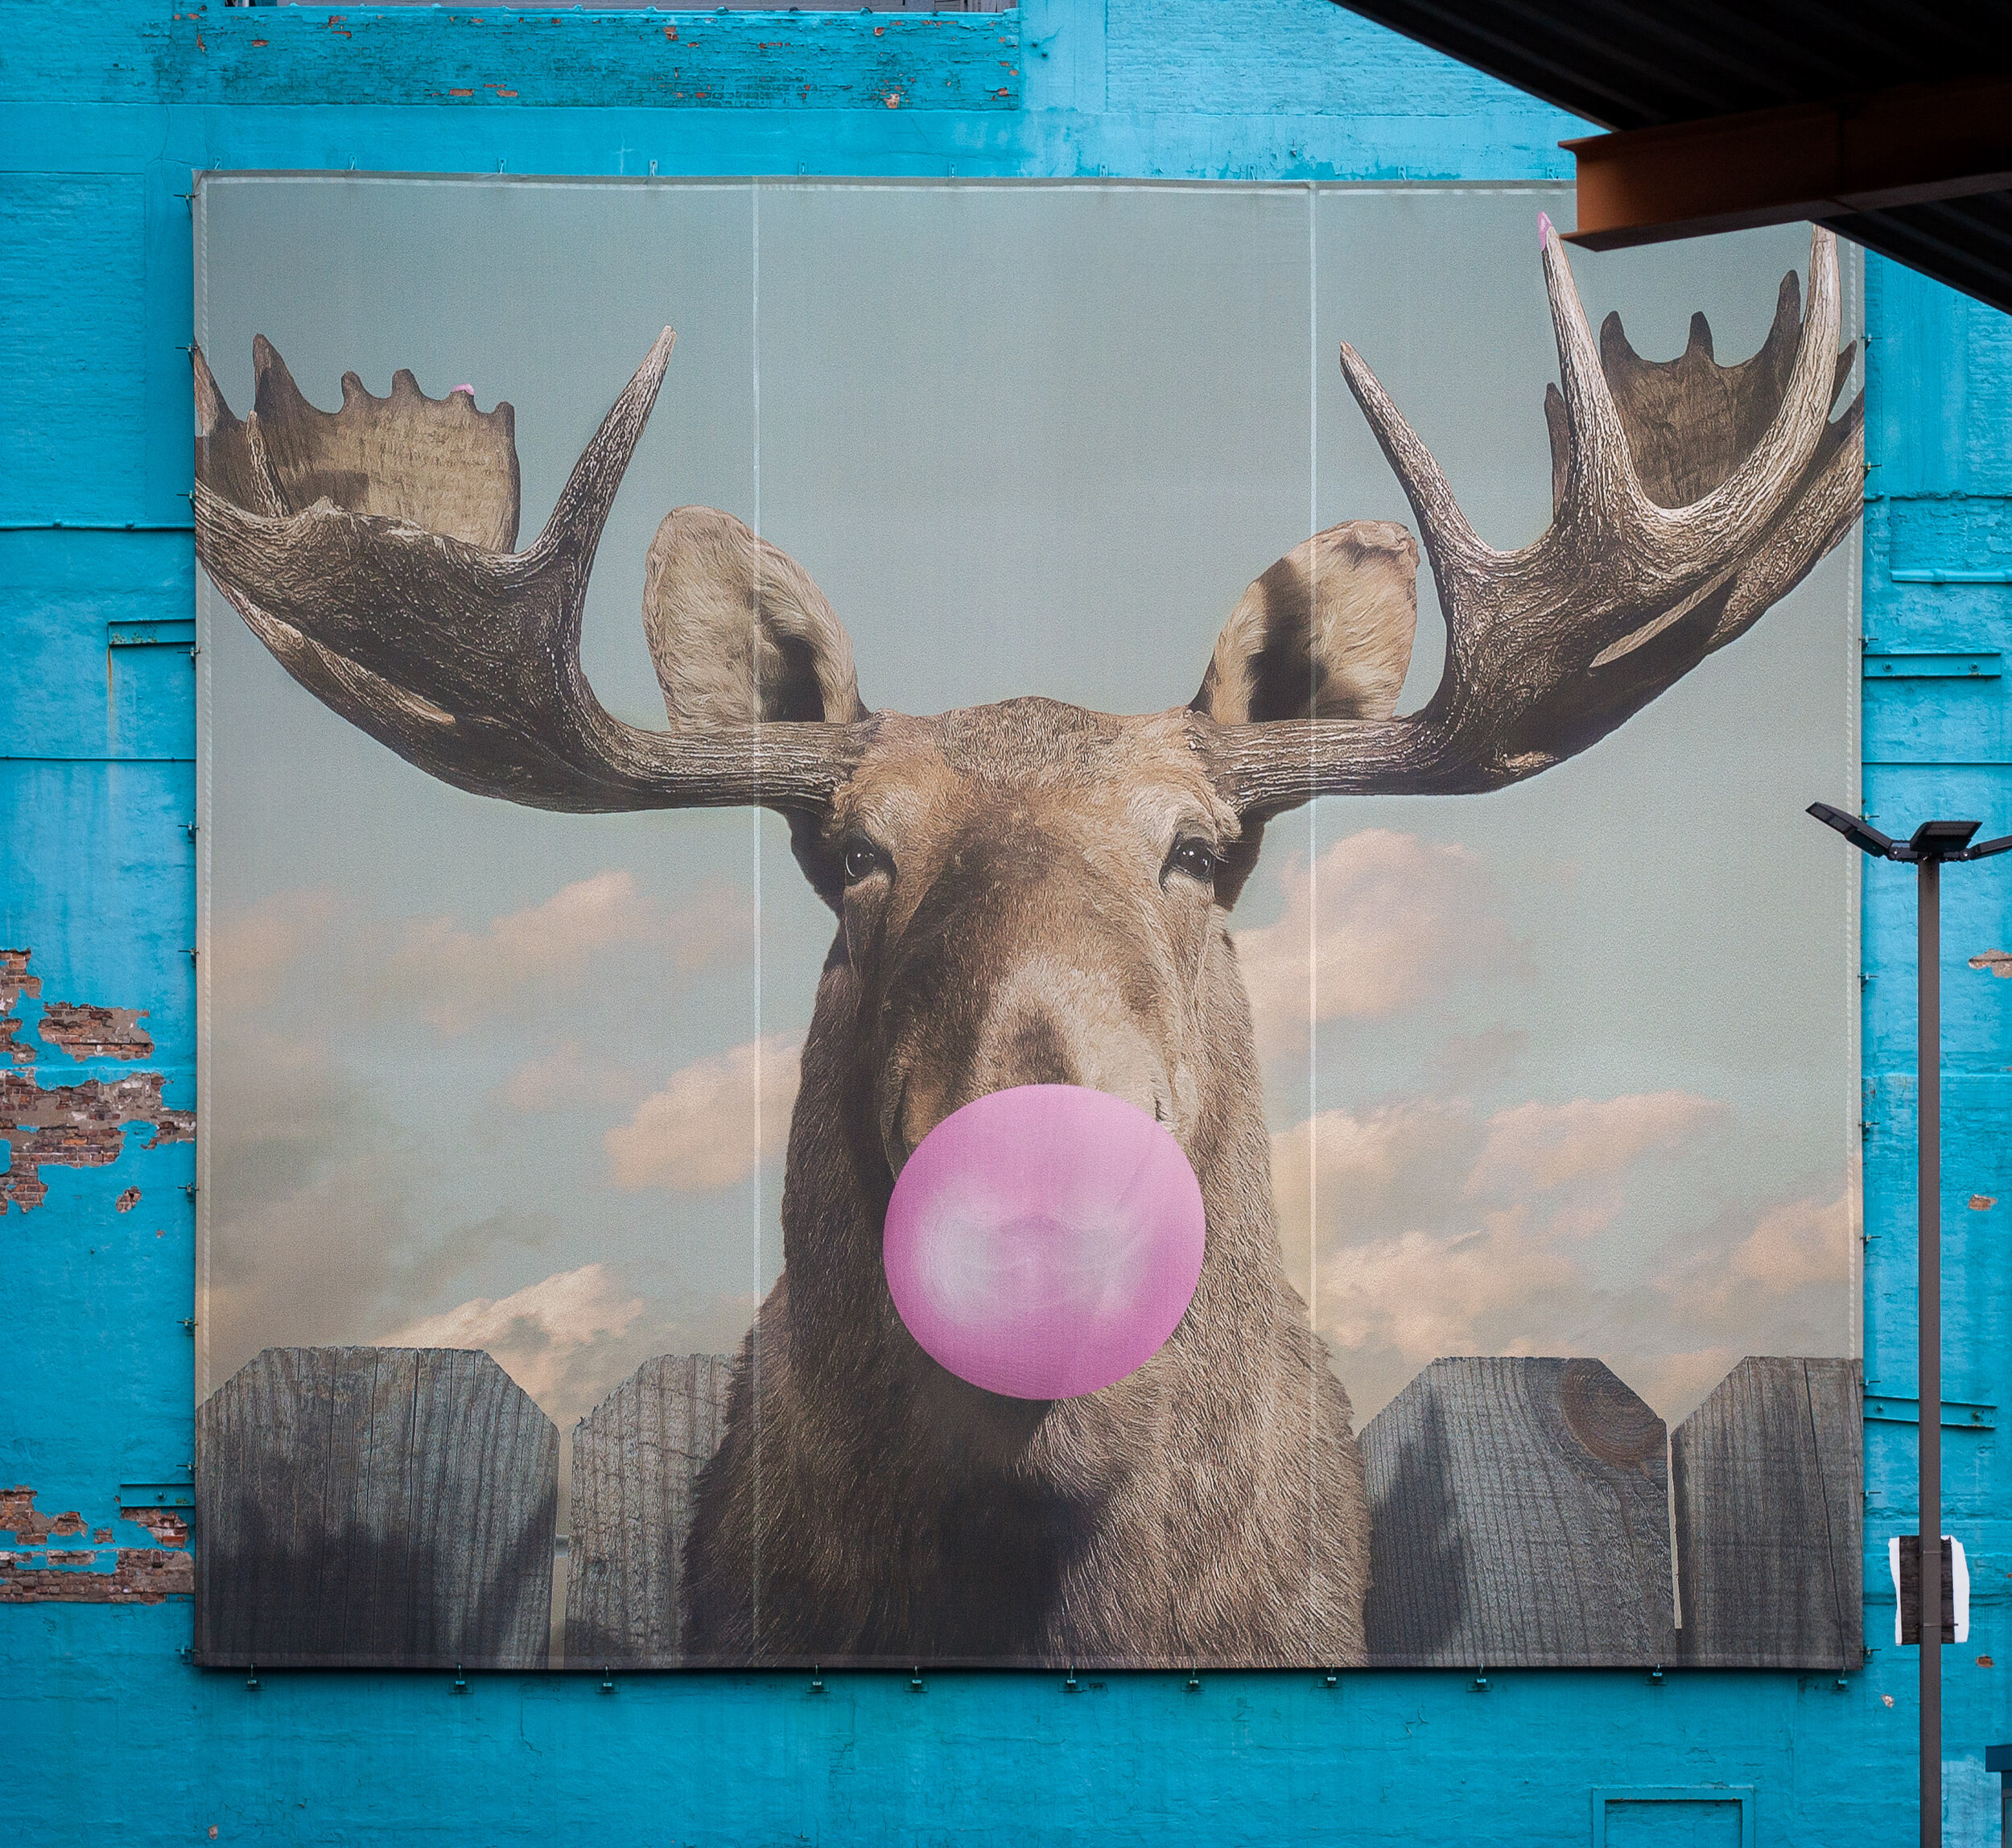
MOOSE BUBBLEGUM BUBBLE
Artist: Jacob Watts | Location: 33 E. Congress
Columbia College launched a student and alumni competition in 2014 and Moose Bubblegum Bubble was selected as the winner. This is one of the most iconic pieces in the Wabash Arts Corridor and can be seen while riding the ‘L’ train south into Roosevelt or north from the same station.
Come explore and bask in Chicago’s open-air museum. The Wabash Arts Corridor may be the most established and well-known collection of street art in the city, but it is by no means the only one. Be sure to check out some of the city’s other neighborhoods and see what you can discover!
Stay safe & happy travels.
Enjoy this post? Pin it and share with your friends!


Best Photography Spots in Chicago: Everywhere you need to go on your next trip to the Windy City
Skip the tourist trail and check out this comprehensive list of incredible spots to photography Chicago. From where to find the best city skyline views to which parking garages best capture the 'L' train, this is a must-have guide before your next trip!

As it turns out, moving to Chicago has been the perfect way to expand my photography skills. With the hustle and bustle of city life, the famous ‘L’ train weaving through the towering buildings, and the glistening shores of Lake Michigan to the east, there’s a unique perspective everywhere you look.
Millennium Park and Michigan Ave are by far the most visited sites in this mid-western hub but trust me when I say there’s so much more to discover.
Here’s a list of the best places to photograph Chicago.
NORTHERLY ISLAND
Northerly Island is a peninsula park along the shores of Lake Michigan that comes complete with city skyline views, including the iconic Soldier Field.
Enjoy the fresh air and greenery as you combine your skilled nature shots with that of urban life.
Fun Fact: The 5-acre lagoon is home to many of Illinois’ wildlife, including monarch butterflies and heron.
Getting There: Red, orange, and green line trains to Roosevelt & walk from there

NORTH AVE. BEACH
Located in Lincoln Park, this popular beach offers some of the best skyline scenery in the entire city. Walk the jetty, stick your toes in the sand, and snap some shots as daily life in Chicago moves all around you.
Pro Tip: This is location is adjacent to the Lincoln Park Boardwalk (below), so it’s easy to combine the two shoots.
Fun Fact: North Avenue Beach came into existence from a multi-million project in the 1930s that was partially funded by President Roosevelt’s New Deal. The beach itself is an extension of an old landfill’s narrow path along Lakeshore Drive.
Getting There: Red, brown, or purple express lines to Fullerton & walk towards Lincoln Park

North Ave. Beach in Chicago, IL
ORLEANS ST. BRIDGE
The most popular way to take advantage of this location is to shoot towards the Wells St. Bridge. This is one of my favorite scenes in the city that perfectly encapsulates life in Chicago; boats cruising along the river below, the brown line trains traversing across the river and stunning architecture rising high towards the sky.
A unique feature of Chicago is that the city is constructed in a way that each building seems to command space of its own, demanding attention as an independent masterpiece. This location perfectly captures that.
Pro Tip: Shooting towards the Wells St. Bridge is great, but don’t forget to turn around and check out the trains coming across the Lake St. Bridge as well.
Fun Fact: The two leaves of the Wells St. Bridge were built offsite and then transported via the Chicago River for installation.
Getting There: Blue, orange, pink, green, brown, and purple express lines to Clark/Lake or brown/purple line to Merchandise Mart

Downtown Chicago, IL
WELLS KINZIE GARAGE
One of my favorite parts of living in the city is finding unique angles to capture the famed ‘L’ train. There’s no better shot than the S-curve in the downtown loop.
Ride the elevator to the top of the Mart Parc Garage at the corner of Wells and Kinzie and watch the trains maneuver through the city’s infrastructure.
Remember: each level of the garage offers a different perspective of the tracks. Be sure to spend some time exploring to find what works best for you!
Fun Fact: In 2014, the “L” train was fourth in the nation for total route length at 102.8 miles.
Getting There: Brown and purple express lines to Merchandise Mart

‘L’ Train in Chicago, IL
437 N. ORLEANS
For the lesser-known view of the S-curve, head to the parking garage located at 437 N. Orleans. The top-level shows the trains as they head to/from the Merchandise Mart CTA station.
Located near the Orleans St. Bridge (above), this makes for a great day of chasing trains.
Pro Tip: For the symmetry enthusiasts, take note of the Assumption Catholic Church steeple against the red brick backdrop.
Fun Fact: The oldest sections of the “L” train began operations in 1892, making it the country’s second-oldest rapid transit system behind New York City’s elevated rail system.
Getting There: Brown or purple lines to Merchandise Mart

‘L’ Train as seen from 437 N. Orleans in Chicago
Need more ideas? Check out this list of curated tours!
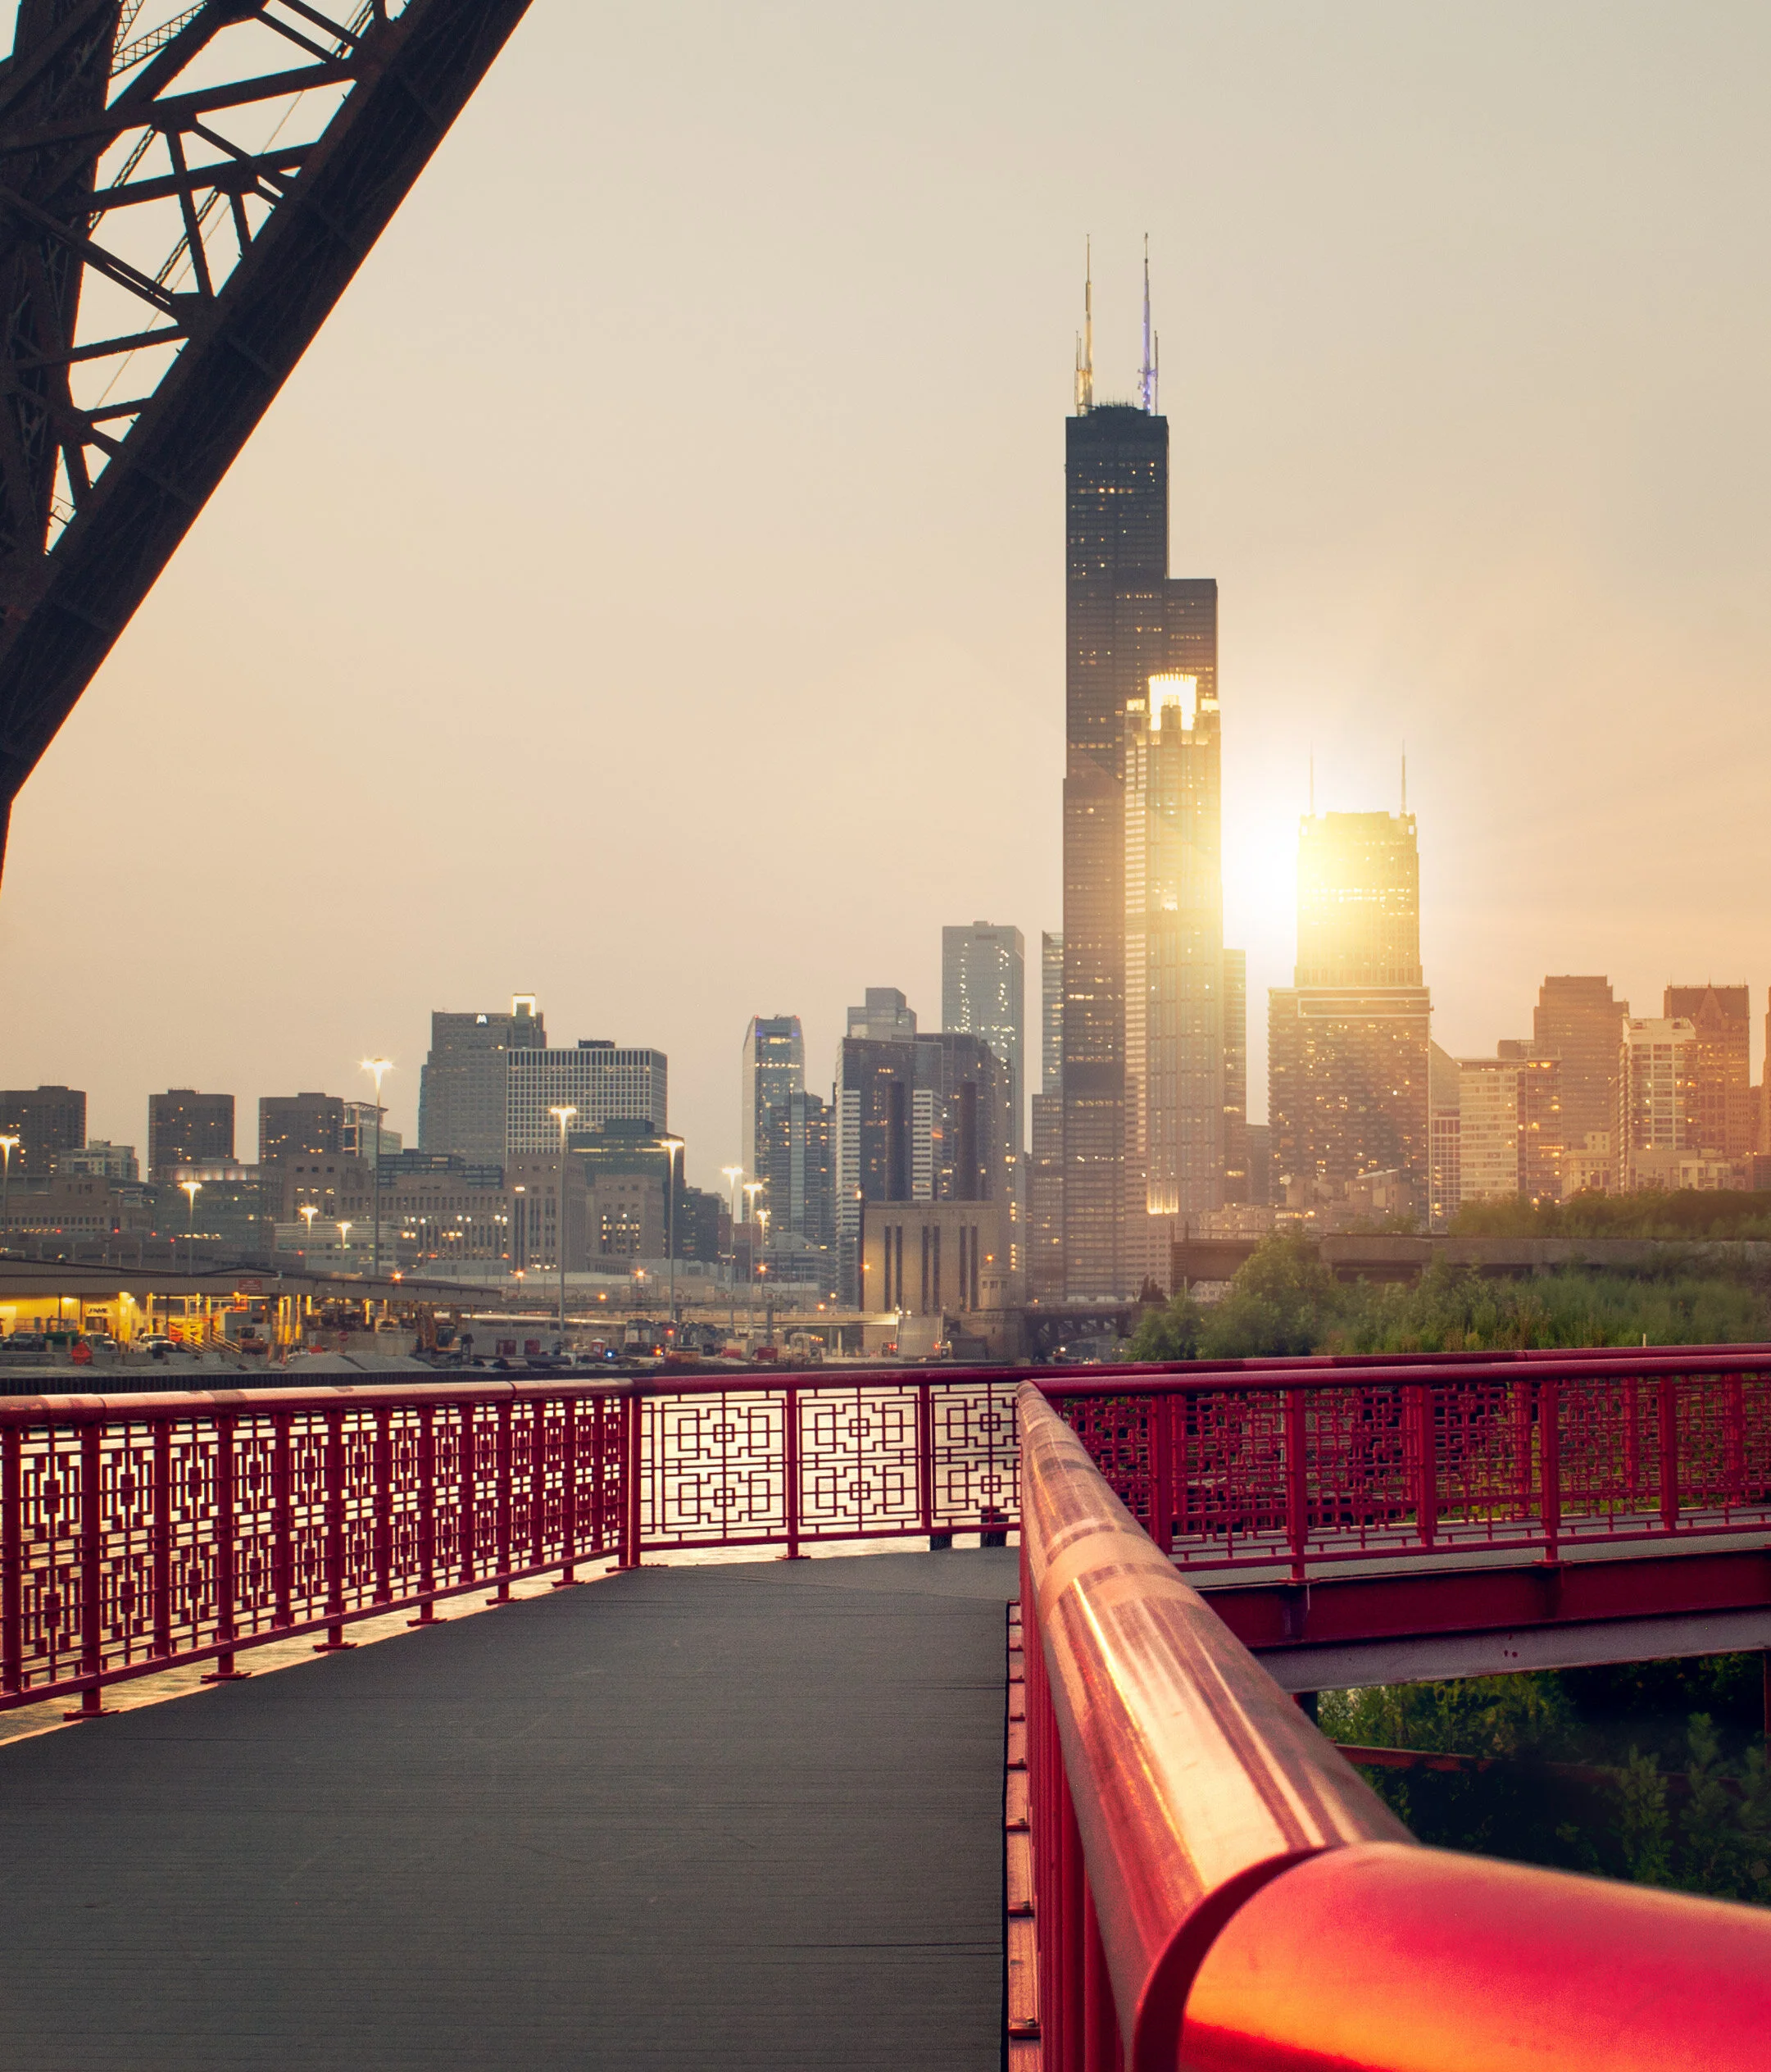
PING TOM MEMORIAL PARK
This is the first park I visited after moving to Chicago and it remains at the top of my favorites.
Located in the Chinatown district, this is the perfect place to stock up on some warm buns and pastries, walk along the river, and shoot the city skyline. The boardwalk with the ornate rails helps to create some appealing leading lines.
Pro Tip: Ping Tom Memorial Park is commonly known as one of the best places to watch trains. Amtrak frequently crosses the bridge at the southern edge of the pathway while the CTA trains and freighters flank it to the east.
Fun Fact: This 17.4-acre park was originally the site of a Chicago and Western Indiana Railroad yard. The area began its transformation into a green space in 1998.
Getting There: Red line trains to Roosevelt or green line to Cermak-McCormick Place
Downtown Chicago as seen from Ping Tom Memorial Park
18th STREET BRIDGE
Another spectacular city skyline view is on the 18th Street Bridge, located just above Ping Tom Memorial Park. Point the camera up the South Branch of the Chicago River and behold the Windy City in all its glory.
This is an especially great spot for nightscape photography.
Fun Fact: With a 1967 construction date, the 18th Street Bridge is one of the youngest in all of Chicago.
Getting There: Red line trains to Roosevelt or green line to Cermak-McCormick Place

Chicago skyline as captured from the 18th street bridge in Chicago’s Chinatown
LINCOLN PARK BOARDWALK
The nature boardwalk at Lincoln Park makes for the perfect escape from the busy city streets. The pond is surrounded by prairie-style grass and is full of life with birds, frogs, and fish to name a few.
This is a great place to not only photograph the urban nature scene, but the John Hancock Building as well.
Pro Tip: Combine a visit here with North Ave Beach.
Fun Fact: The Nature Boardwalk acts as a living laboratory for the Urban Wildlife Institute in Chicago as they test new techniques to resolve human-wildlife conflict.
Getting There: Red, brown, or purple express line trains to Fullerton

Lincoln Park, Chicago
200 NORTH CLARK
In a massive city full of high rises, this is the place where you can see straight to the horizon and it feels as though the trains below are riding off into the sunset.
The reflective siding on the garage adds to the unique perspective and helps to create some stunning imagery.
Fun Fact: In 2016, the “L” train had 1,492 cars transporting passengers between 145 stations.
Getting There: Blue, green, pink, orange, brown, and purple express lines to Clark/Lake

The view from the parking garage at 200 N. Clark St. in downtown Chicago
WABASH ARTS CORRIDOR
Commonly referred to as the “living urban canvas” because new pieces are being added on an annual basis, the Wabash Arts Corridor is a unique collection of colorful murals.
Stretching from as far north as Polk and as far south as Roosevelt, this is the perfect place to wander around with your camera. Be sure to check the website for more information, including a walking map of each masterpiece.
One of the most popular works is the Moose Bubblegum Bubble by artist Jacob Watts.
Pro-Tip: Start on the southern edge at Roosevelt and make your way north back into the city’s downtown loop.
Fun Fact: The Wabash Arts Corridor was founded in 2013 by Columbia College and continues to grow into being one of the largest, unique, and accessible art projects in the country.
Getting There: Red, orange, and green line trains to Roosevelt & walk north
Moose Bubblegum Bubble mural by artist Jacob Watts
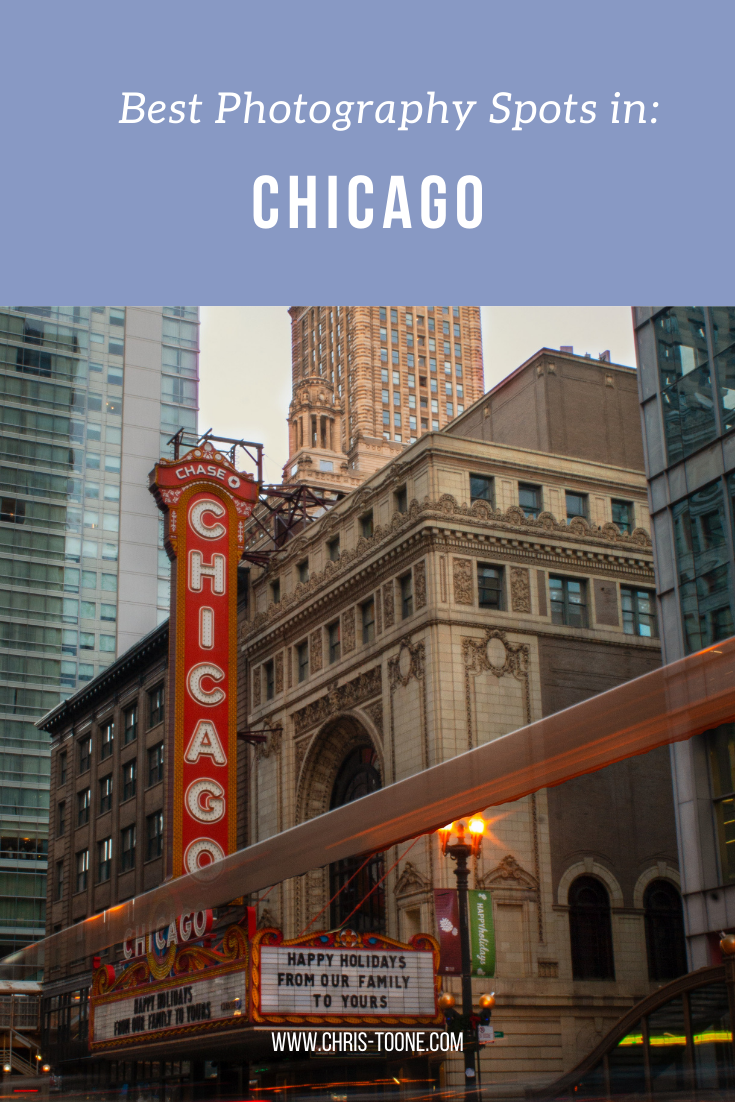
CHICAGO THEATER
Ok, you caught me. I can feel you rolling your eyes.
The vintage Chicago Theater sign isn’t exactly “off the beaten path”, but it does make for some pretty great long exposure shots and it’s a quick and easy stop on your tour of the city.
Fun Fact: The Chicago Theater was the first large movie palace in America and quickly became the prototype for all others. Constructed in a French Baroque style, look closely at the theater’s exterior to see if you can find the miniature Arc de Triomphe.
Getting There: Pink, green, brown, orange, and purple line express trains to State/Lake

Chicago Theater standing tall in the downtown traffic

The Chicago Theater shines bright in the snow
The truth is you just need to come here yourself and wander around. Each neighborhood, train line, and person has something unique to offer!
Stay safe & happy travels.
Enjoy what you read? Pin this post for later!


The Ultimate Hiking Guide to Mississippi-Palisades State Park
With local travel the name of the game in 2020, it’s time to explore a little closer to home. With bluffs to climb, fall foliage to soak up, and expansive views of the Mississippi River, there’s every reason to visit Mississippi-Palisades State Park! Here’s everything you need to know…

Local travel is the name of the game in 2020 and with autumn in full bloom, it seemed like the perfect time to migrate away from the bustling streets of Chicago and into the woods to soak up all of the colorful glory.
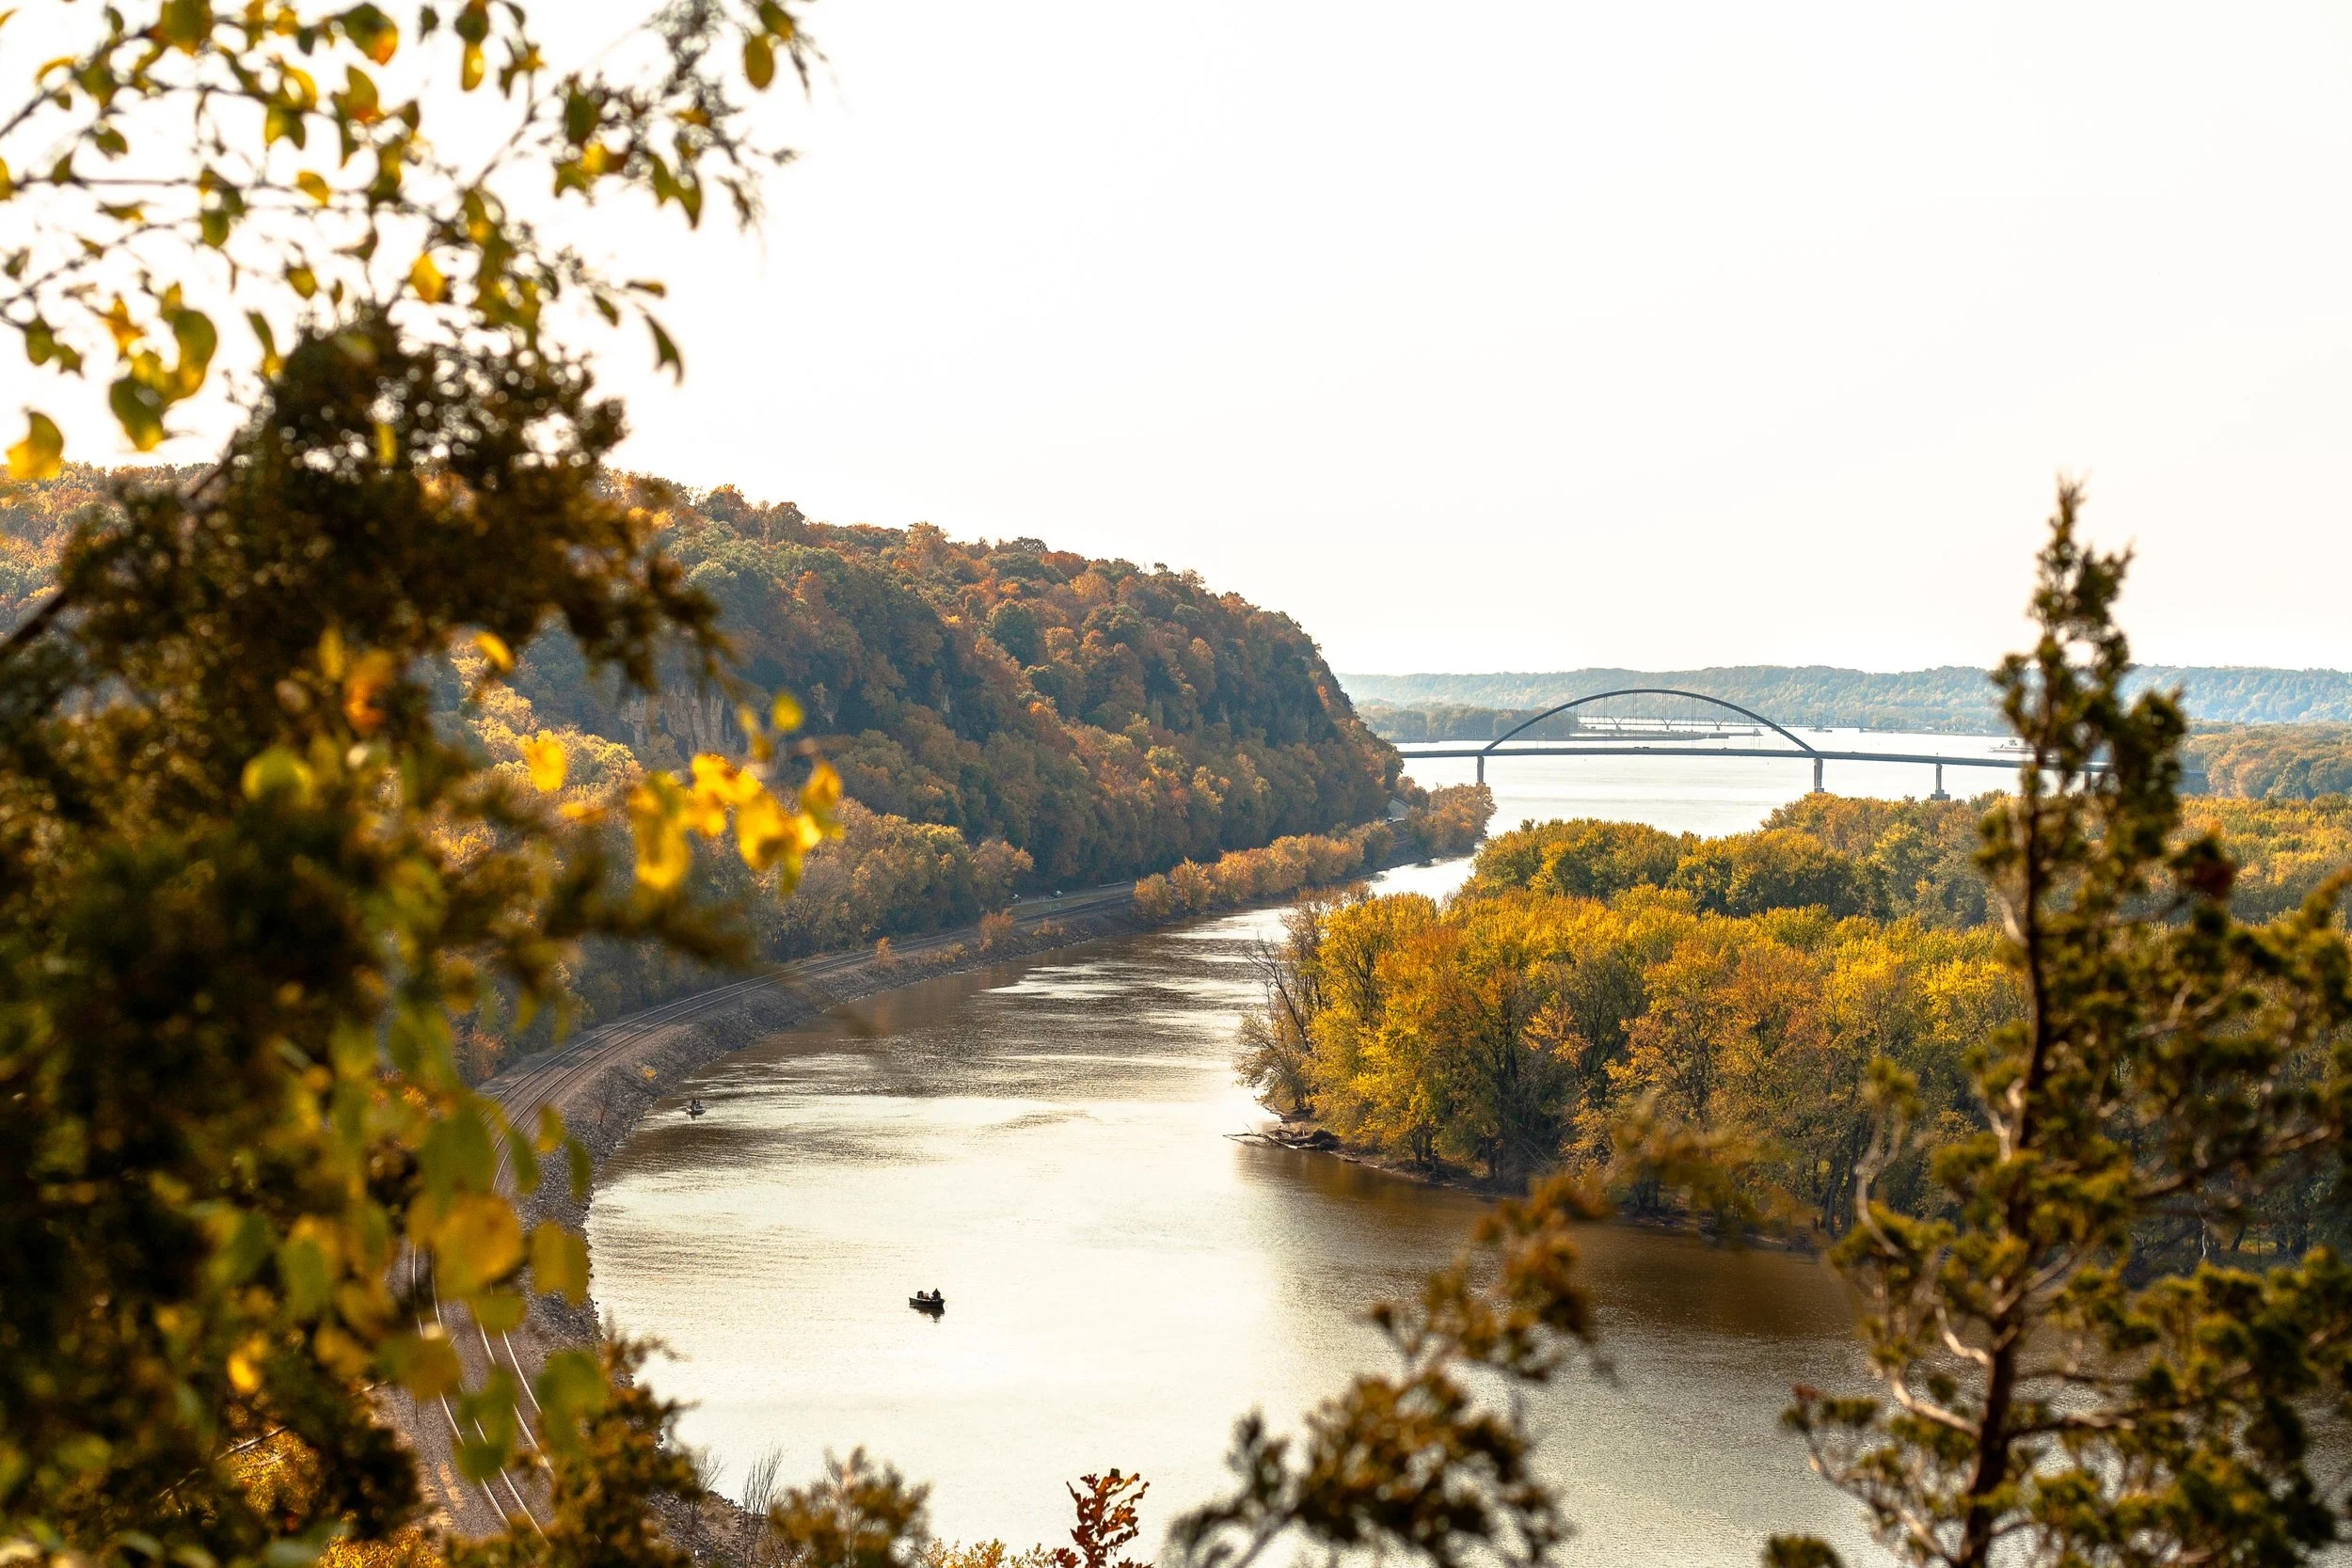
My alarm rang far too early at 5 am, but it was well worth the sleepless night as I rolled into an empty Mississippi-Palisades State Park at the crack of dawn, nestled along the northern section of the great Mississippi River and complete with sweeping views of Iowa across the way.
Picnic areas, grassy fields, and overlooks are in abundance within the 2,500 acre National Natural Landmark, but the goal of the day was to explore the trails and gain some much-needed elevation (I’m still adjusting to living in the midwest — shout out to the Wasatch Mountains back in Utah).
Here’s everything you need to know about hiking in Mississippi-Palisades State Park:

View of the Mississippi River as seen from the Sunset Trail at Mississippi-Palisades State Park
THE BASICS:
Location: Just north of Savanna, Illinois in Carroll County
Established: The park was founded in 1973
Trails: Hiking in the area is divided into the north and south systems, both containing 5 trails of their own for a cumulative 15-miles worth
Note: this post focuses on the southern trail system
Drive Time: 2 hours and 45 minutes from Chicago, depending on the time of day
Cost: FREE!
Facilities: Grills, gazebos, picnic areas, and restrooms can be found throughout the park
Why Mississippi-Palisades: The drive along the Great Northern Road as it pops in and out of small towns is just as stunning as the park itself, but there’s nothing quite like hiking up the bluffs and seeing the sweeping views above the Mississippi River in the peak of autumn
Difficulty: AllTrails rates this 4.6-mile multi-trail loop as ‘difficult’ due to a few sections of steeper terrain, but it’s a great combination of ascent, descent, and level ground. Plenty of families with young children were out and about
Great! Now that we’ve covered the basics, here’s how I spent my time wandering the southern trail system:
SUNSET TRAIL
I’d recommend starting with this trail as early as possible as the Lookout Point is by far the most popular overlook of the Mississippi River within the state park’s southern trail system. It’s here where you’ll soak up the sweeping views of the river and watch trains roll by below for as long as your heart desires.
The steepest part of the trail is departing from the parking lot as you climb the stairs and gain a quick chunk of elevation. Keep in mind that it’s a narrow, single-track dirt path with steep drop-offs to one side, so be on the lookout for other hikers and proceed with caution.
Once you reach the top of the bluff you’ll encounter a road that leads directly to the overlook. Do not head that way. Instead, cross over and continue on the trail. This winding path will take you down into a ravine thick with vegetation, complete with a wooden foot-bridge that’s set beneath a canopy of changing leaves.
As you make your way up and out of the trail’s low-point, you’ll stumble back onto the road and have the opportunity to scope the overlook. Pro tip: If it’s busy, continue south on the trail and you’ll find a separate, unofficial overlook with views downriver.

Sunset Trail in Mississippi-Palisades State Park
Don’t forget to pack these essentials!


SENTINEL TRAIL
Sentinel Trail is an easy 1.2-mile trail that is located directly across the road from the Sunset Trail, next to the picnic shelter and makes for a convenient second loop on the day.
As you cross the bridge and reach the fork, head left. This will take you up another set of wooden stairs and to a t-junction at which point you’ll choose left again. This will take you to an upper parking lot where you will pick up the less-trafficked Pine Trail.
After completing the short Pine Trail loop (see next section), head back up the Sentinel Trail path that led to the parking lot and continue straight past your previous left turn at the t-junction. This will take you back towards the Mississippi River and over to some last-minute views across the water before heading back down to the parking lot via stairs and narrow paths. Be sure to stop and check out some of the caves that have been carved into the side of the bluffs over the years!
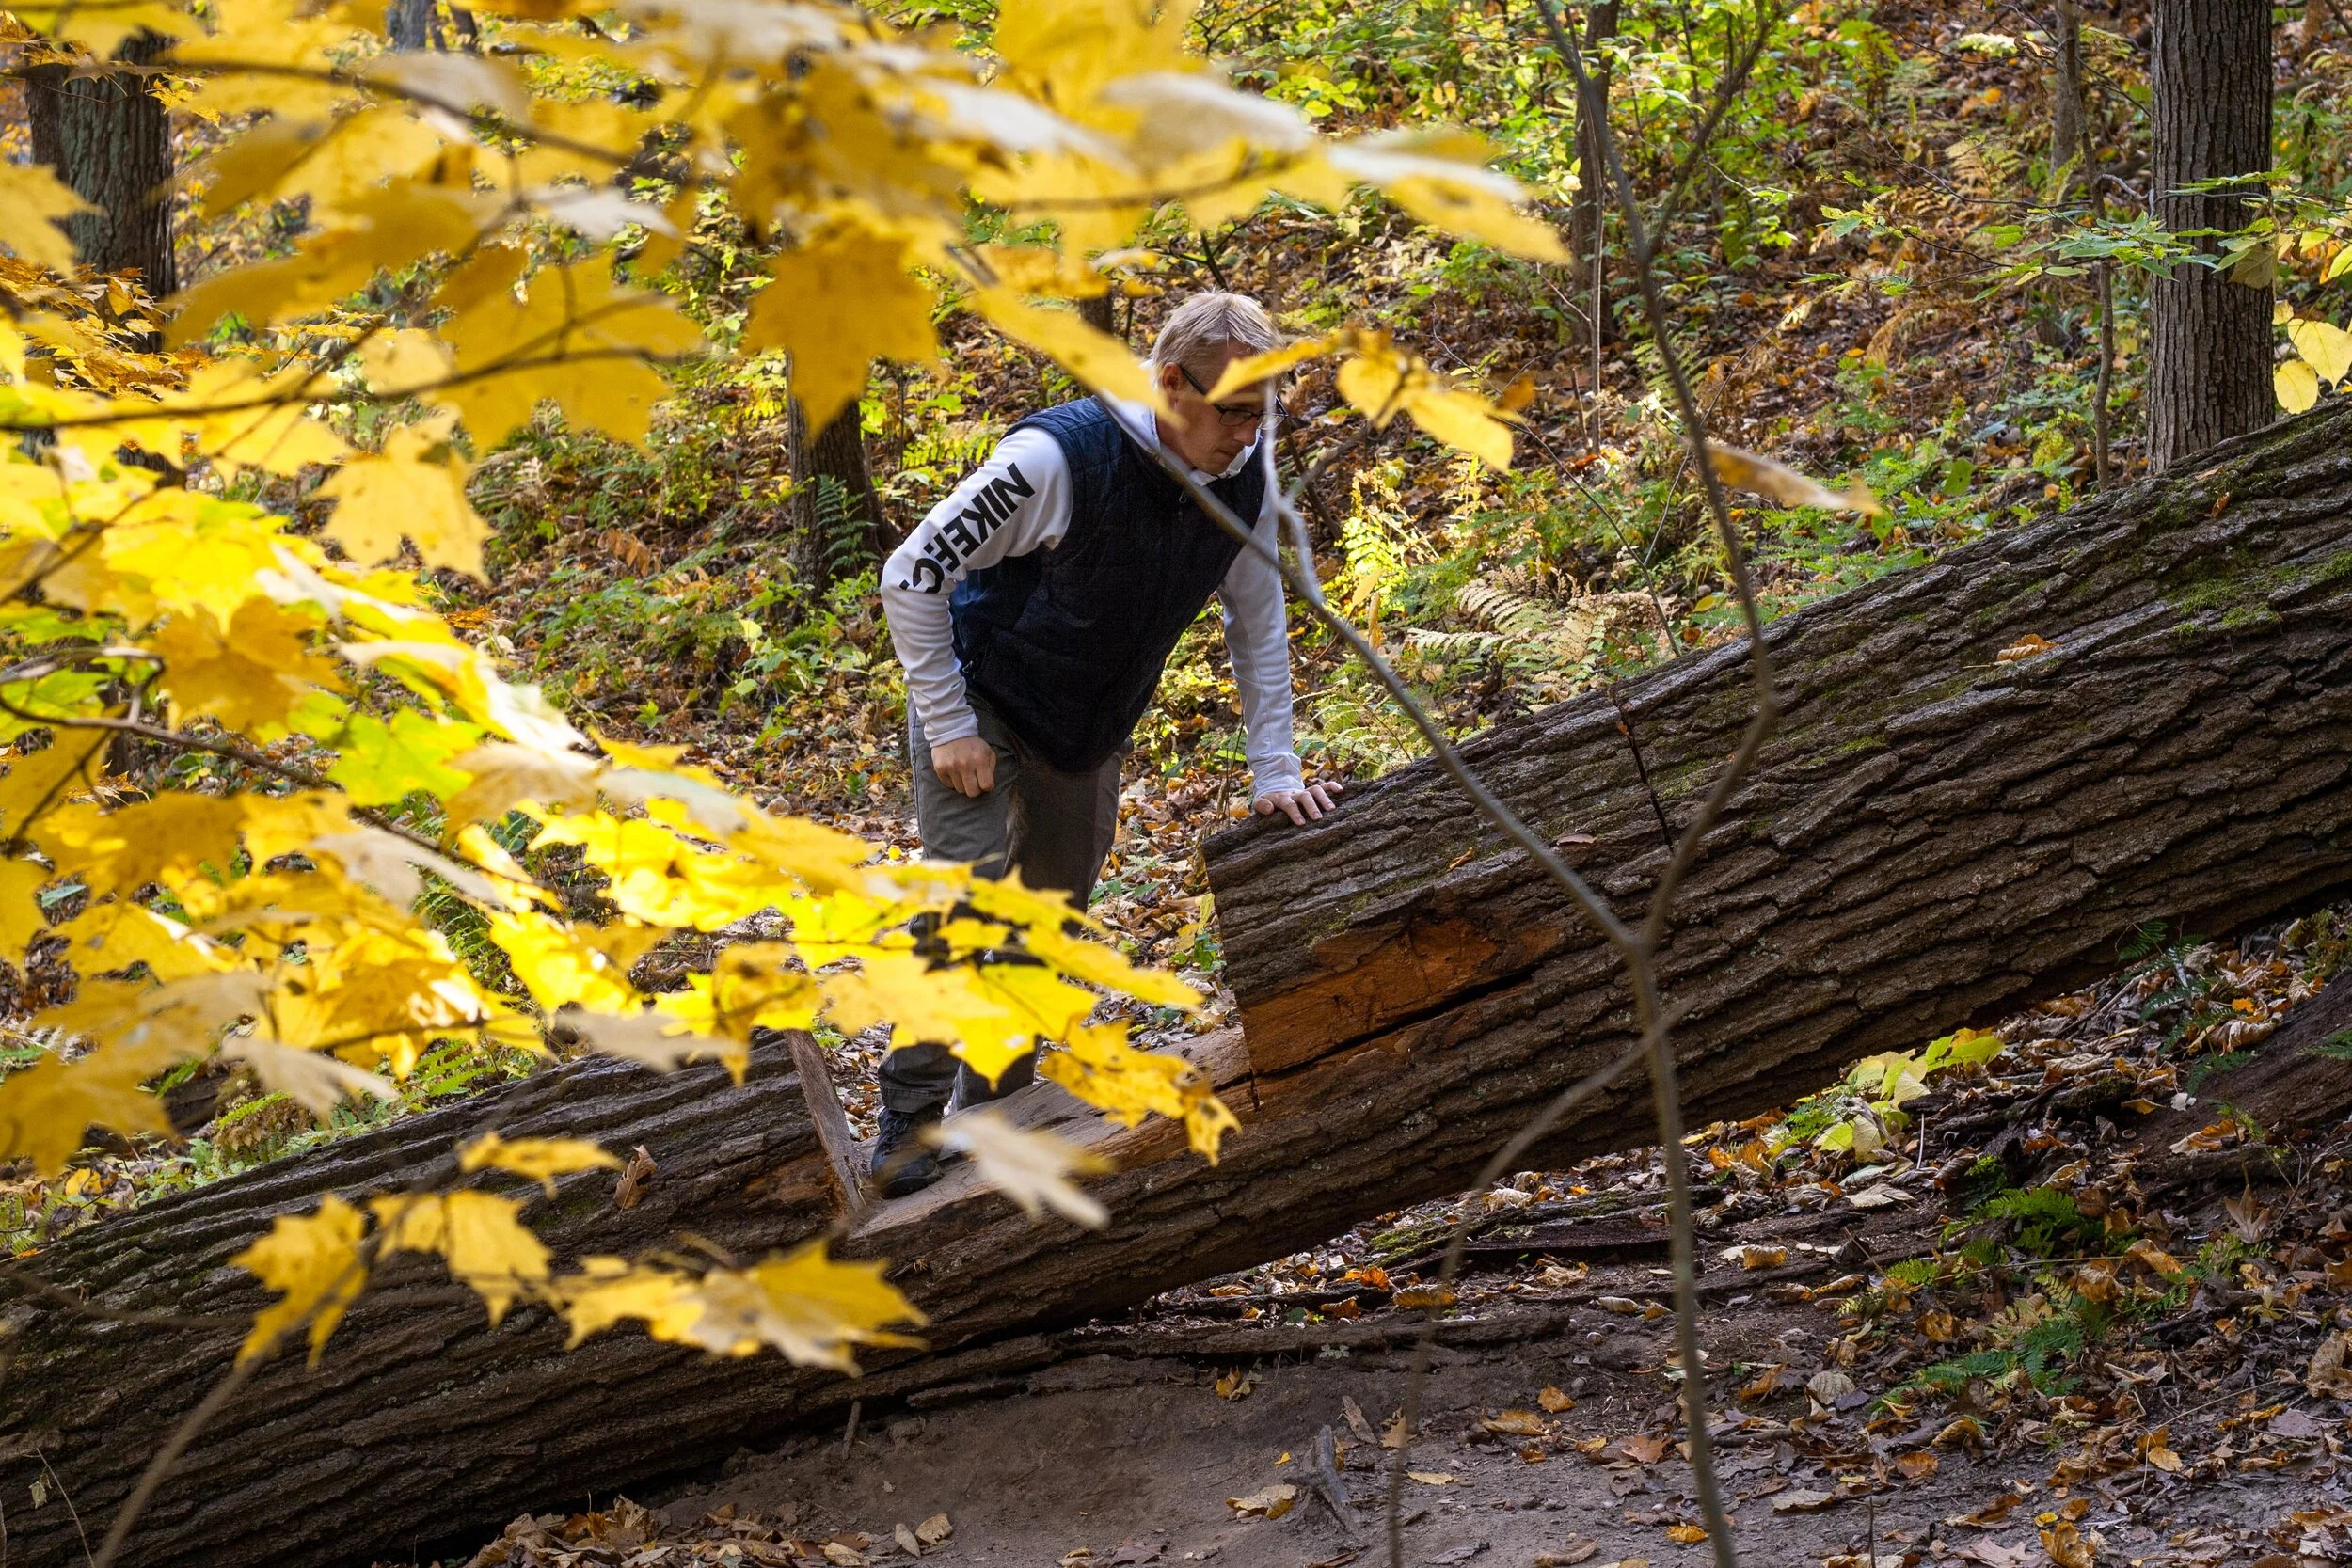
Hiking through the narrow trails of Mississippi-Palisades State Park
PINE TRAIL
Pick up the Pine Trail once you’ve reached the upper parking lot after hiking part of the Sentinel. This was by far the least crowded path within the park, making it easy to avoid other hikers and find some serenity among the fall foliage.
After reaching yet another t-junction, head left. This will lead you out to a road in which you then follow to the right to pick up the trail again at the next parking lot.
As you start the ascent from the road you’ll immediately notice a gray spire affectionately known as The Sentinel. This is a popular rock climbing area so don’t be surprised if you run into some dare-devils as you make your way up to the next overlook before looping back into the woods and up to the Sentinel Trail.
In regards to peacefulness, fall foliage, and a great workout of ascending/descending paths, Pine Trail was the highlight of the day!

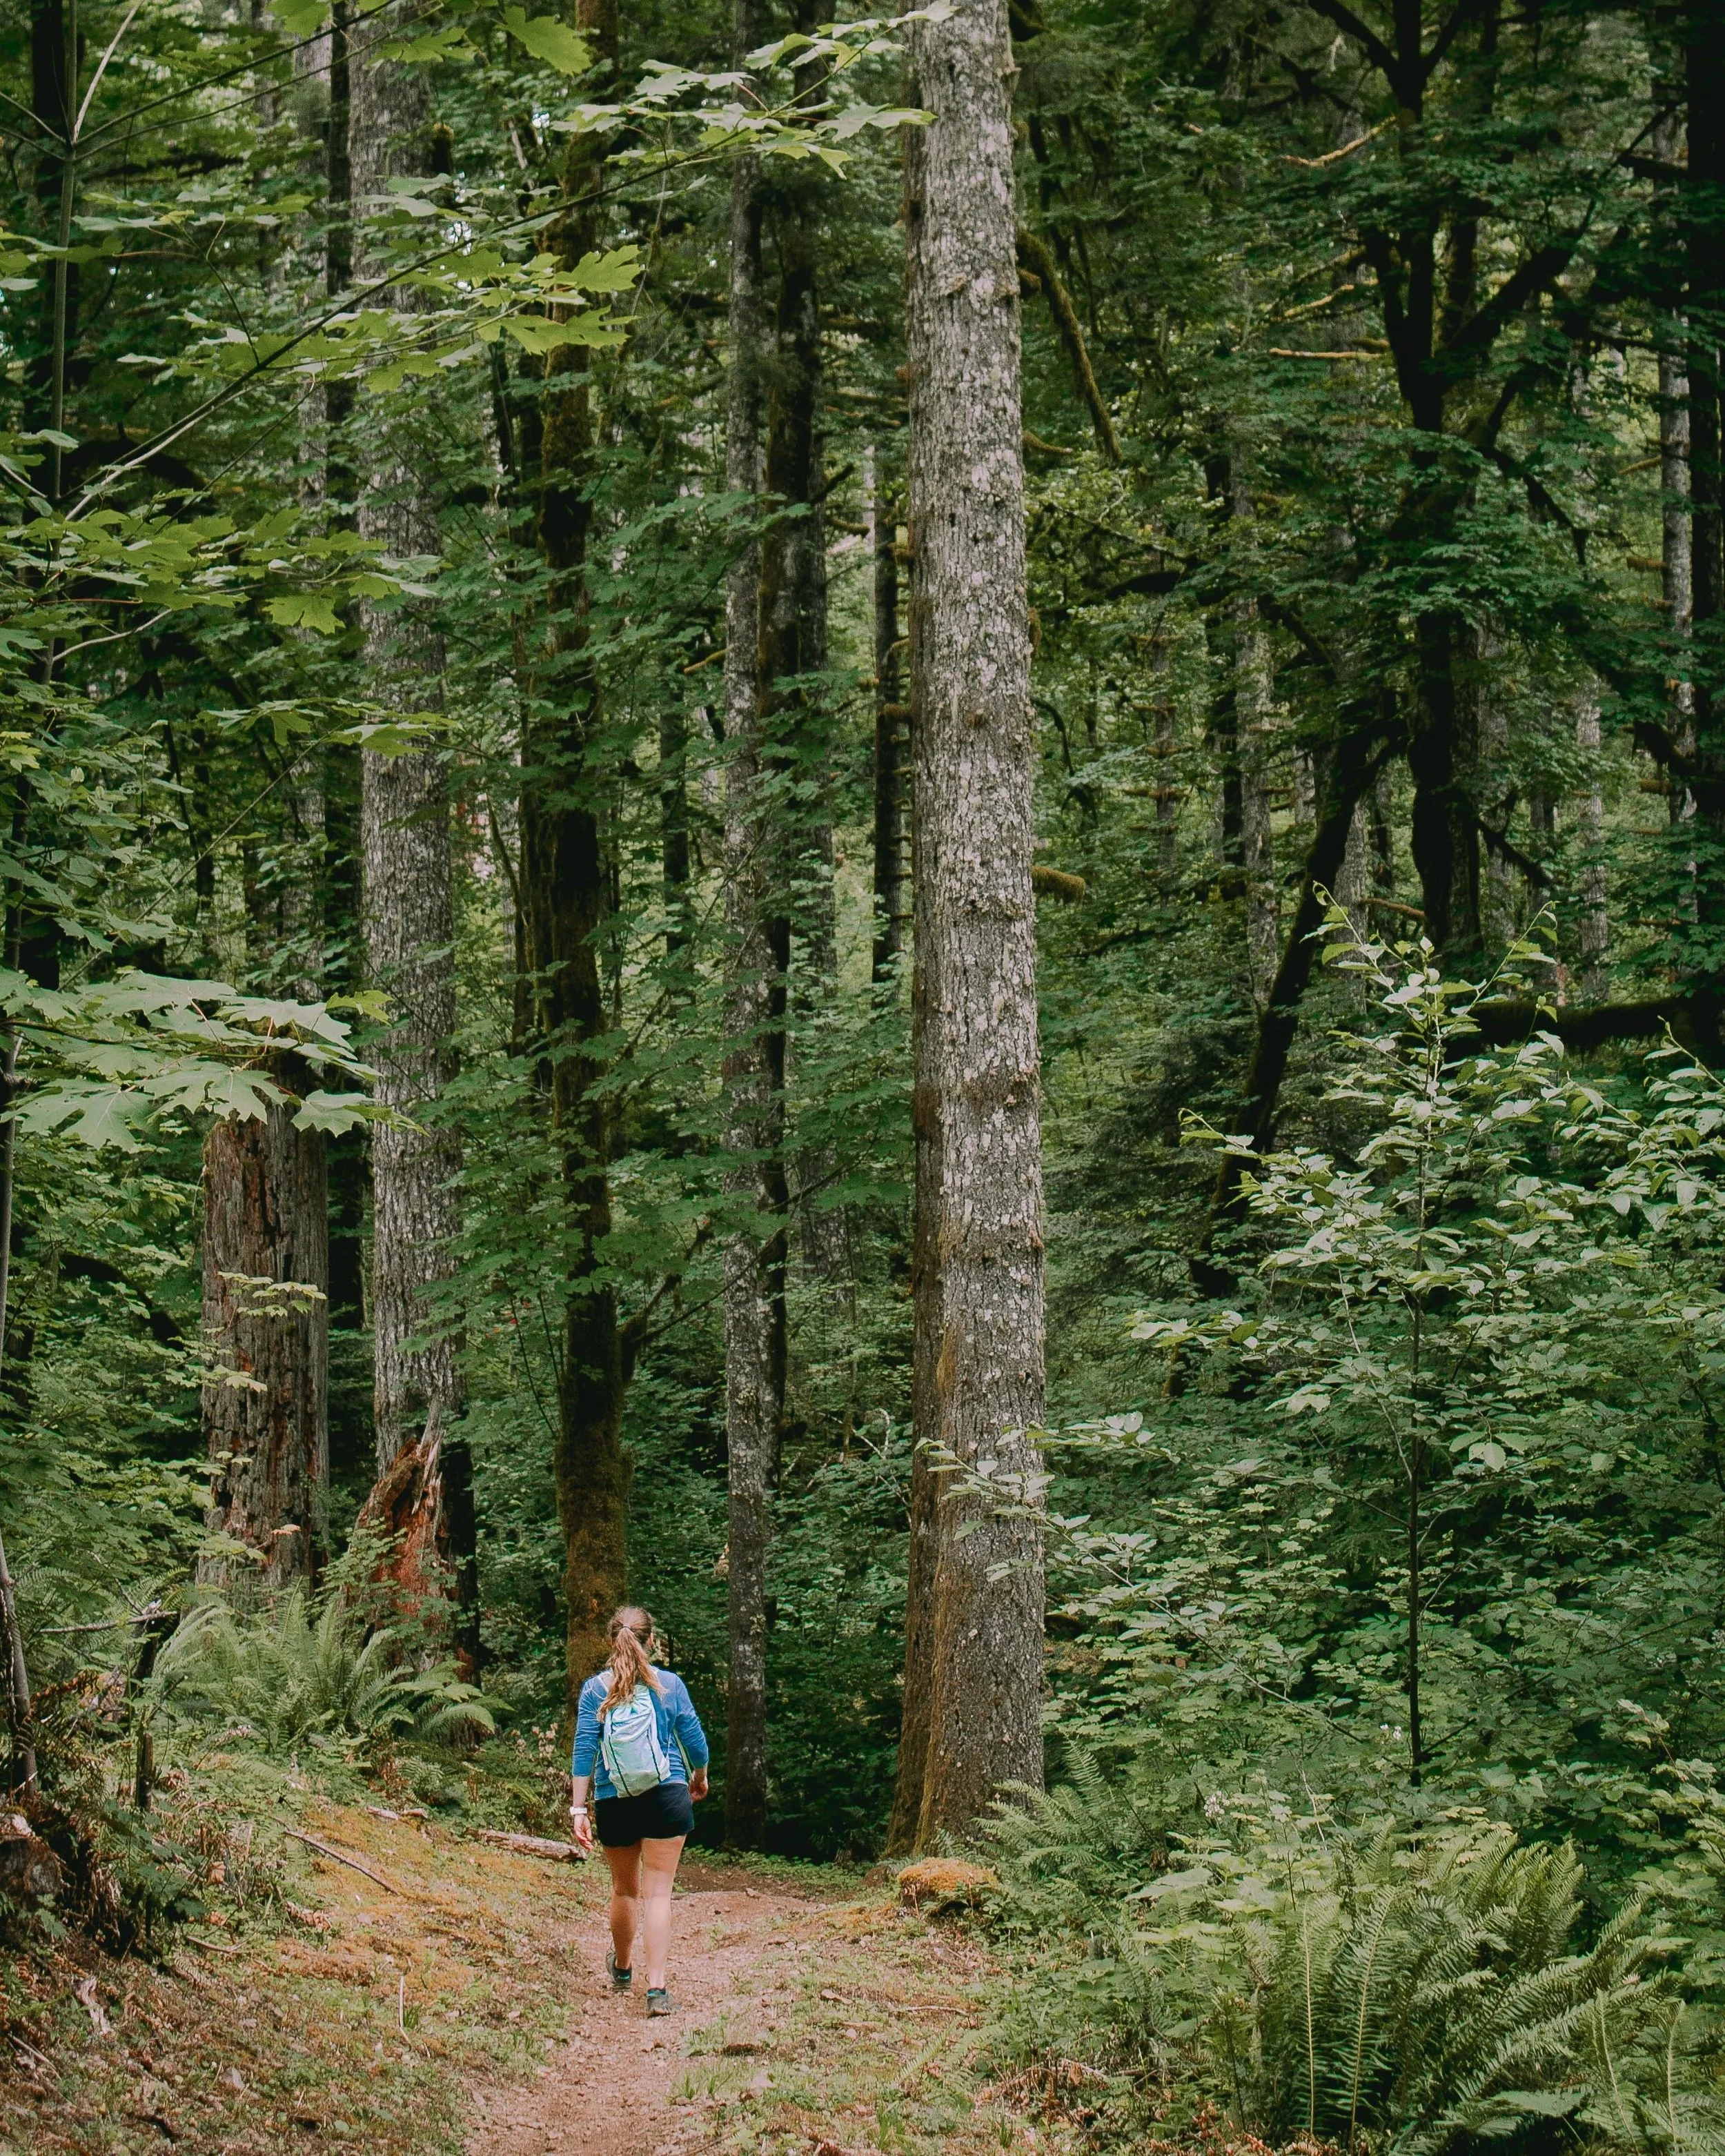
Fall foliage in Mississippi-Palisades State Park
There you have it; everything you need to know about hiking through Mississippi-Palisades State Park! The family-friendly area makes for a great day-trip from Chicago and it’s easy to turn it into a weekend getaway by continuing north along Route 84 up to Galena, a quaint town once home to Ulysses S. Grant.
Happy hiking!
Enjoy this post? Pin it for later!


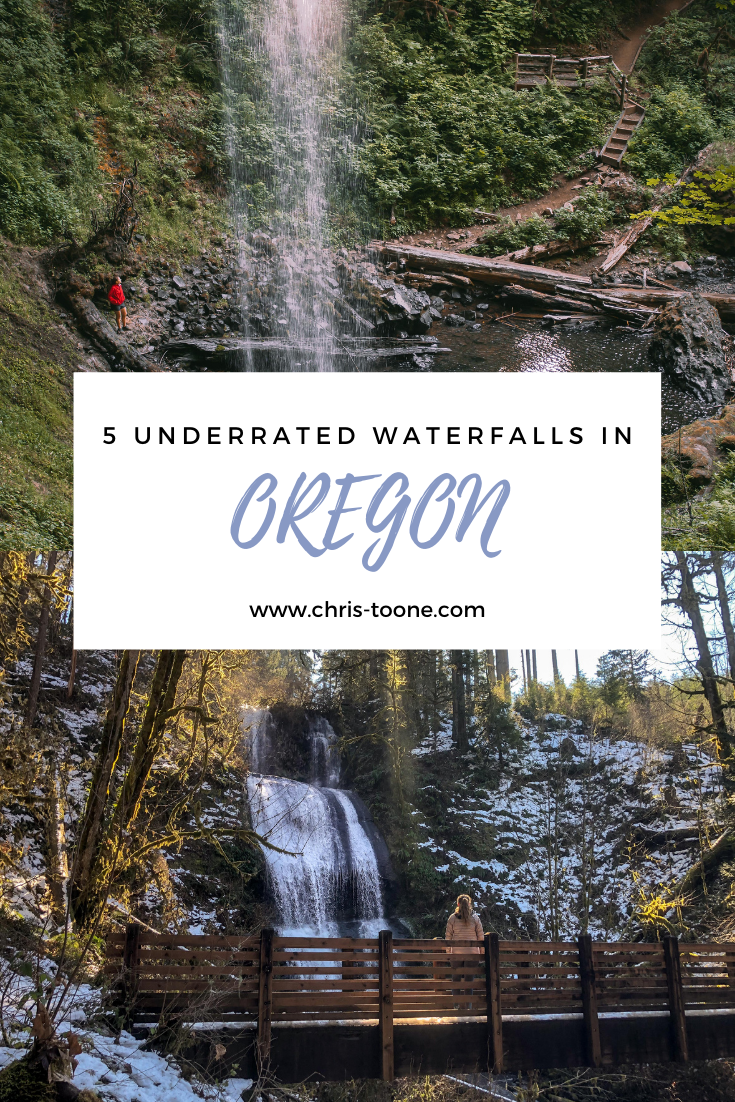
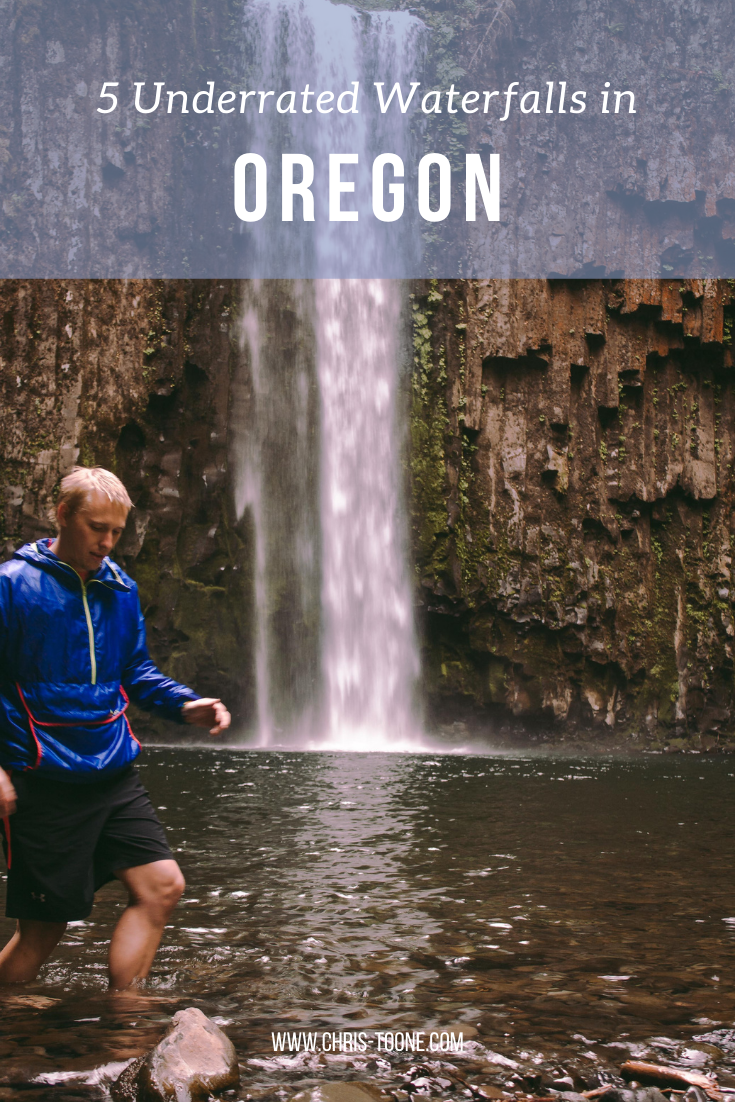
5 of the most underrated waterfalls in Oregon
Although Multnomah may be the most popular waterfall in Oregon, the state is home to at least 237 others! Here’s a list of 5 of the most underrated waterfalls, deep within the verdant forests of this mystical place. It’s time to break out the hiking shoes for these incredible adventures!

Please note: All information below is updated as of May 2023
Growing up just outside of Buffalo, New York, I had the luxury of being able to visit Niagara Falls whenever I wanted. Needless to say, with one of the seven natural wonders of the world in my backyard as a child, my standard for waterfalls may be a bit unfair - or so I thought!
Although Multnomah Falls may be the most well known and photographed waterfall in all of Oregon, the beaver state is home to over 230 others. It’s hard to find a hike in Central Oregon that doesn’t lead to a magical view of these natural wonders.
With a plethora of hidden gems all around, here are my top 5 most underrated waterfalls found in Oregon, USA. It’s time to break out the hiking shoes!
1. SHELLBURG FALLS
Located in the Santiam Foothills near Mehama, Oregon, Shellburg Falls is a 100ft tall cascading waterfall that flows over a stunning basalt ledge.
The hike starts by following a gravel road before entering the old-growth forest. Note: this road is private property and crosses through an open cattle range. Once you’ve reached a small bridge that crosses above Shellburg Creek, there will be stairs on the left that mark the beginning of the trail to the waterfall.
The path leads directly to Shellburg Falls and even takes hikers beneath the ledge and behind the flowing water, offering a unique perspective. Continue trekking through the forest and wildflowers before rejoining the gravel road at the other end of the loop. Pro Tip: Go early. This hike is easily accessible and good for all ages, making it heavily trafficked.
Hiking Distance: 6.0mi loop trail
Elevation Gain: 1,036 feet
Rating: Easy to moderate
Fee: None
Bathrooms: Vault toilets are located at the Shellburg campground, approximately 0.6mi past the waterfall


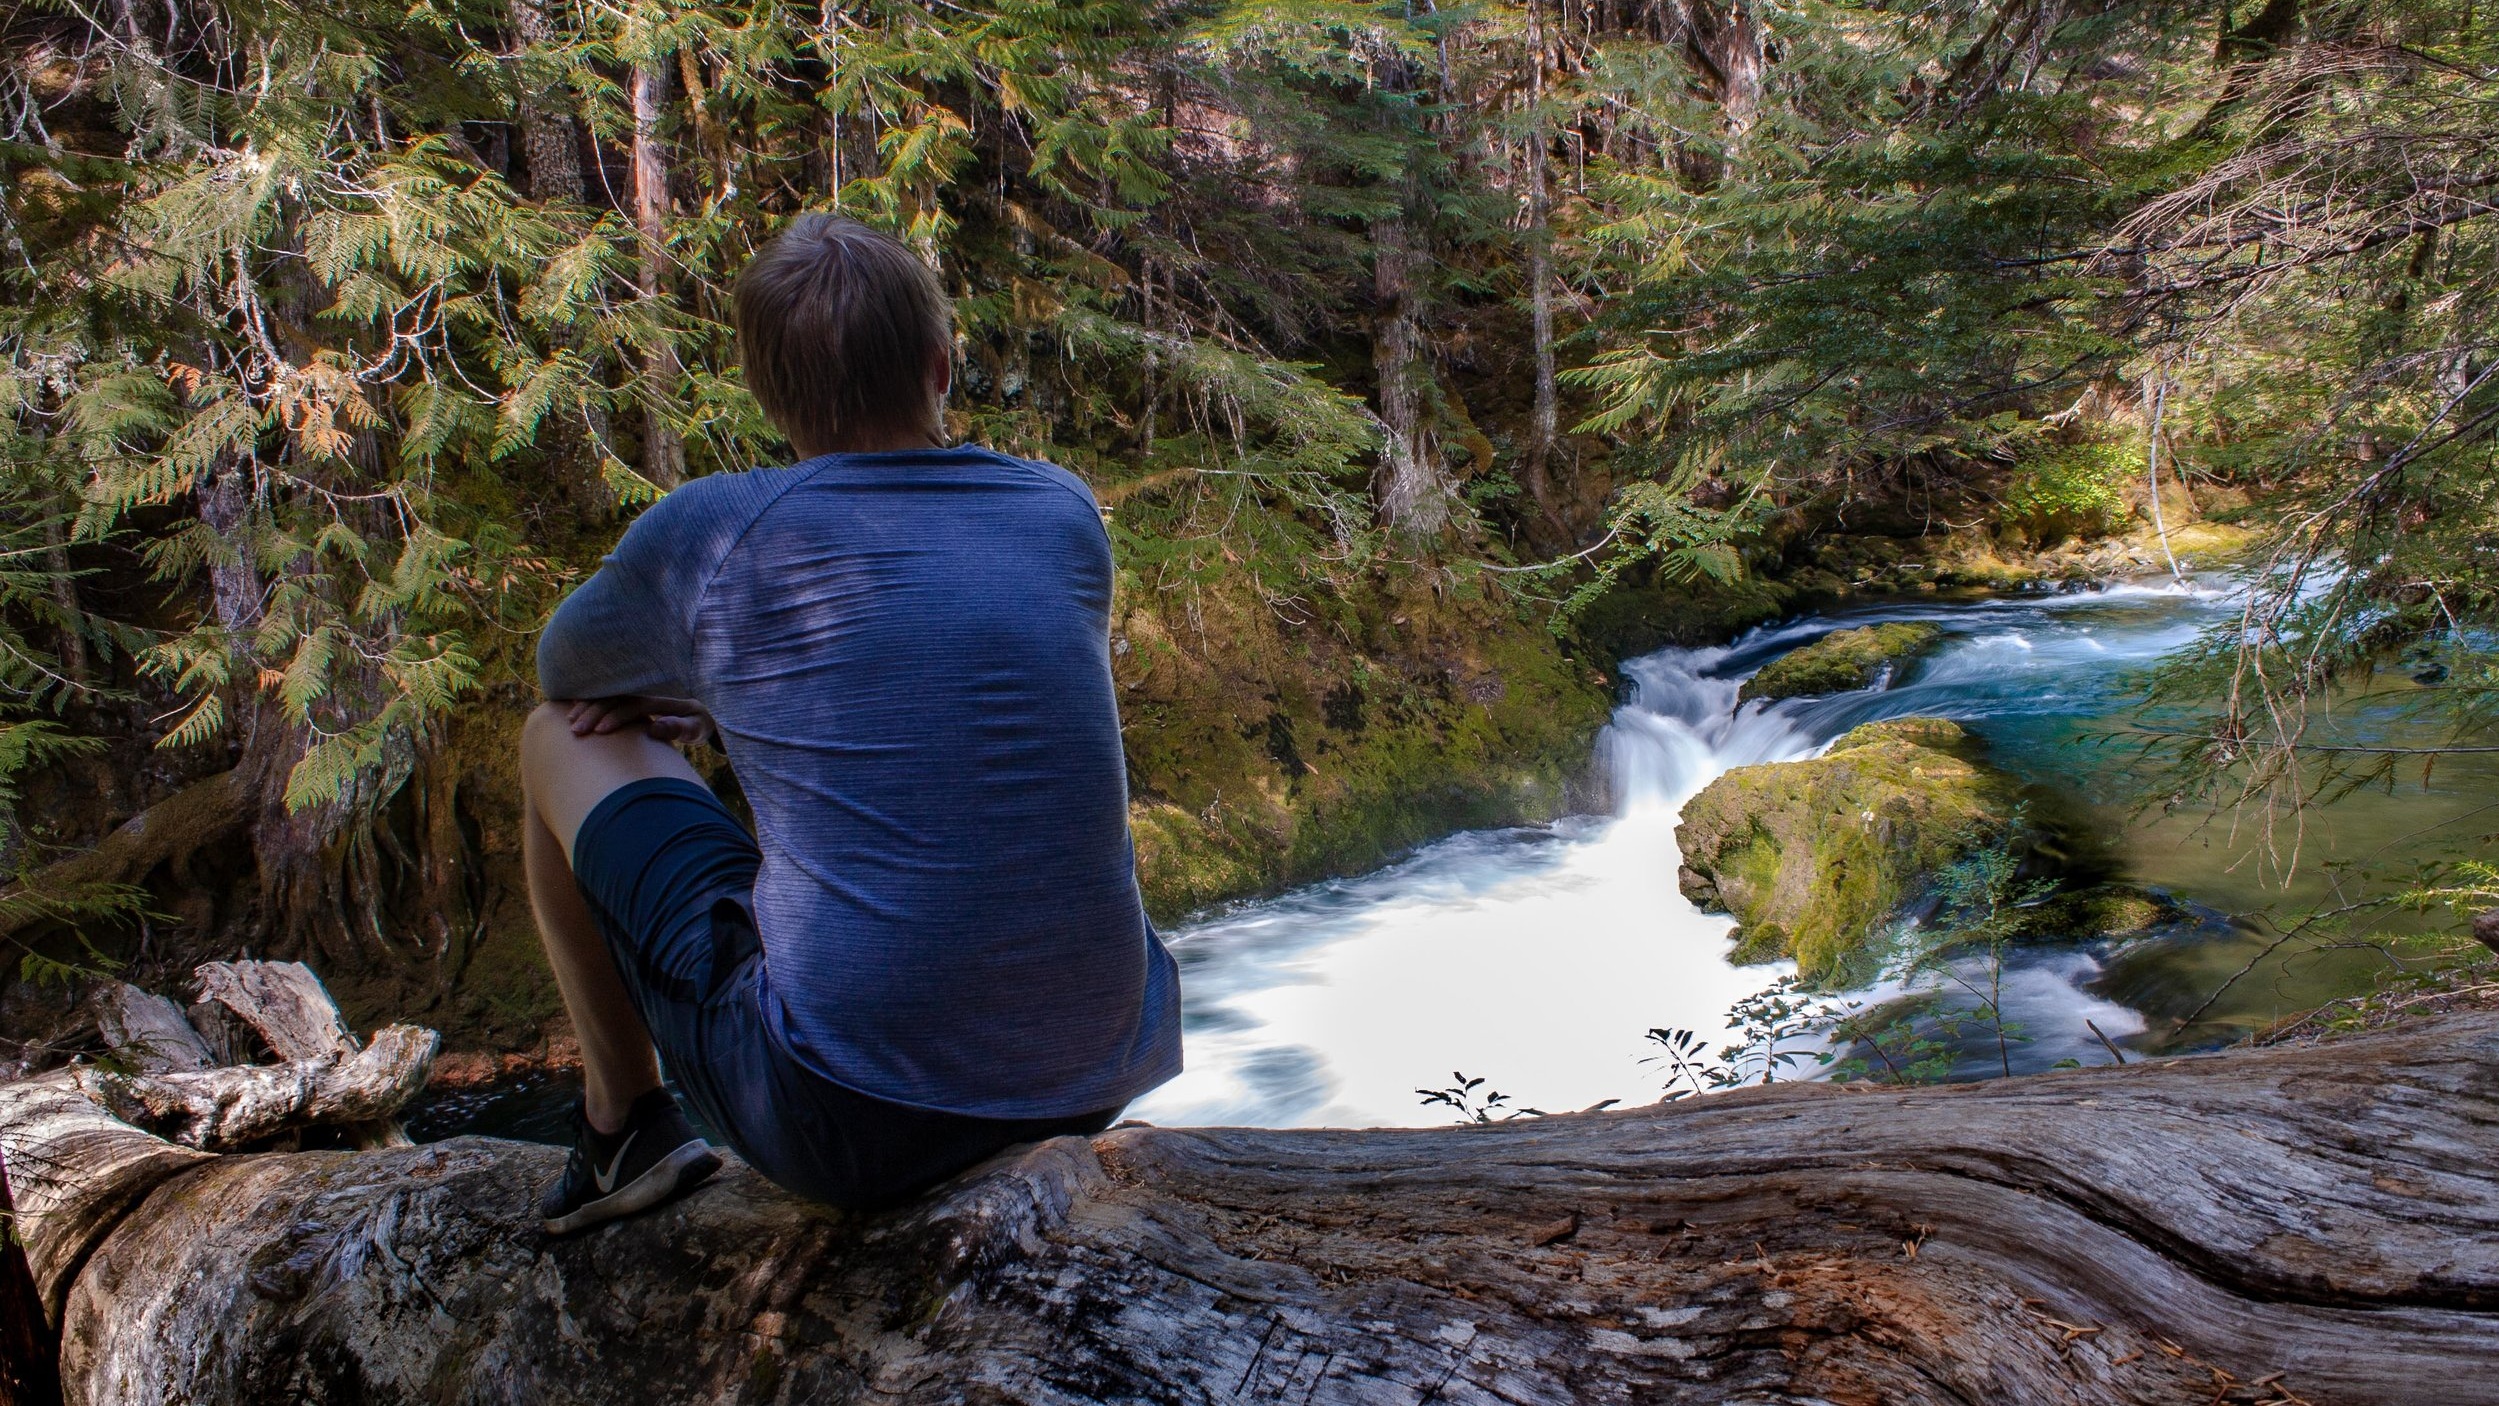
2. OPAL CREEK WILDERNESS (SAWMILL FALLS)
This trail is currently listed as CLOSED.
The Opal Creek Wilderness trail is a 6.9mi loop near Lyons, Oregon. Surrounded by stunning cedar trees, the hike flanks the Little North Santiam River as it winds its way through an abandoned mining operation from over a century ago.
The real gem of this trail is the numerous cut-offs to various waterfalls and swimming holes along the way, the most beautiful of which is Sawmill Falls. Make sure to bring a swimsuit and take a dip in the beautiful blue water!
Hiking Distance: 4mi. out and back to Sawmill Falls, 6.9mi. loop through Jawbone Flats
Elevation Gain: 652 feet
Rating: Easy
Fee: $5.00
Bathrooms: Vault toilets located at trailhead parking lot and in Jawbone Flats

Sawmill Falls
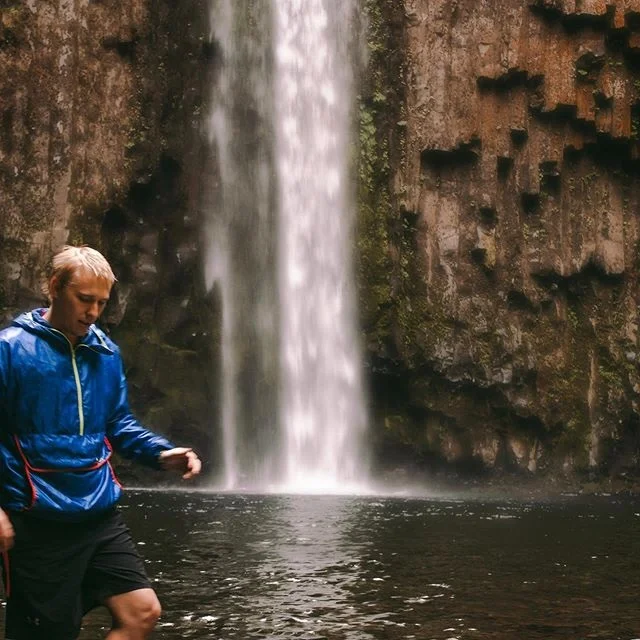
3. ABIQUA FALLS
Abiqua Falls is an out and back 5.3mi trail located near Scotts Mills, Oregon that features a short hike through the forest and along a crystal clear river before reaching the 92ft. waterfall.
The trailhead can be found by following a single lane dirt road, with parking available in turnouts along the way. Continue following the road by foot as it descends deeper into the forest until reaching the trailhead. From here it’s a short 0.8mi. hike to the waterfall, but keep in mind the elevation gain becomes difficult on the way back out.
Keep telling yourself that it’s worth it because it is! If you’re daring like me, be sure to take a quick dip in the freezing, yet refreshing, pool below the falls. Note: The hike is on private property and can get steep at times. Exercise caution and be respectful.
Hiking Distance: 5.3mi. out and back (dependent on parking location), 0.8mi. to the waterfall from the trailhead
Elevation Gain: 1,397 feet
Rating: Hard (mostly due to the elevation gain on the way out)
Fee: None
Bathrooms: Not available


4. McDOWELL CREEK FALLS TRAIL (ROYAL TERRACE FALLS)
In search of a hidden wonder in Oregon? Look no further than McDowell Creek County Park, located 16mi. east of Lebanon. Here you’ll find McDowell Creek Falls Trail, a 1.8mi loop that leads to two beautiful waterfalls: Royal Terrace Falls and Majestic Falls.
Cascading a total of 119 feet between the two levels, Royal Terrace Falls was named from its unique terraced appearance, often found in royal palaces around the world. The trail itself winds its ways through the lush forest, taking hikers along bridges, stairs, and platforms, all providing the perfect views of the falls.
A great day trip for all ages!
Hiking Distance: 1.8mi. loop trail
Elevation Gain: 288 feet
Rating: Easy
Fee: None
Bathrooms: Not available


5. KOOSAH AND SAHALIE FALLS
Do you recognize any of the pictures below? Dig deep into the 90’s Disney movie vault… Sahalie Falls was featured in Homeward Bound! Still not ringing a bell? It’s ok - it’s still worth a visit!
The Waterfall Trail is a 2.6mi loop that runs adjacent to the McKenzie River as it winds past Koosah (70ft) and Sahalie (100ft) falls.
Along the way, accessory paths veer off and provide viewpoints of the area that many hikers fail to experience, so make sure to wander a bit! The main trail is marked, making it easy to stay on course. Pro Tip: Park at and start the hike from Koosah Falls instead of Sahalie. This lot is typically less congested.
Hiking Distance: 2.6mi. loop trail
Elevation Gain: 357 feet
Rating: Easy
Fee: None
Bathrooms: Vault toilets are available at Sahalie Falls parking lot


Ready to get out and explore yet? Wherever you are the world, make sure to leave time for a new adventure and, if you ever find yourself in Oregon, be sure to check out one of these hikes!
Thanks for reading and as always, stay safe & happy travels.
Enjoy what you read? Pin this post and share with others!


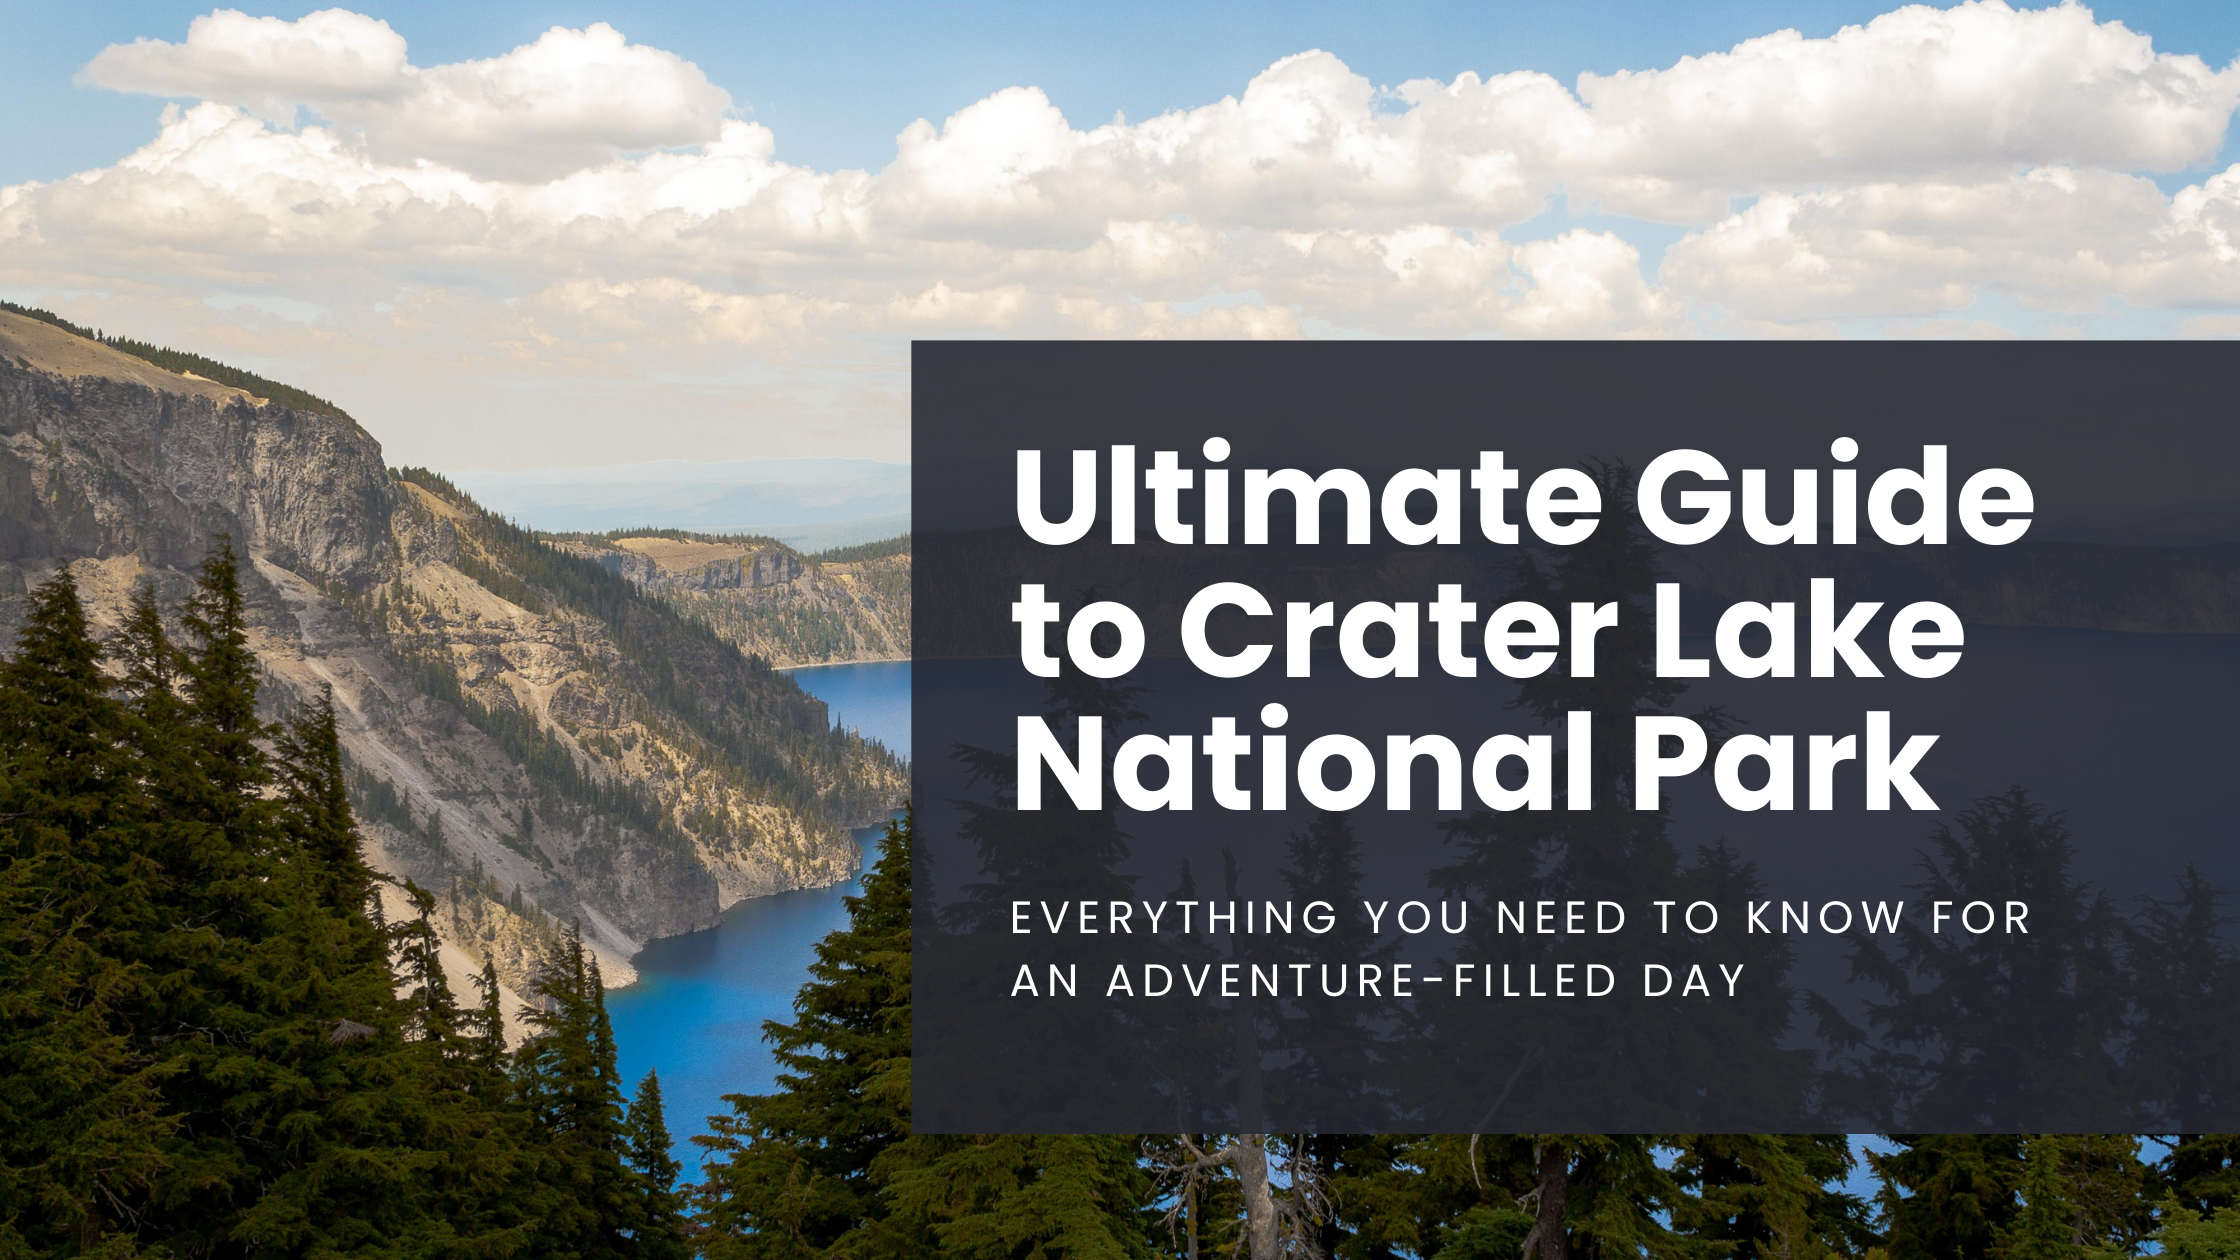
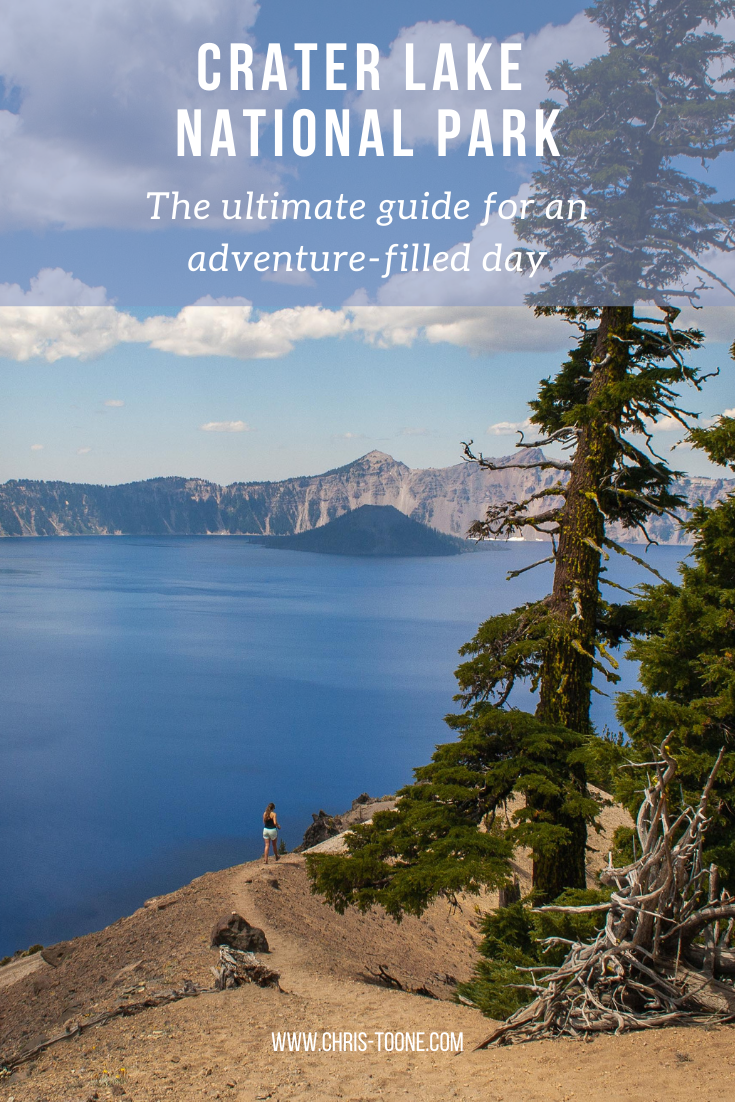
The Ultimate Guide to Crater Lake National Park: Everything you need to know for a day full of adventure
Crater Lake National Park has grown in popularity over the years, but it still wildly underrated amongst the National Parks. Here is your guide to getting the most of your 24 hours exploring the area!
All information below is up to date as of April 2023.
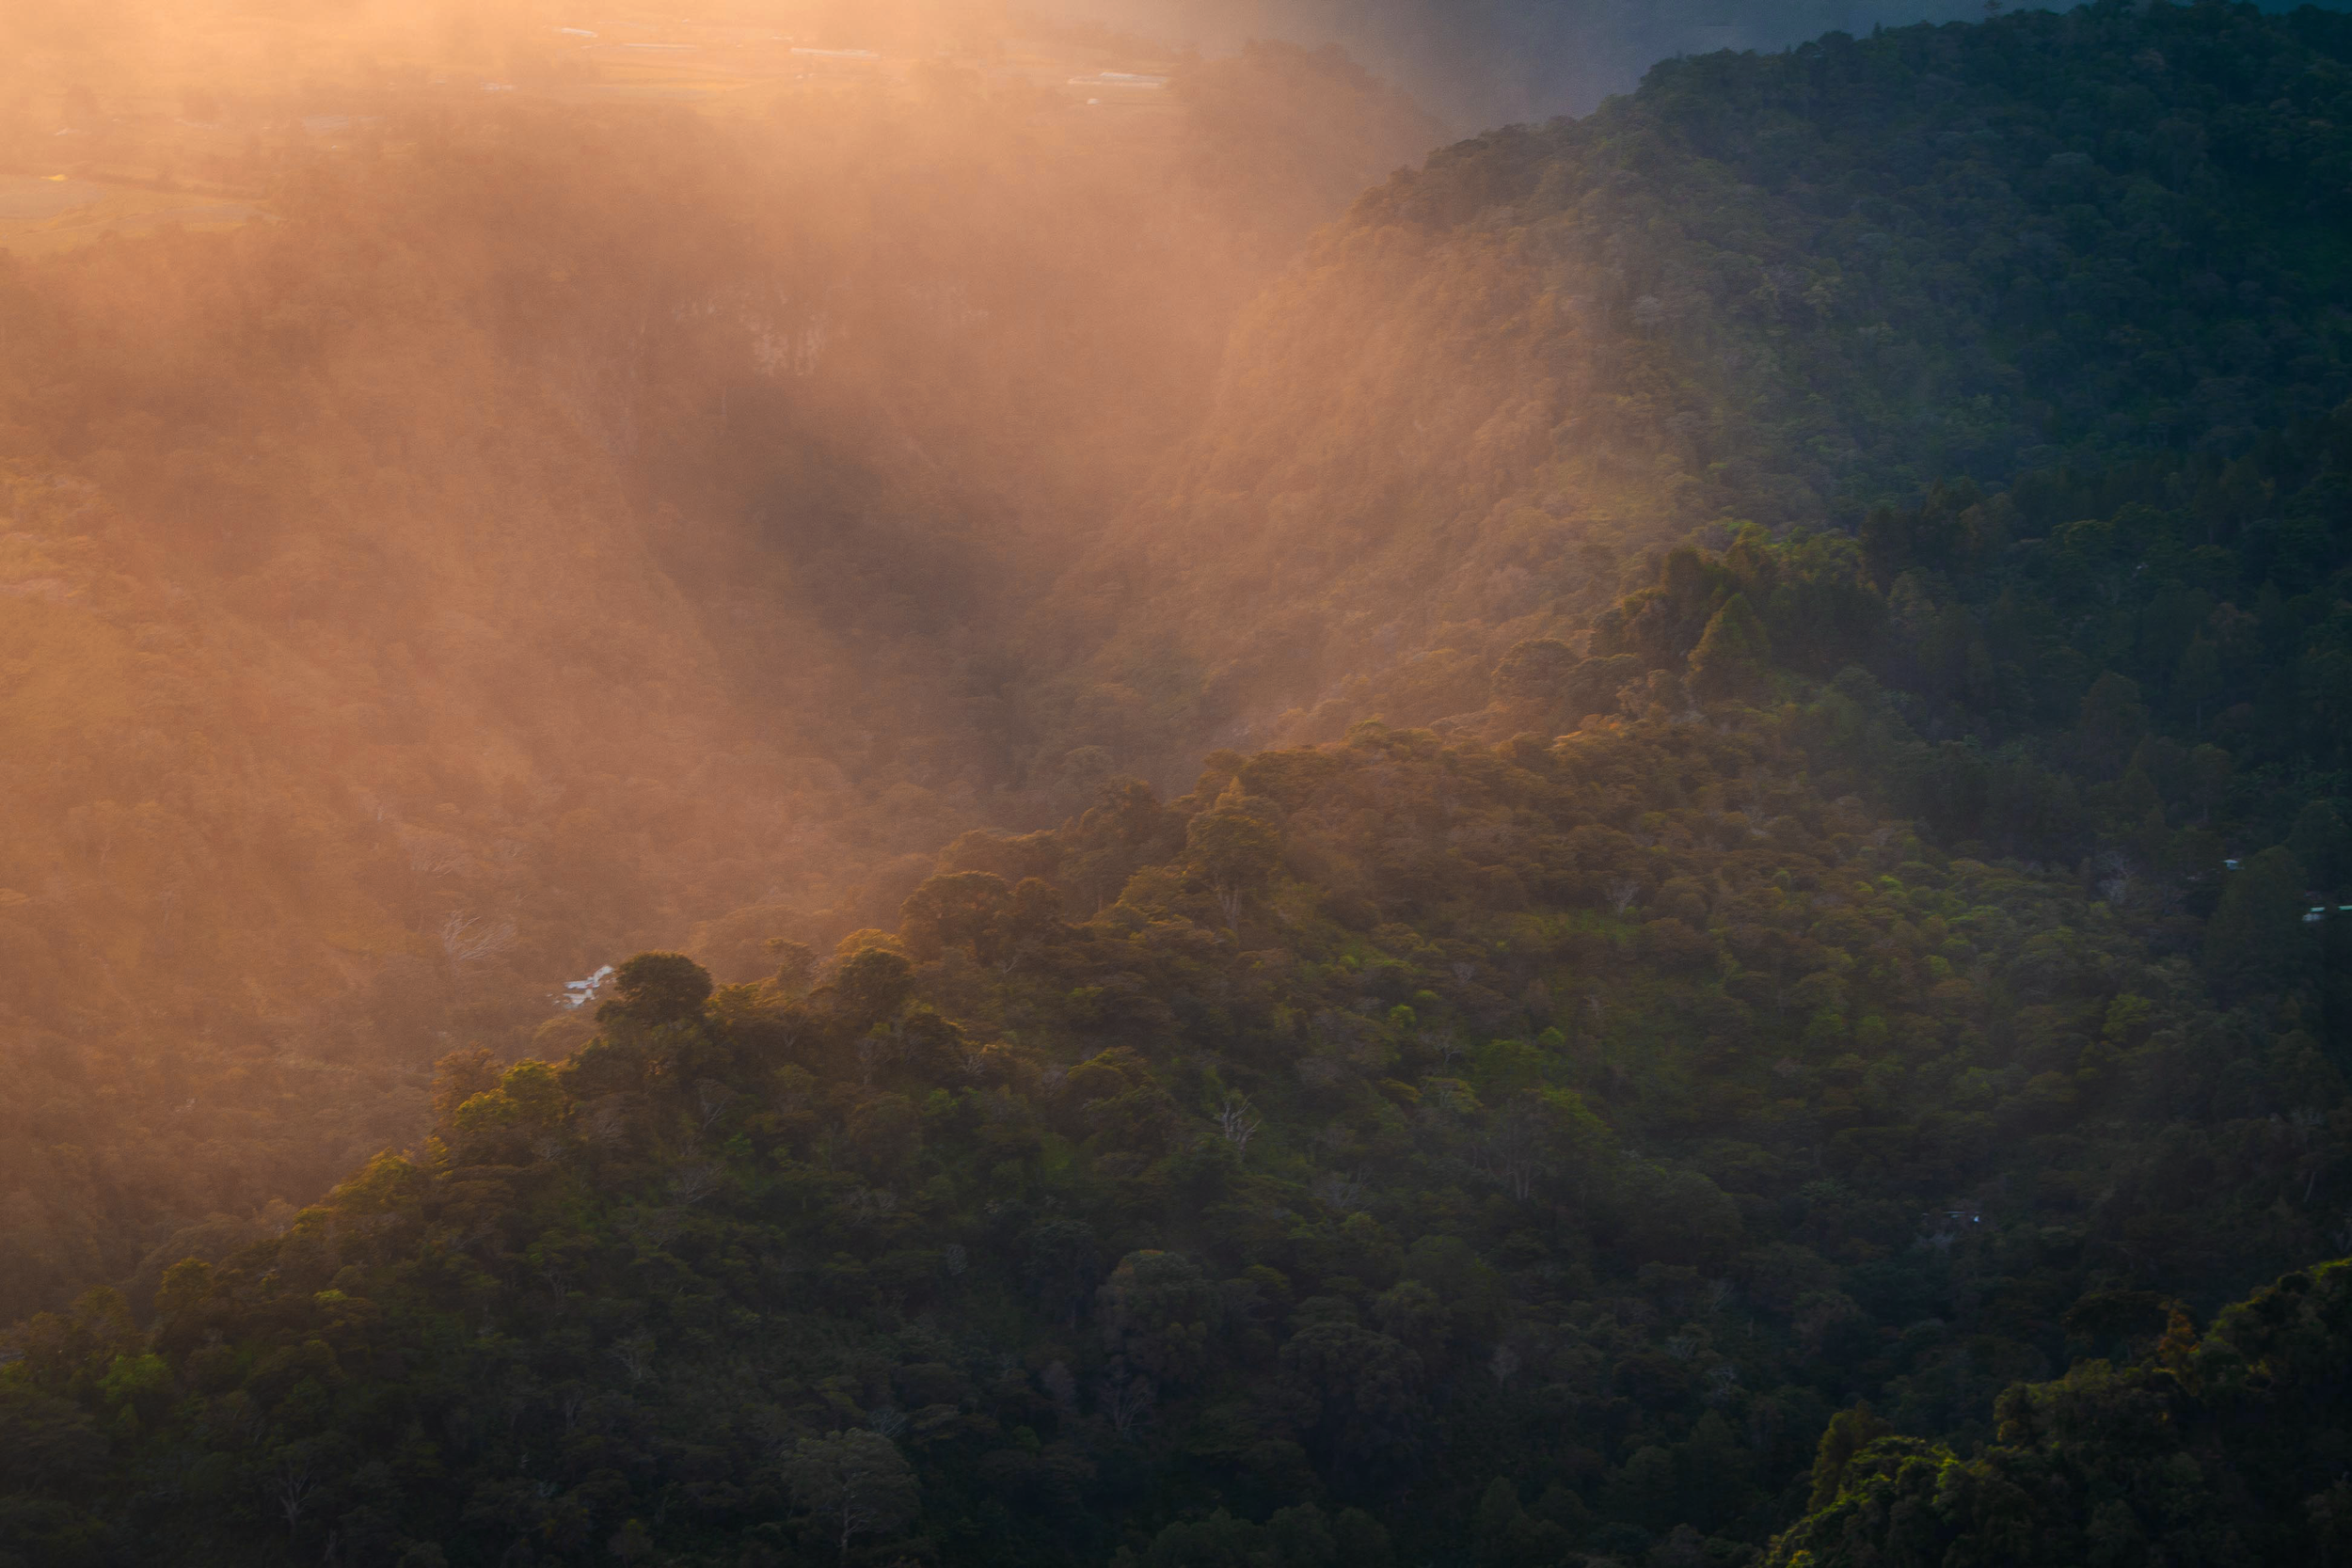
A mere 42,000 years ago, Mt. Mazama rose through the present-day Oregon wilderness to 12,000 feet above sea level. Fast forward 5,000 years, the volcano experienced its largest eruption ever, spewing magma as far as 40 miles while spreading ash as far north as Canada and as far south as Nevada.
The sheer magnitude of this eruption caused Mt. Mazama to lose so much of its structure that it could no longer support the peak of the volcano, forcing it to cave in on itself and thus creating the caldera that now holds what is known as Crater Lake. Gradually over the years, snowmelt and rain began to fill the new hole in the ground, forming the deepest lake in the United States of America (1,943 ft/595 m).
Here’s how to make the most of your time at Crater Lake National Park and some tips and tricks to avoiding crowds!
WHEN TO VISIT
Crater Lake sits at an elevation of 6,178ft. and gets an average snowfall of 48ft., meaning that the park is buried from October through June. The southern entrance is the only way to access the park during this time and the rim road turns into skiing trails.
This makes July through September the prime months to visit, with high temps of around 67 degrees during the day and as low as 40 degrees at night.
It’s important to note that the number of visitors to Crater Lake National Park has skyrocketed in recent years. The National Park Service reported that annual totals jumped as much as 23% between 2015-2016, so if there’s a need for overnight accommodation in your itinerary, be sure to research and book in advance.

Wizard Island from above
GETTING THERE
Crater Lake National Park is located in southwestern Oregon. Medford is the closest major town (to the south).
From Eugene:
2.25 hours drive time
The fastest route is to take OR 58 through Oakridge, then route 97 to 138
Alternatively, you can also use I-5 to Wilbur before picking up 138 east
Enter at the northern gate
From Medford:
1.25 hours drive time
Follow OR 62-E the entire way
Enter at the southern gate
WHAT TO PACK
With the high elevation, exercise caution on sunny days. Bring a good amount of sunscreen along with a hat and sunglasses, especially if you plan on spending your afternoon exploring by foot.
Pack a picnic lunch and enjoy the views at one of the several overlooks along the rim road.
There are plenty of places to re-fill water bottles along the way, but be sure pack enough to get by. It’s easy to get dehydrated between the altitude and sunshine.
If you plan on hiking, bring bug spray. We didn’t have any problems, but always better to be safe than sorry!
Don’t forget your camera… just remember: adventure first, pictures second.
Here’s what we brought with us:


ENTRANCE FEES
The current rates are as follows (as of February 2023):
$20 per vehicle (November 1 to mid-May) or $30 per vehicle (mid-May to October)
$25 per motorcycle (May 22 - October 31) or $15 per motorcycle (November 1 to mid-May)
Annual Park Pass accepted ($55)
Consider purchasing your pass ahead of time online which can be a big asset if visiting during peak hours, saving you from having to wait in line at the entrance booths.
HOW TO EXPLORE THE PARK
Right off the bat, my number one piece of advice would be to get there early. This will provide a few moments of solitude to appreciate the surrounding beauty. We left our home in Corvallis at 5:30 am, determined to get at least one hike completed before the crowds descended upon the park and it ended up paying dividends.
The best, and easiest, way to explore is to plan to drive around the rim. This 32.93-mile road circumnavigates the entire lake, offering the chance to pull off as you please and enjoy the views. We entered at the northern gate and decided to drive counterclockwise. Our well-rounded plan included several shorter hikes, covering an overlook, a waterfall, and swimming in the lake. Here’s how it went:
The Watchman Peak Trail
A brief word to the wise: this trail is popular. It was the first thing we did after arriving and we enjoyed the views at the top with two or three other groups. When we passed the trailhead on our way out of the park, it looked like a small army of ants climbing to the top.
The trailhead is located at 3.7 mi. north and west from the Rim Village. The path starts from the southern end of a paved parking lot, sharing it with the Watchman Overlook Viewpoint.
The trail itself is a 1.6mi. roundtrip trail with 387ft. of elevation gain and is a steady incline the entire way. Small children and grandparents were able to get up and down without hiking poles, but the extra equipment certainly wouldn’t hurt.
From the top, you’ll be treated to vast 360-degree views from the western end of the lake. Directly below you’ll see Wizard Island, the vantage point providing the perfect view of the volcanic cone.
For more information on reaching and hiking the island, visit this comprehensive guide from Just Go Travel Studios.
Looking to the north, you’ll be able to spot other volcanos within the High Cascade range, including Mt. Bailey, Diamond Peak, and Mt. Thielsen.
Back at the bottom, we continued driving southeast along the rim road towards the Rim Village. Bathrooms are accessible around most of the park, but they are not available at every trailhead. If you need to go, make sure to use the ones in the parking lot before leaving.
Along this route, you will run into Vidae Falls on your left. From the pull-out, you’ll be able to see the 100ft. cascading waterfall, but there’s not much more to do here other than get out and take a quick peek before continuing.
Plaikni Falls Hike
To reach the start of the trail for Plaikni Falls, turn right onto Pinnacle Road just before reaching the Phantom Ship Overlook. After driving another 1.2mi., you will see the parking area on your left. Note: There are no bathrooms available at this trailhead.
The path is an easy walk for all ages, winding 2.2mi. (round trip) through the old-growth forest before reaching Sand Creek where rushing water, wildflowers, and butterflies are waiting to greet visitors. We didn’t have any problems with mosquitoes, but reports have stated otherwise, so make sure you have the bug spray ready and available for this one.
There isn’t much space to hang out by the waterfall, especially if there is a lot of traffic on the trail, but it’s worth it to have a look.
Due to its short length and popularity, the trail can become quite congested during peak hours. As is the case with most hikes, the earlier you can arrive, the better.

View of Plaikni Falls
Lunch at Victor View
An unmarked overlook, Victor View provided the perfect spot for a quick lunch away from the crowds. Despite the heavy traffic, we only saw three other cars pull over here. It is the second pull-off (on your left) after the Phantom Ship.
There’s a short trail that has been carved out that will take you through the trees and provide you with unobstructed views across Crater Lake and towards Wizard Island, as well as Cloudcap Bay to the right. Exercise caution as the ground quickly turns from packed dirt to sand and loose stone.
This viewpoint placed us in a perfect location to take a post-lunch drive up to the Cloudcap Overlook, which can be reached by taking the highest paved road in Oregon.

Looking towards Cloudcap Bay
Cloudcap Overlook
One of the most popular overlooks in all of Crater Lake National Park, you’ll be treated to expansive westward views across the caldera once at the top. Be aware that you may have to fight a busload or two of tourists to catch a glimpse of the scenery.
You won’t be disappointed with the views if you’re able to find a spot, but the entire park is stunning so we felt comfortable skipping it this time around.
Shortly after departing Cloudcap Overlook and reuniting with the rim road, we passed the trailhead for Mt. Scott. This is the highest point of Crater Lake. Although only a 4.2-mile round trip hike, it wasn’t on our itinerary for the day due to limited time. Instead, we continued to Cleetwood Cove — it was time to get wet!
Cleetwood Cove Trail
It’s important to note that Cleetwood Cove Trail DESCENDS to the lake, meaning the way back up will be the grueling part. We passed quite a few unhappy faces on their way to the parking lot.
At only 2.2mi. round trip, the way down is quite easy via the switchback trail, with Crater Lake peeking out from between the trees. Eventually, the boat docks will appear. Continue following the trail and you will soon see where everyone is swimming.
I was surprised by how crowded it was, but I guess it makes sense. After all, who would pass up the chance to swim in a lake with a collapsed volcano beneath the surface? Not us!
After taking a dip and enjoying the water-level views, tie your laces tight to start climbing the 700ft. back to the trailhead. Pro Tip: Bring closed-toed shoes. Many parts of the trail are soft, making it difficult to navigate in sandals. Several cut-outs along the path provide an oasis-like seating area to rest and catch your breath. If you go in the afternoon, make sure to bring water and stay hydrated!
Hiking Cleetwood Cove Trail
Cleetwood Cove was our final stop of the day before leaving the park and driving home. When it was all said and done, we had spent nearly 7 hours exploring the area and cumulatively hiking 6 miles; a full day of adventure that left our legs tired, our clothes dirty, and our faces beaming with delight!
Although visitor numbers are on the rise, the park didn’t even crack the top 10 most visited in 2018, presenting the unique opportunity to enjoy Crater Lake National Park without the large crowds that other places such as Yellowstone and Zion regularly experience. We highly recommend it!
More information can be found by visiting the National Park Service website.
Have you had experiences of your own? Be sure to leave them in the comments below!
As always, stay safe & happy travels!
A friendly reminder to comply with all rules and regulations regarding National Parks. It’s up to us to protect and preserve the Earth, so stick to established trails and leave only your footprints behind! Crater Lake also attracts cyclists from around the world, so be sure to share the road and use caution when driving around the rim.
Pin this post for later!


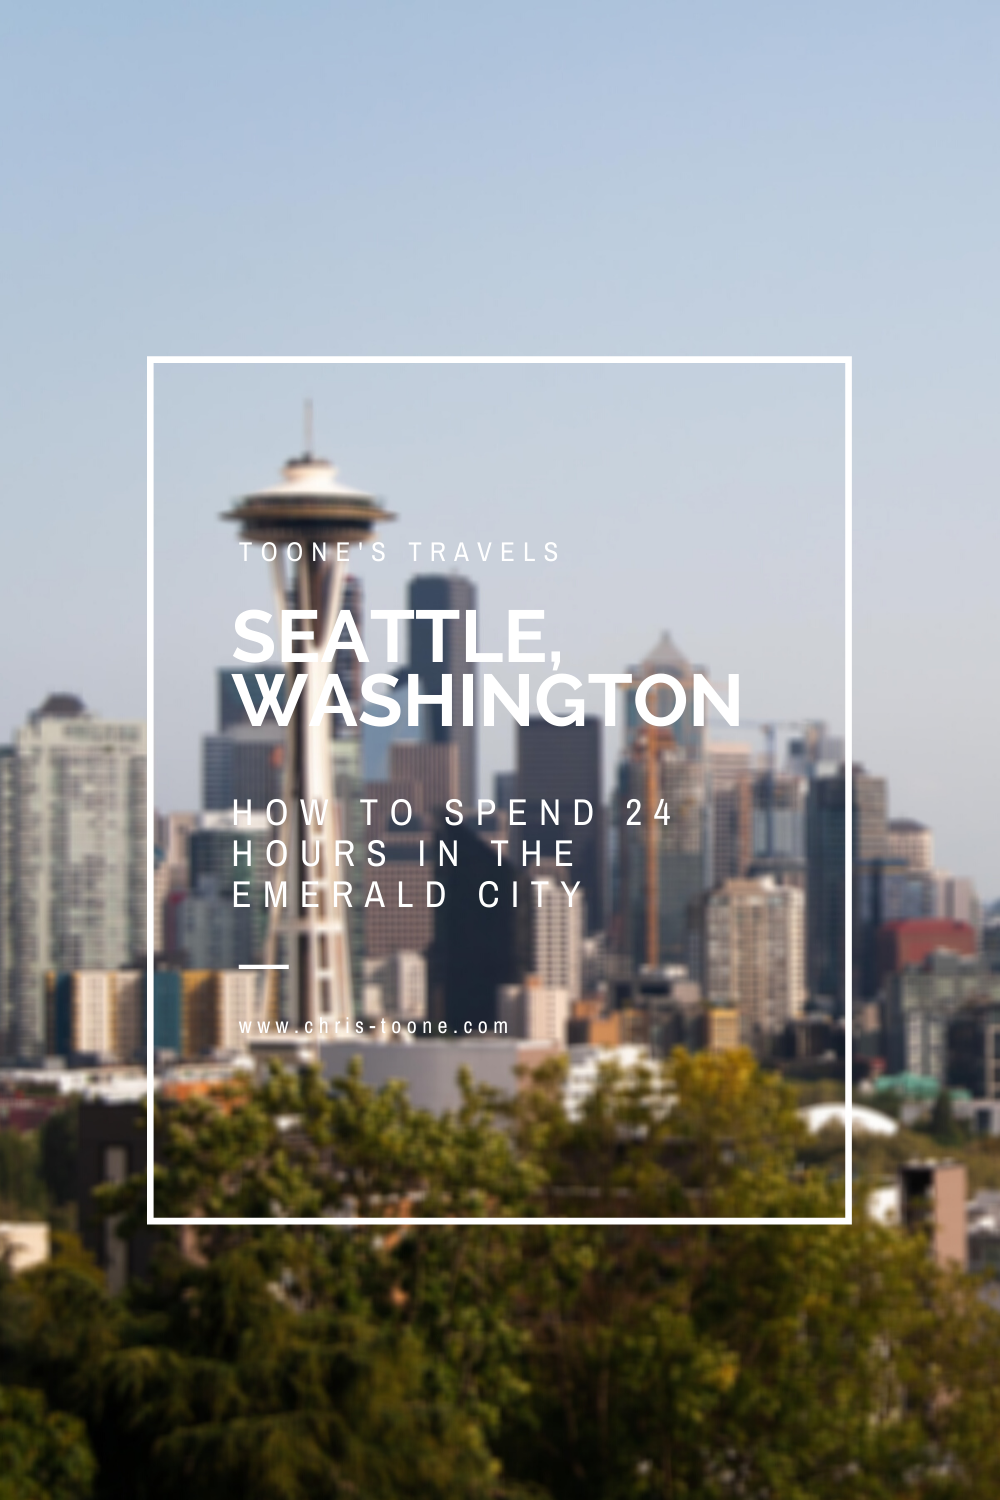
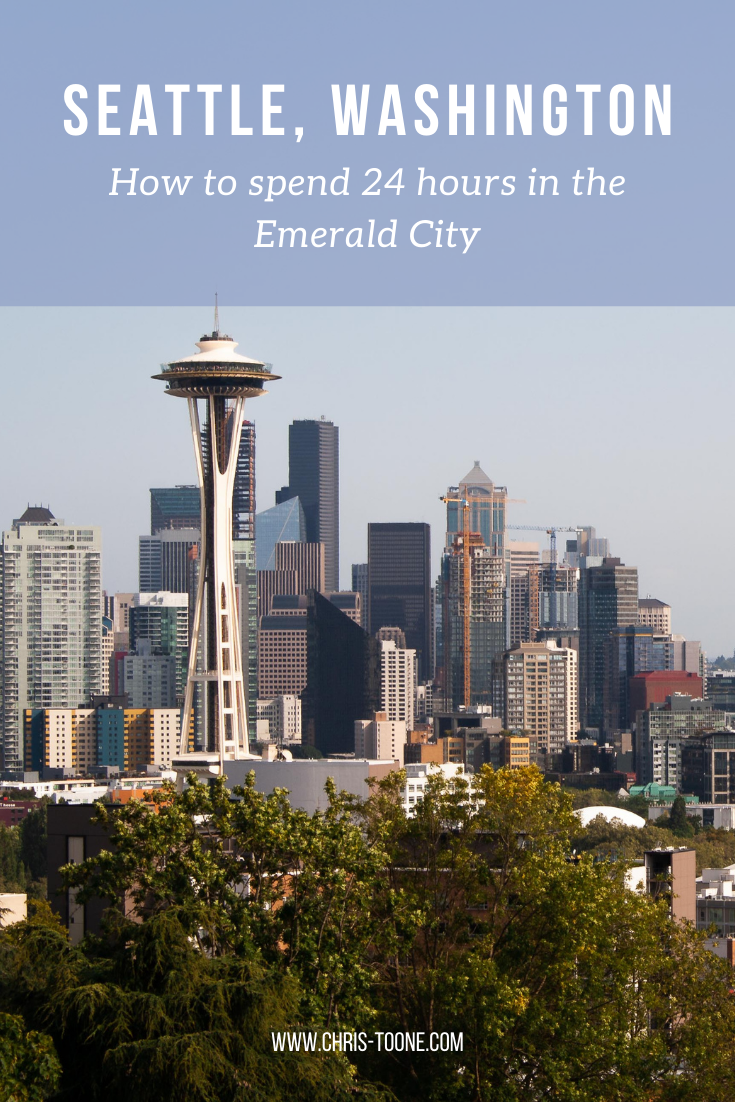
Sleepless in Seattle: How to spend 24 hours in the Emerald City
Weekend getaways are the perfect opportunity to get out of your comfort zone and experience something new, especially if your time is limited. But with so many things to see and do, how do you decide on what to pack into your schedule? Here are 7 “off the beaten path” recommendations for Seattle, Washington!

All info and prices are updated as of February 2023
Weekend getaways are the perfect opportunity to get out of your comfort zone and experience something new, especially if your time is limited. But with so many things to see and do, how do you decide what to pack into such a tight schedule?
Here’s a piece of friendly advice: go for it! Whatever you do and wherever you end up is all part of the journey, right? With that said, here are some recommendations to get you started in Seattle, Washington!
If 24 hours isn’t enough for you (and it likely won’t be), then be sure to check out some of the top places to stay for the weekend in Seattle!
1. SEATTLE JAPANESE GARDENS
Located inside the Washington Arboretum in northeast Seattle, this 3.5-acre Japanese-style park has opened its doors to the public since 1960. Landscaper Juke Iida’s plans for the garden were based around the principle of shinzensa, meaning the essence of nature, combining Japanese plant materials with those native to the Pacific Northwest.
Today, visitors are welcomed inside the gates to slowly wander the stone paths along the koi pond and take a moment to enjoy the sounds and smells. It’s the perfect place to mindfully sit and rest, escaping the hustle and bustle outside of its walls. If looking for more, sign up to participate in a 40-minute tea ceremony for an extra $15 per person. Reservations are required.
Adults between the ages of 18-64 can enter for $10, while senior citizens (65+), students, youths 6-17, and the disabled can enjoy the park for $6. Children under 5 are free (prices are accurate as of February 2023). There is no charge for parking and admission into the garden is waived on the first Thursday of each month. Please note that tripod photography, picnics, and pets are not allowed inside the gates to preserve the sanctity of the garden.
Address: 1075 Lake Washington Blvd.
Getting there: Metro Bus #11 (stop at Madison St.) or light rail to University of Washington (25min walk from there)
2. RIDE THE COMMUTER FERRY
Not wanting to spend the time or money on a boat tour of Seattle’s waterfront? Riding the commuter ferry is a great cost-effective way to see the city from the Puget Sound. At only $9.45 per passenger as of February 2023, you can choose to take a 30min ride to Bainbridge or opt for the lengthier 60min to Bremerton. Ferries are scheduled to depart all ports (Seattle included) every 60-90min, making it easy to grab a return ticket and jump back on board the boat. By the time you dock in Seattle again, you’ll still have plenty of time left in your day!
The vessels themselves are equipped with everything you need to enjoy the ride. Grab a snack from the shop on the passenger level and get your fix of vitamin D on the upper decks as you take in the sweeping views of the city. This was one of my favorite parts of our weekend adventure!
Seattle’s ferry terminal is located at 801 Alaskan Way, south of Pike Place Market and a short walk away from Pioneer Square.
You can purchase tickets ahead of time, however, it’s a simple process to do it in person at the terminal. It is recommended that you arrive 20-30min before the scheduled departure time.

3. CHEER ON THE SOUNDERS WITH 40,000 OF YOUR CLOSEST FRIENDS
There aren’t many cities in the United States that can regularly fill an NFL stadium for Major League Soccer matches, but Seattle is one of them.
These dedicated Sounders fans treat every game as do-or-die, making for an unbeatable atmosphere inside CenturyLink Field. Grab a beer, chow down on a Seattle Dog (complete with cream cheese and onions… oddly delicious), and cheer on the Sounders with 40,000 of your closest friends!
If your schedule permits, make your way to Occidental Park in Pioneer Square about 90 minutes before kick-off to get the full supporters club experience. Here you’ll find a pep rally with performances by Sound Wave, the official band of Seattle Sounders FC, as well as giveaways, games, and more. Be sure to visit The Ninety (located at 406 S Occidental Ave.) and learn about the club’s storied past before marching to the stadium alongside the supporters, chanting and singing as you go. Maybe you’ll get lucky and their sworn enemy, the Portland Timbers, will be in town!

4. PIKE PLACE MARKET… AT 7AM
Yes, I know, this isn’t off the beaten path, but go at the right time of day and you’ll find yourself surrounded by local shoppers instead of selfie-hungry tourists.
The fish market’s operations begin at 6:30am, while most of the other vendors open their doors around 9am. This makes it the perfect time to enjoy zero lines and grab a breakfast-to-go from the well known Mee Sum Pastry or Piroshky Piroshky (try the smoked salmon pate) and wander the halls of this hallowed place.
You’ll be treated to a sense of how large the operations are, with employees unloading trucks of fresh flowers while fishermen chop ice and unveil their catch of the day. It’s a far more authentic feel than what you'll find later in the afternoon.
Take a moment to sit on the deck located on the top floor of the main market building (the one with the clock sign) and enjoy the crisp morning air as you look out over the Puget Sound. It’s a great spot to watch ships coming into port and sip on a cup of coffee!

5. WATCH THE SUNSET ON PIER 66
If you’ve looked into the best sunset views of Seattle, then it’s likely you’ve stumbled upon Kerry Park. Yes, this small overlook offers the picture-perfect postcard scene with the Space Needle front and center, but it comes at a cost of fighting mass quantities of tourists and photographers alike.
Instead, head to the waterfront and enjoy the views from Pier 66, also known as the Bell Street Pier. This public observation deck comes complete with viewing binoculars and provides breathtaking sights over downtown Seattle, Mt. Rainier, and the Olympic Mountains. Face back towards the city and you’ll even catch a glimpse of the Space Needle!
This place remains largely hidden as compared to the rest of the tourist trail in Seattle, so it’s the perfect setting to enjoy an evening gelato (our favorite is Gelatiamo, just a few blocks from Pike’s Place) and snap some pictures without the crowds. You can access this rooftop deck via the Bell Street Pier Pedestrian Bridge from Elliott St., or by climbing the stairs that are located near the entrance of Anthony’s Restaurant along Alaskan Highway.

6. STROLL ALONG LAKE UNION
Are you looking to do as the locals do? Then make your way over to Lake Union. Here you’ll find an abundance of walkers, runners, and cyclists as they make their way along the 8-mile loop that surrounds this freshwater lake.
From here you’ll be able to hop on a cruise, rent kayaks and paddleboards (look for Moss Bay Kayaks), or simply sip on a latte from the Tripod Coffee trolley (located near the Center for Wooden Boats) and enjoy the views as seaplanes take off throughout the day. Lime and Jump ride-share bikes are widely available and a great way to meander around the area.
With plenty of places to eat and shop, exploring South Lake Union is a great way to experience one of Seattle’s most lively neighborhoods!
7. GAIN SOME PERSPECTIVE
As mentioned above, Kerry Park is the most famous overlook in Seattle, however, a favorite of mine is the Jose Rizal bridge located on the western slope of Beacon Hill.
This is the perfect spot for night photography as tail lights from the I-90 below lead straight into the city, while providing views of CenturyLink Field, T-Mobile Park (home of the Mariners), as well as the Olympic Mountains across the sound.
Relatively unknown outside of the photography community, you’re guaranteed an enjoyable experience in the otherwise crowded Seattle area.
Note to photographers: the bridge tends to shake when buses drive across, so make sure to time your shots accordingly.
Address: 1008 12th Ave. S

If you have any questions or suggestions of your own, feel free to leave a comment below! Thanks for reading and I hope you enjoy your time exploring Seattle.
As always, stay safe & happy travels!
Pin this post for later!